For this month, September 2025, the theme challenge is “Backlight”. This month’s challenge is intended to get you out doors to create some images with a bit of drama and to help understanding light. Some of the most important things with backlight is to; find a subject that is not only lit from behind but also has a dark background, and the angle of the light should be higher, left or right in relation to the camera to help maintain some contrast in the image. The dark background helps with exposure of the subject but you may also require increasing the shadows in post processing.
Backlight can be used for various types of subjects and the results vary depending on the position of the light in relation to the subject and camera. In some cases it’s helpful to add an off camera Flash (introduce a key light) to improve the light on the shadow side of the subject.
Be patient take your time to; really observe the light, the position of your subject, and the background, don’t give up you will get some nice images. Let’s see where you go and what you can create this month, then include us in your success, share the images you’ve created this month.
Some Considerations
Here are a few tips and camera setting suggestions to help with your success.
Backlight Photography:
■ Position of the light in relation to the subject
■ Position of the camera in relation to the subject and light
■ Good light, lower light angle later or earlier in the day
■ Avoid hash light on the side of the subjects face
■ choose a dark background to help your subject stand out
■ Use a lens hood
■ Distance of the subject from the background
■ Consider you depth of field, remember it’s not just aperture, also consider focal length and distance to your subject (distance of your subject to the background also contributes to how out of focus the background is)
■ Push your exposure, expose for the highlights
■ Don’t be afraid of ISO
■ Use a fast enough shutter speed for a sharp image (consider the wind as well)
■ Some post processing maybe required to brighten the shadows unless you are creating silhouette
Camera Settings: You can start in Aperture Priority mode (Av for Canon or A for Nikon, Sony) with a best aperture for the image (f-stop number) say f/2.8 to f/11, and use your ISO to adjust your final exposure. Keep an eye on what the camera chooses for a shutter speed especially if you are taking your images handheld. If the shutter speed is slower say 1/100 then raise your ISO to obtain a faster shutter speed suitable for your subject, at least 1/focal length) while considering the wind. For these types of images, you could use various focal lengths depending on what you want to create, anything from 50mm to 500 mm, just be aware of your depth of field, keeping your intended sharpness throughout the image, check you image to make sure your intended subject is sharp.
Example Images
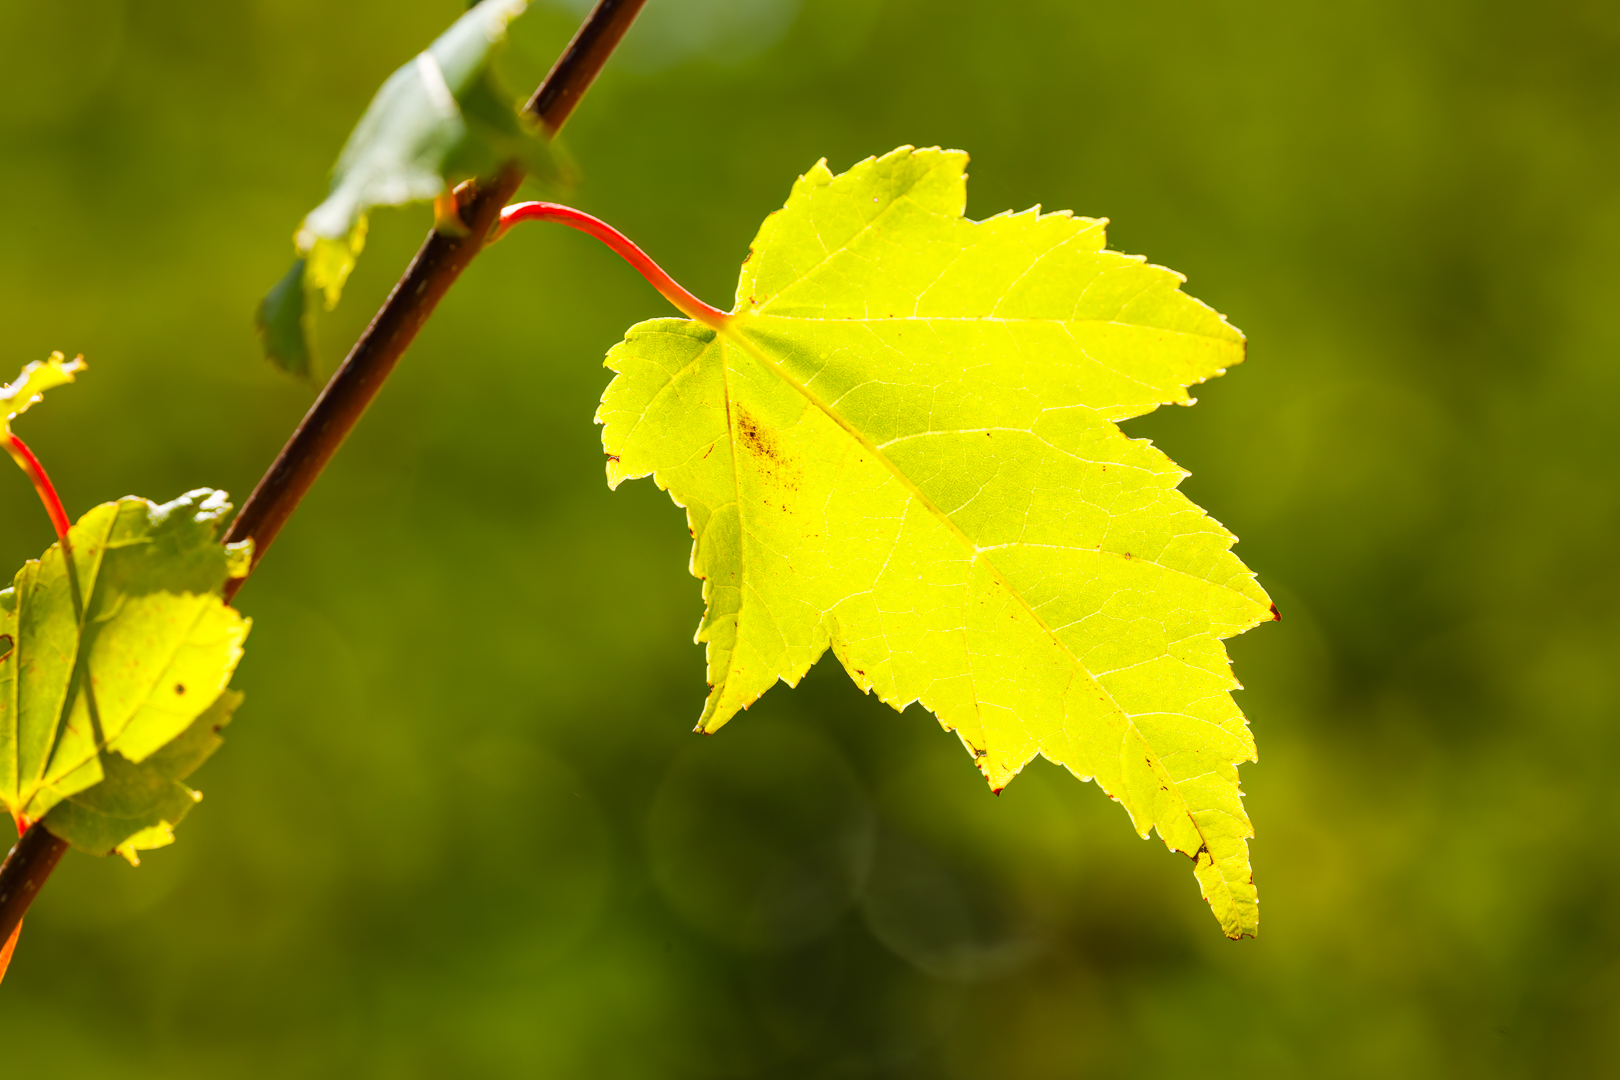
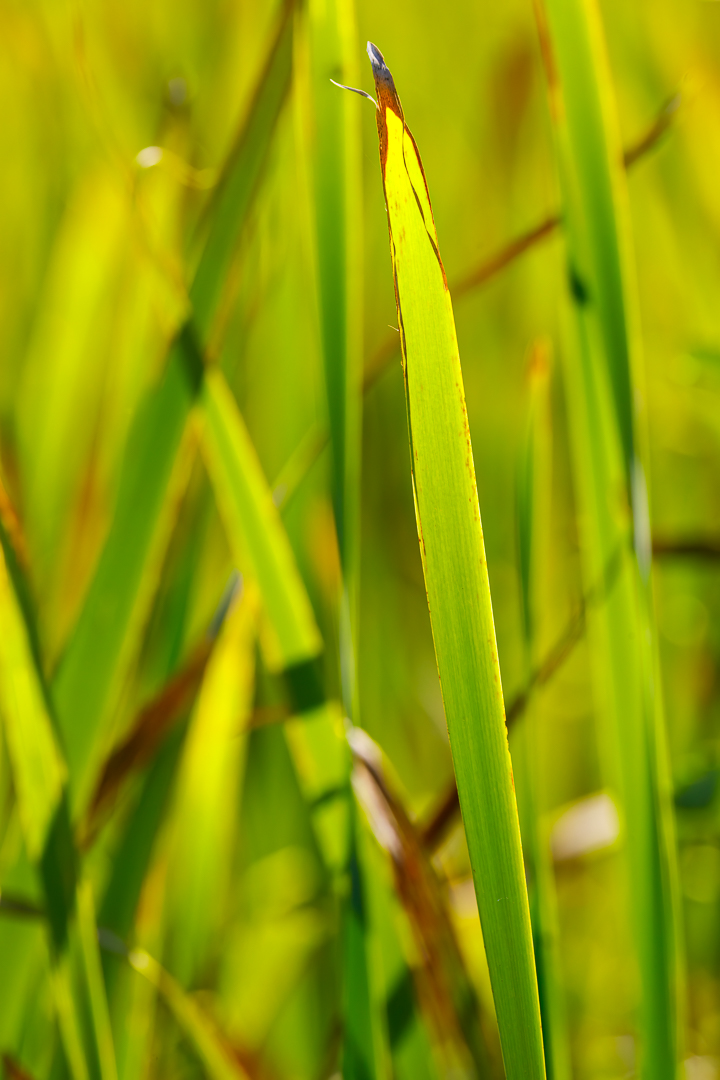
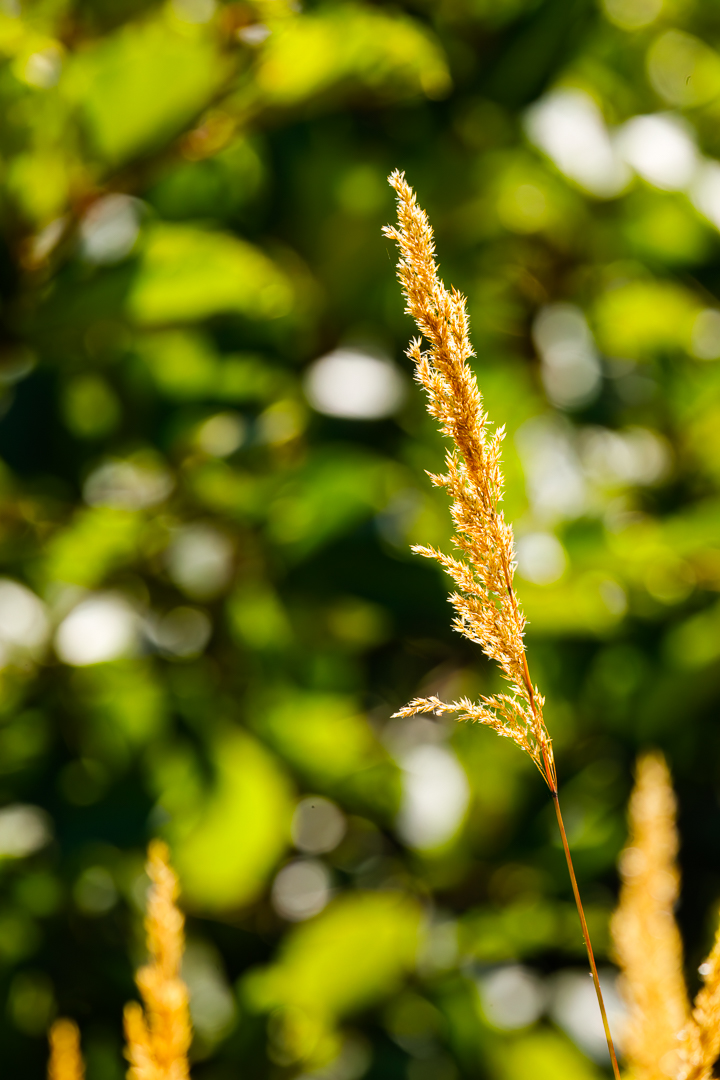
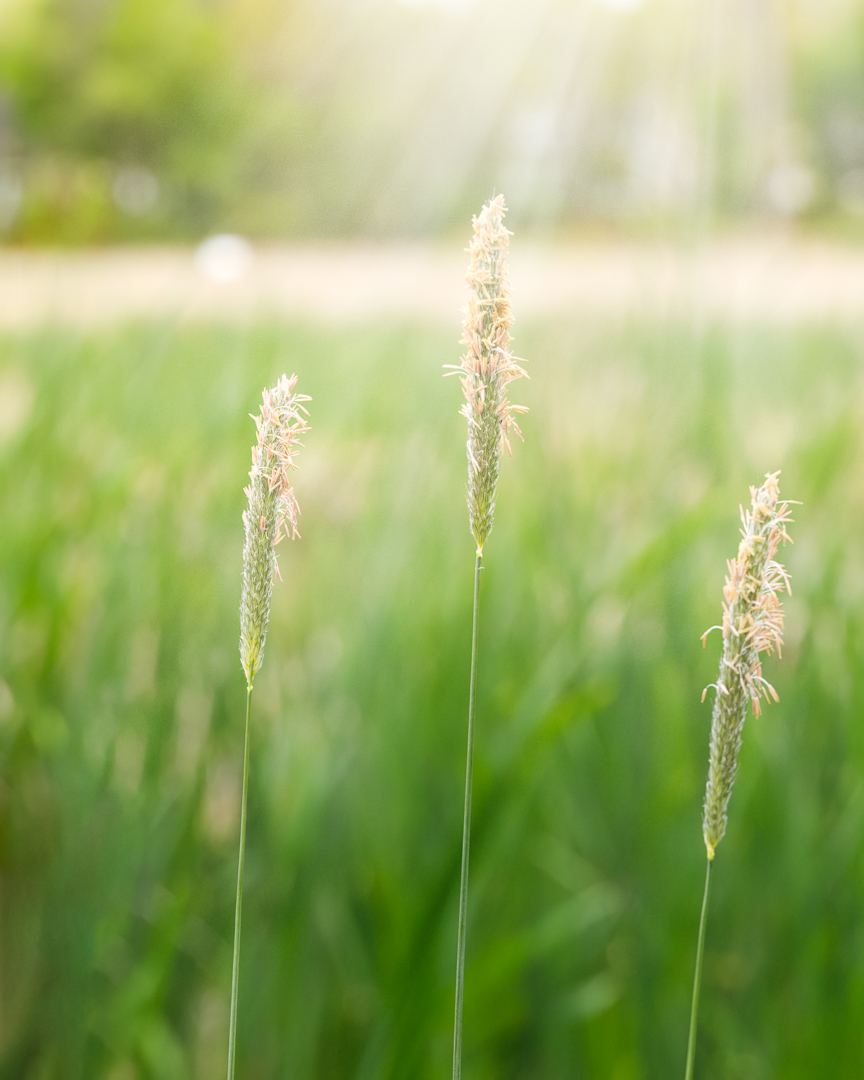
In Nature: Below are backlit natural light examples of nature; Cattail grass, wetland grass, and maple leaves. These images were mostly shot using a zoom lens with an aperture between f/8 and f/11, a fast enough shutter speed to freeze the subject and the ISO setting based on exposing for the highlights. Notice in most cases a darker background, and the background is further away than the subject to help make the subject stand out. In the cases where the background is lighter, push the exposure of the background as much as possible, then consider having a subject that is a bit darker. Notice how the backlight brings out detail and texture in the leaves and blades of grass.


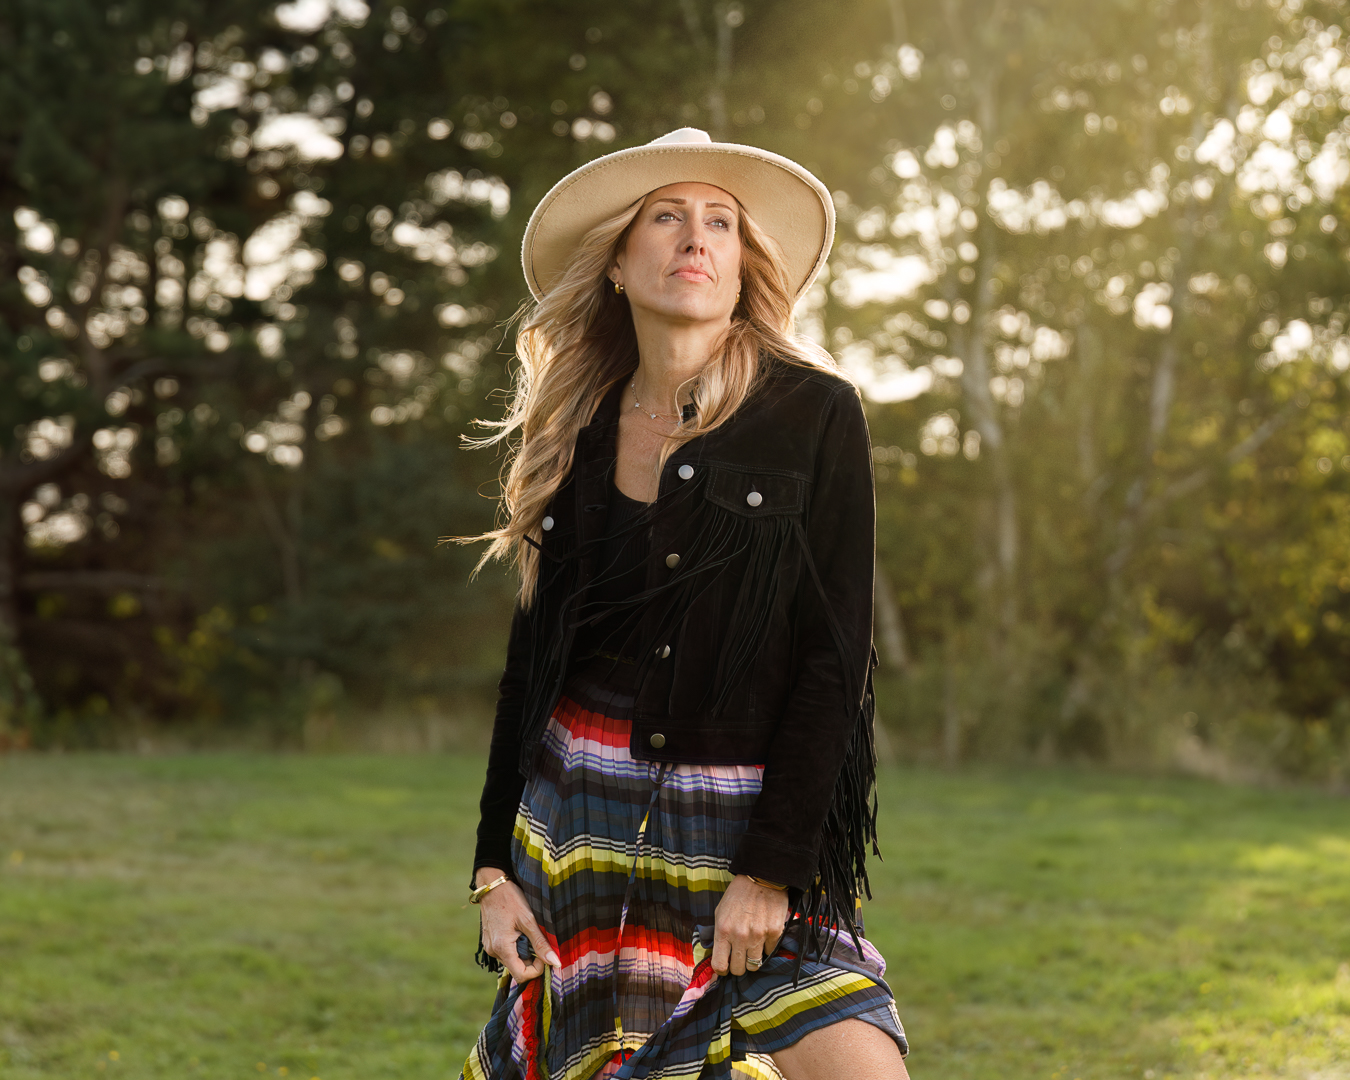
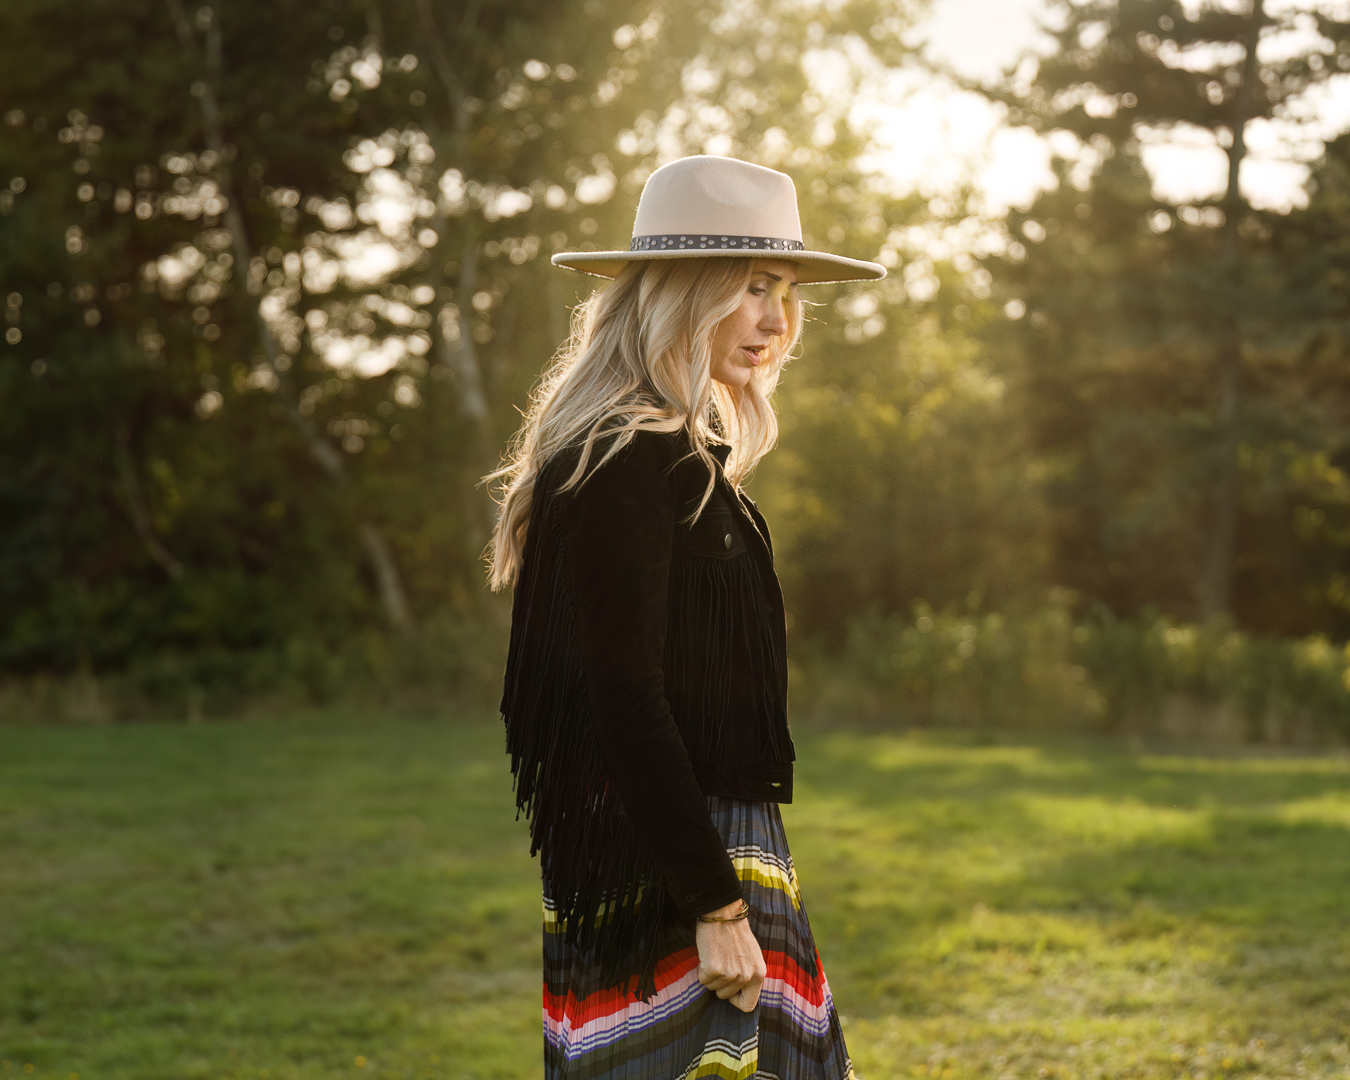
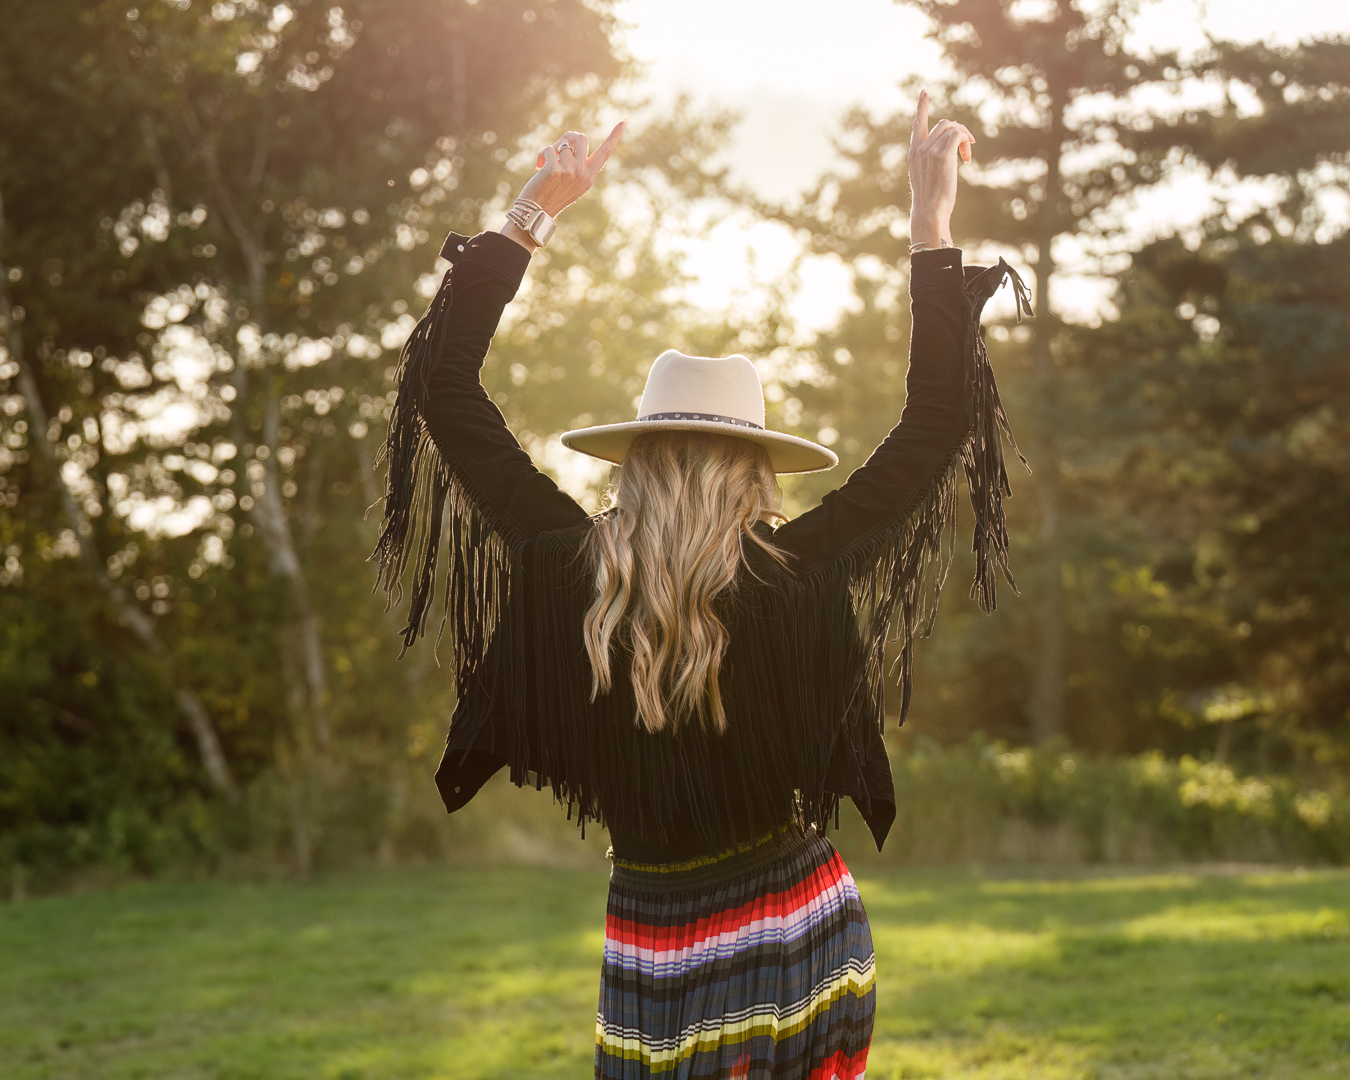
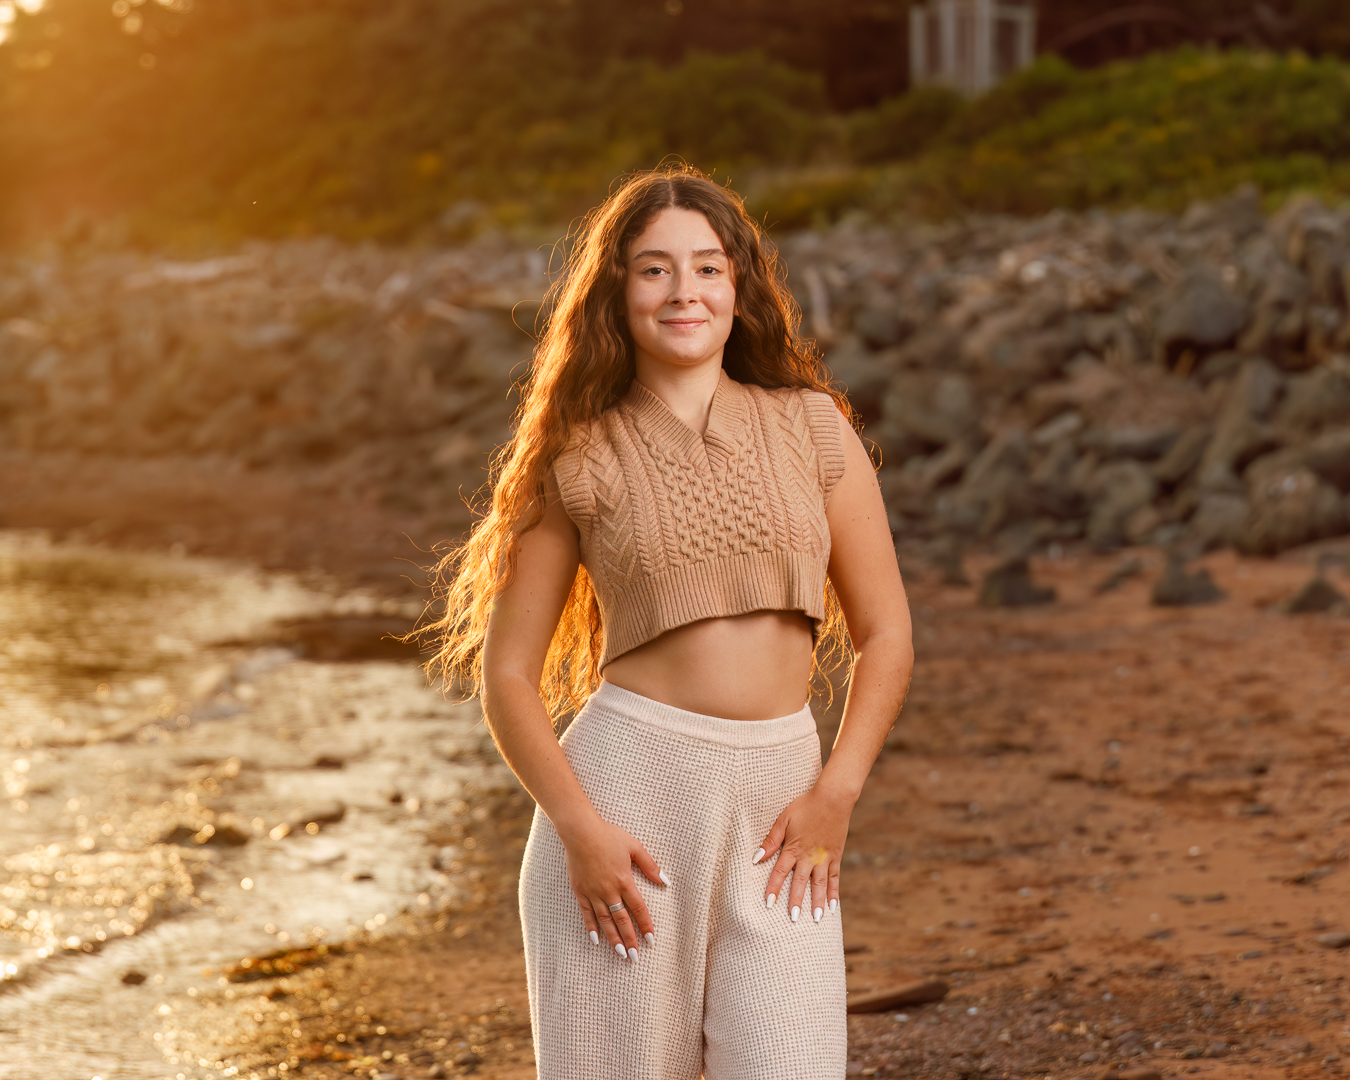
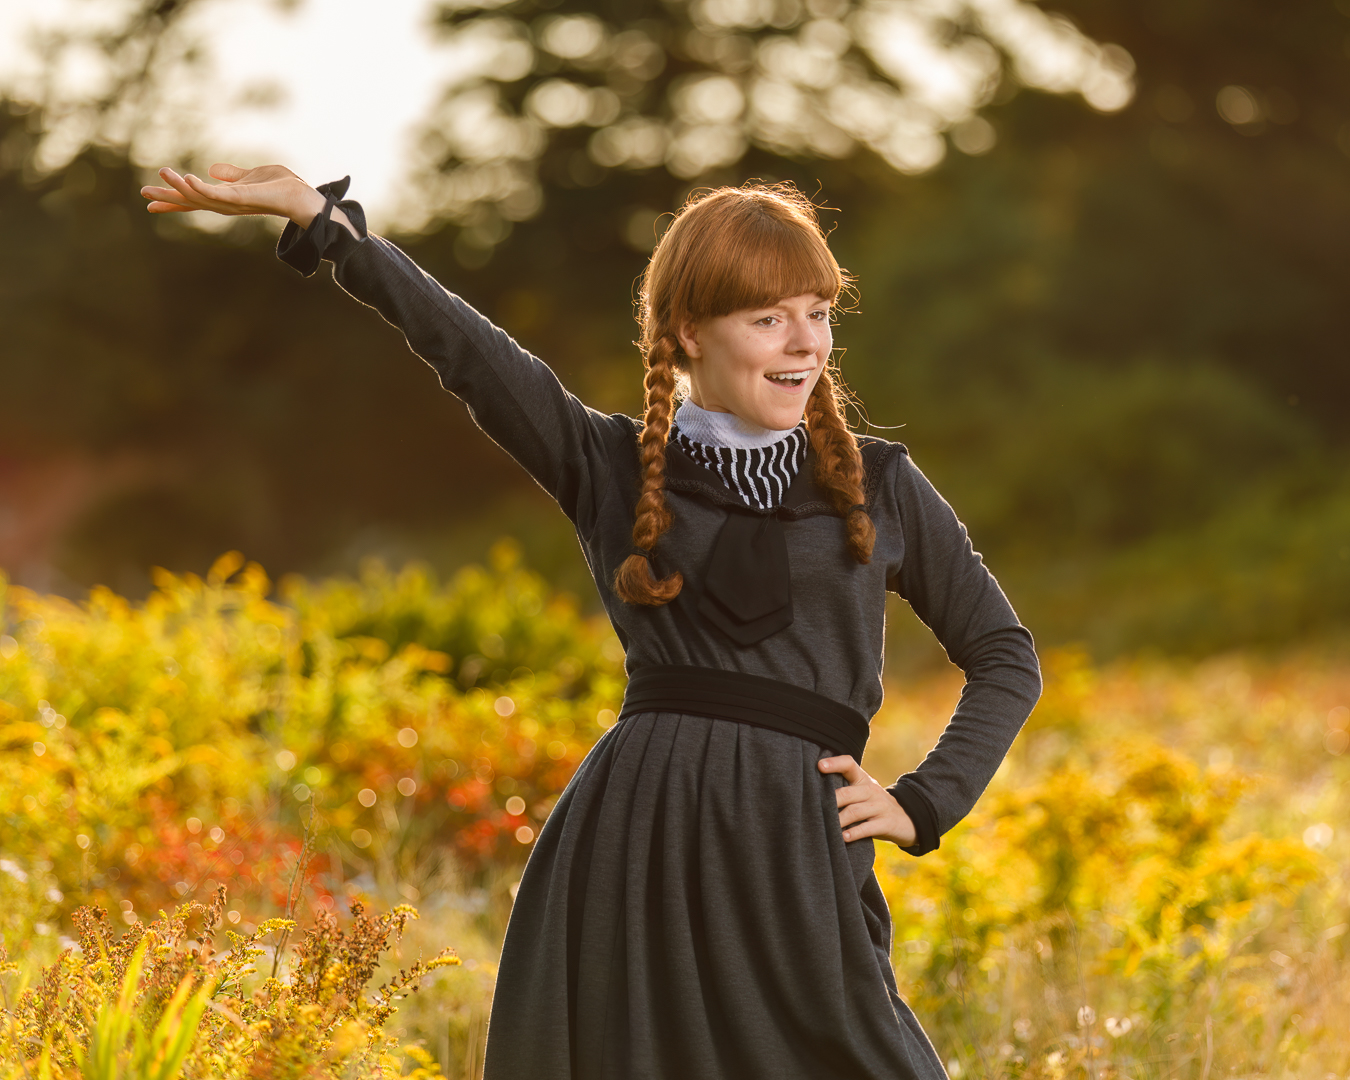
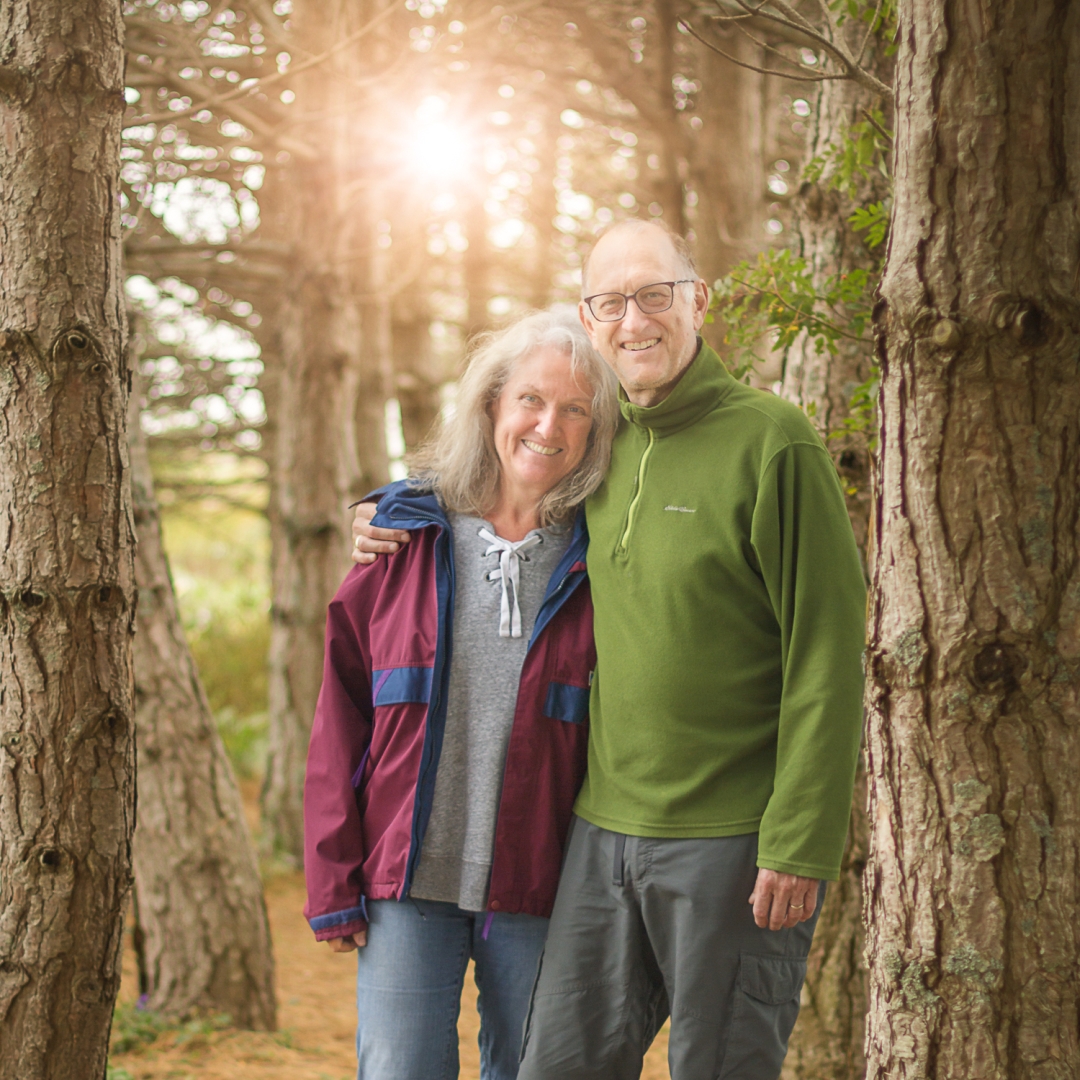
Backlit Portraits: Observe the position of the light, then position the subject and your camera to have the light slightly on an angle behind the subject (make sure there is no harsh light spilling on the side of the subjects face) and at the same time a dark background. Later or early (lower angle) in the day light is the ideal time for backlit photography. The backlight provides a rim light to separate the subject from the background and more drama for the image. Many of the following images were made at Camp Create 2024 using an off camera flash in collaboration with the following models; Kimberly Rashed (hat & black suede jacket) a photographer/model based in Prince Edward Island, Adriana Nunes (beige and white outfit on beach) a model based in Prince Edward Island, and Janelle, (Anne of Green Gables) a model/actress from Havenwood Dance in Prince Edward Island. The next two images are of my wife and photographer Darlene Awalt , with the first in the leopard camo top was setting up an off camera flash at a photo shoot on Graves Island Nova Scotia and the image with her blue top was using all natural light with some post processing. The final image, using natural light and some post processing, of our friends in their treasured pine tree stand at their summer cottage which since the time the photo was taken, has been mostly destroyed by hurricanes and porcupines.


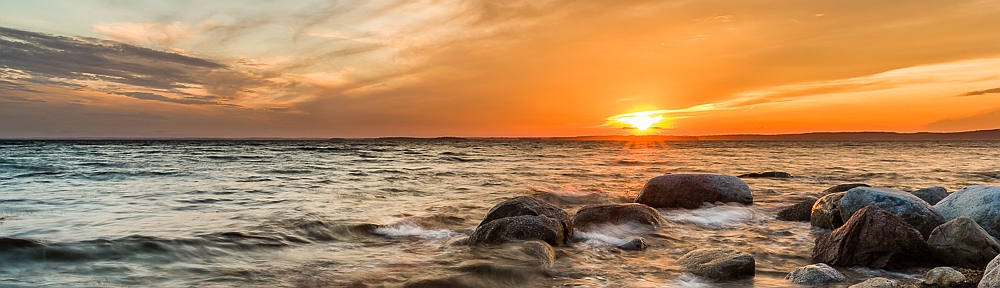
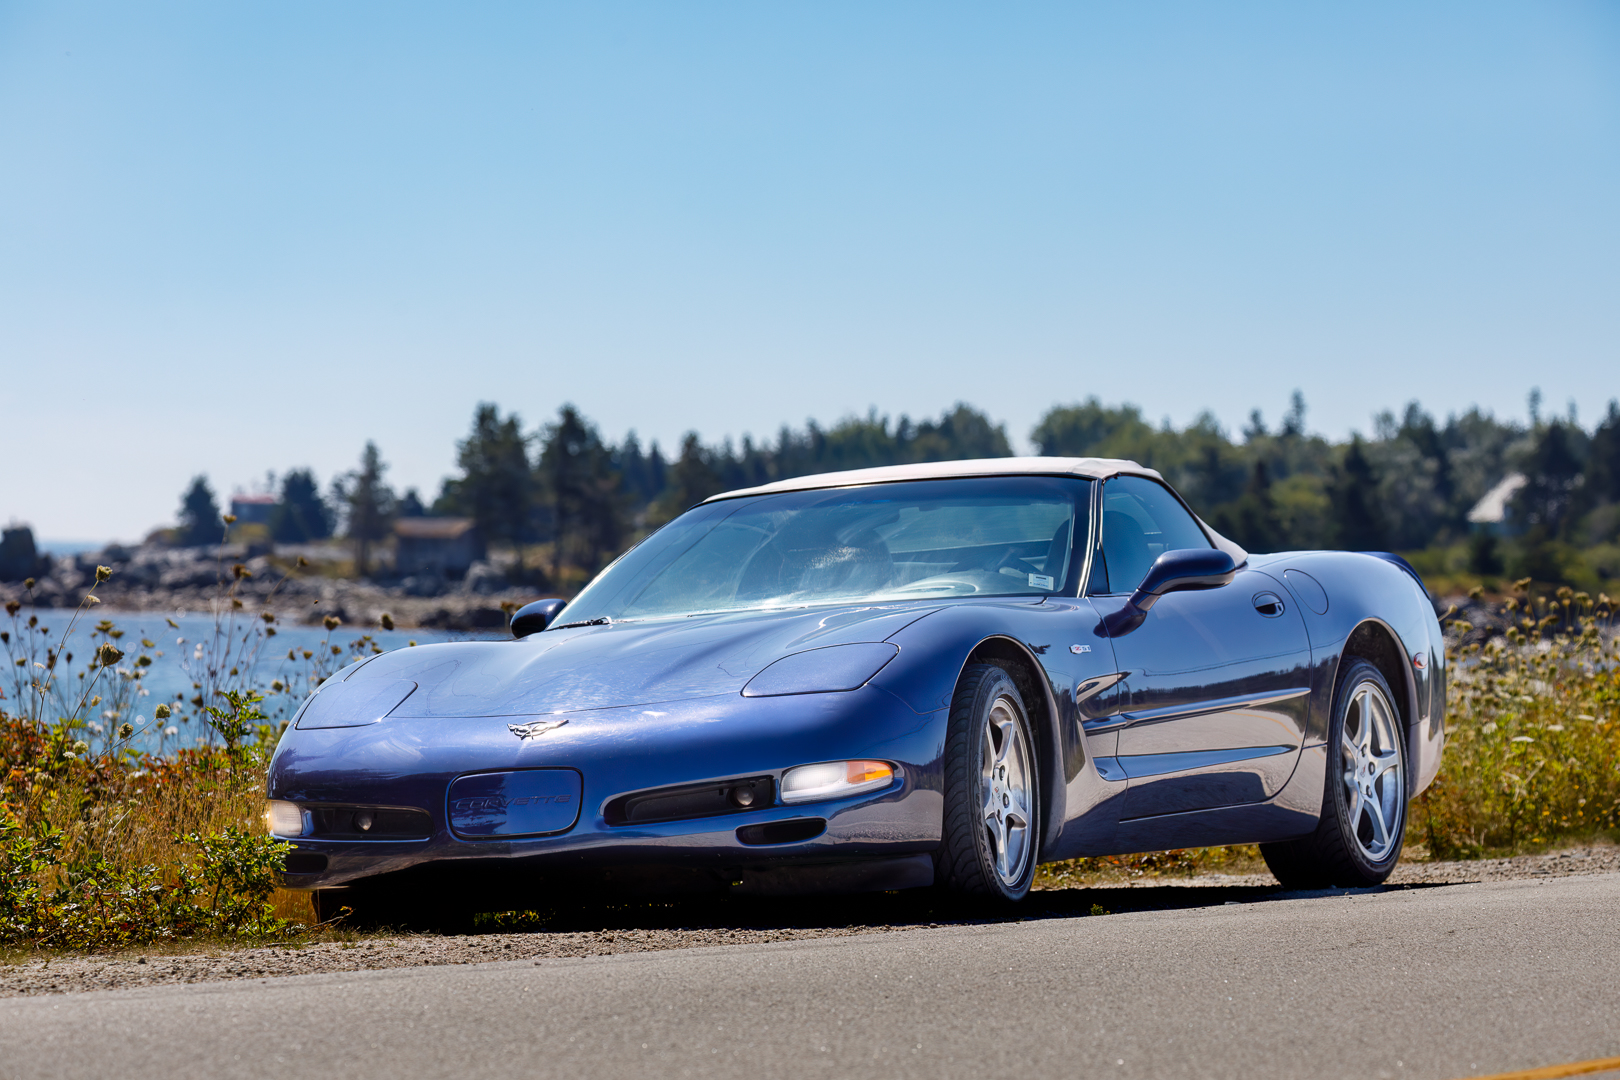
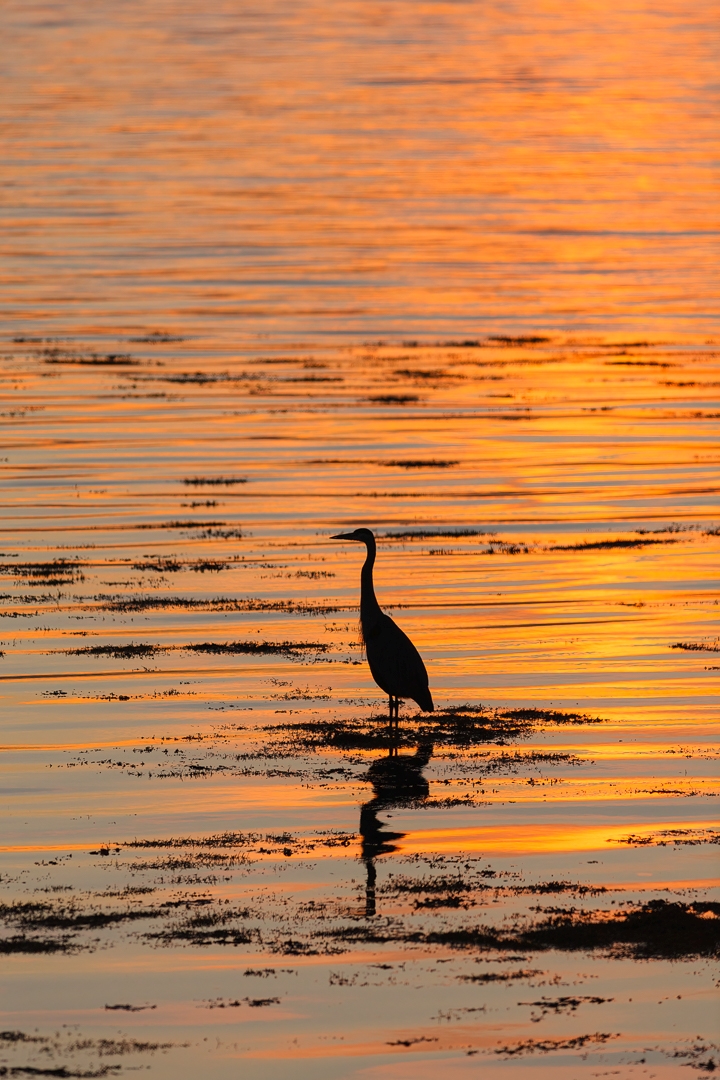
Other Examples: You can also shoot other subjects, such as automobiles and wildlife, as you see backlight opportunities. You can also incorporate silhouettes to maintain background exposure and colour.


Additional Resources
As always with our monthly theme challenges we try to seek out additional instructional resources, below are some YouTube video links to help with some tips, hints and ideas.
Backlight Photography instructional aids:
■ 5 Tips for Backlight Photography by Julia Trotti (10min 27sec)
■ Photography Tips – Backlighting – an Introduction by Mike Browne (4min 22 sec)
■ Backlighting pro tips for amazing photos by Simon d’Entremont (10min 29sec)
You’re encouraged to develop the ability to “tell a story or invoke an emotion“, as well as learn to plan and troubleshoot while creating images.
- It’s important to not only create an image but to also include a “Title”, this process helps with; determining your subject or story, and composition.
- Try writing a short paragraph about; how you came up with the idea, any interesting back ground that compelled you to make the image, and describe any techniques how you overcame any obstacles.
- Do some research and include any relevant information behind the subject of your image. This helps with planning and your approach for a story
An important part of improving your photography is practice, practice, practice which is one important aspect of the monthly theme challenge, in addition you have an opportunity to learn about different genres, techniques and tips that you are not familiar with.
Share your images and stories experienced this month
Even though this website is not setup to directly upload your images, you can achieve something similar by commenting on the post; paste your social media or google drive link to your image in the comment, then type any additional message you’d like to share. Everyone who visits will be able to visit your link. Note comments are moderated so it will not show up right away. We do get notifications when any comment is posted, so it won’t take long to get approved and have your comment subsequently show up. By pasting your social media or google drive link in your comment, it gives everyone visiting the blog a chance to click the link to see your image for the challenge and also the ability to look at your other work by viewing your social media through your pasted link. We want sharing to be a positive experience and we hope you have fun with this month’s photo challenge.