For this month, June 2025, the theme challenge is “Vintage Cars”. Cars or Trucks are both challenging to photograph because of their many reflective surfaces and trying to decide on a composition that best suits the subject. Perspective, Composition, and selective focus (considering depth of field) are the main considerations. You can create an image of an interesting detail or a portion of or the complete car, the possibilities are endless. Summer is almost here and Classic Car Club Members are showing off their pride and joy in Atlantic Canada at events from June through September. You can find out when and where the Car Shows or Show & Shine events are being held by visiting the Maritime Classic Cars Website under their events link. So check out a Classic Car Event near you and try taking some photos. Let’s see what you can create this month, and include us in your success, share the image you’ve created this month.
Some Considerations
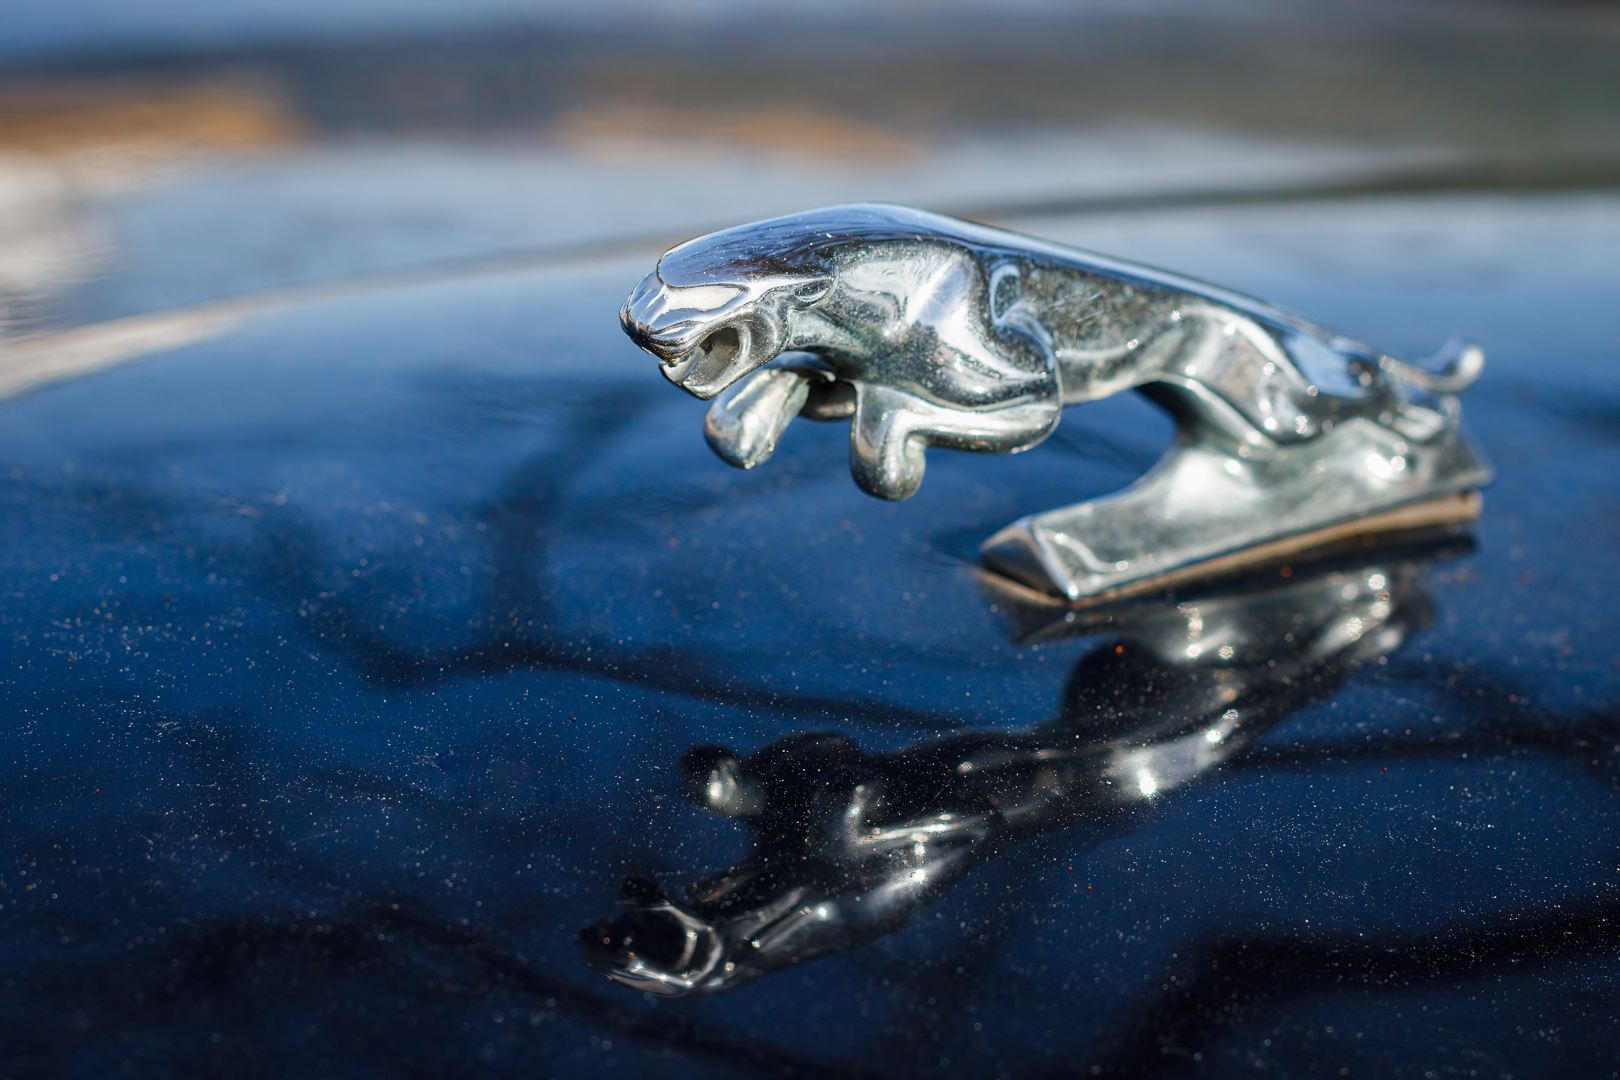
Tips: The angle and position where you position your camera is important. You want a unique perspective but be careful of lens distortion if you are using a wide angle lens. Pay attention to the reflective surfaces and try to keep yourself out of the reflection. Remember that some of the chrome may be over exposed and that is normal, however remember to strike a balance with the exposure of your image so the result looks like what you see. Sometimes a lower angle and closer works or further away with a longer focal length. Just be patient and work your composition to remove as many distractions from your frame as possible with the least amount of distortion. One really great tip is to get the owner to turn on the head lights, it really makes a difference.
Don’t go on private property unless you ask if its alright.
Camera Settings: You can start in Aperture Priority mode (Av for Canon or A for Nikon, Sony) with a smaller aperture (larger f-stop number) say f/5.6 to f/11 with a low ISO of 100 to 400. Tweak the setting to a larger aperture (smaller f-stop number), f/2.8 to f/5.6, if you want to use selective focus for a specific detail subject. Keep an eye on what the camera chooses for a shutter speed especially if you are taking your images handheld. If the shutter speed is slow say 1/50 then raise your ISO to obtain a faster shutter speed of at least 1/100. For these types of images, you could use a wide range of focal lengths depending on what you want to create, anything from 35mm to 200 mm, just be aware of your depth of field and remember to use a shutter speed suitable for the focal length you are using.
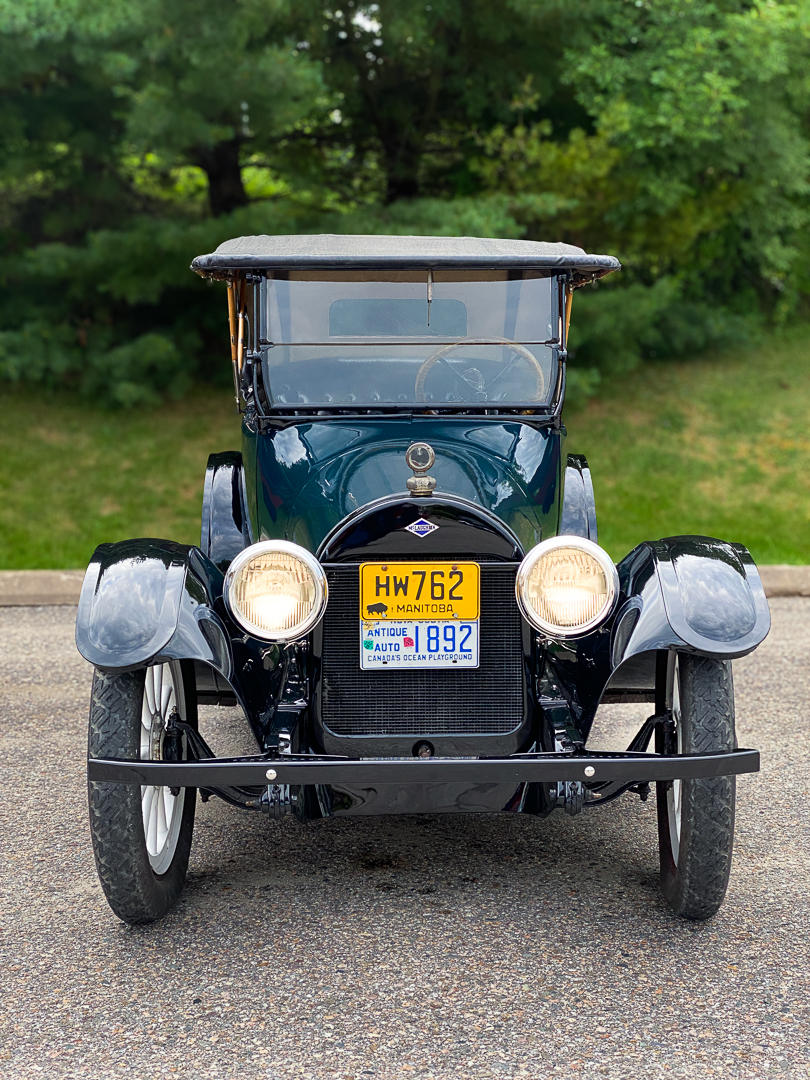
Example Images
These following images were taken in the Town of Chester and the cars are out for the public to see from time to time. Mostly taken with an iPhone 11 Pro Max and edited in ®Adobe Lightroom Classic using the Lens blur feature to blur the background slightly. The Blue Cadillac image was taken using a Canon 5DmkIV with a 180mm lens across the street to get the perspective I wanted to include the Light post and the House in the background.
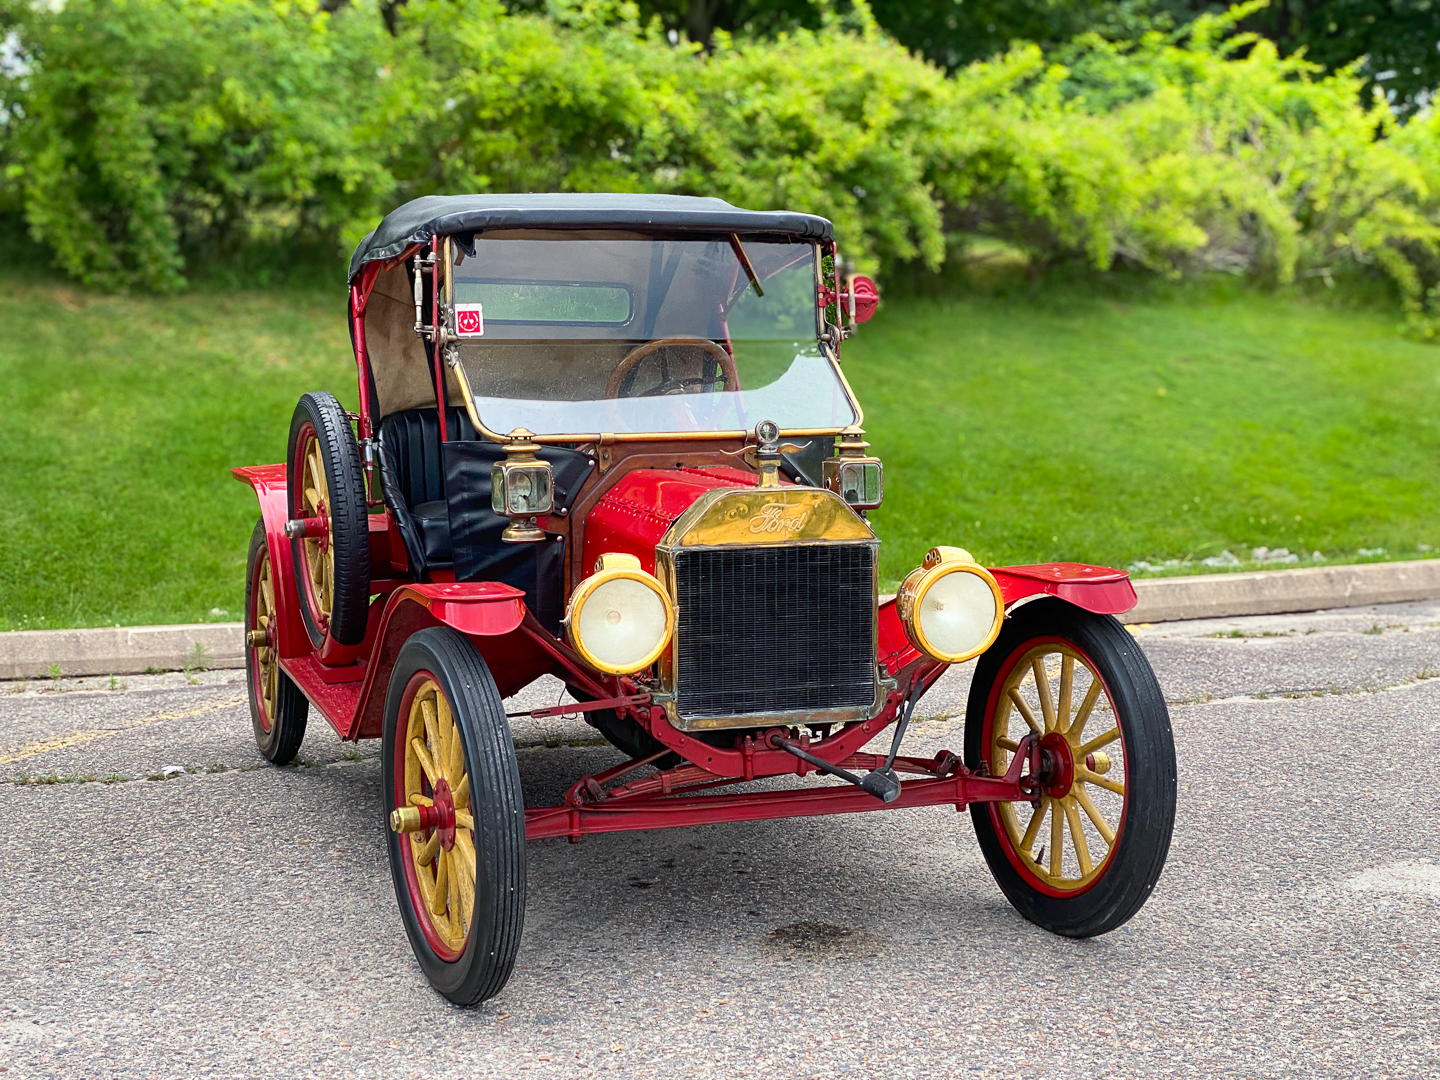


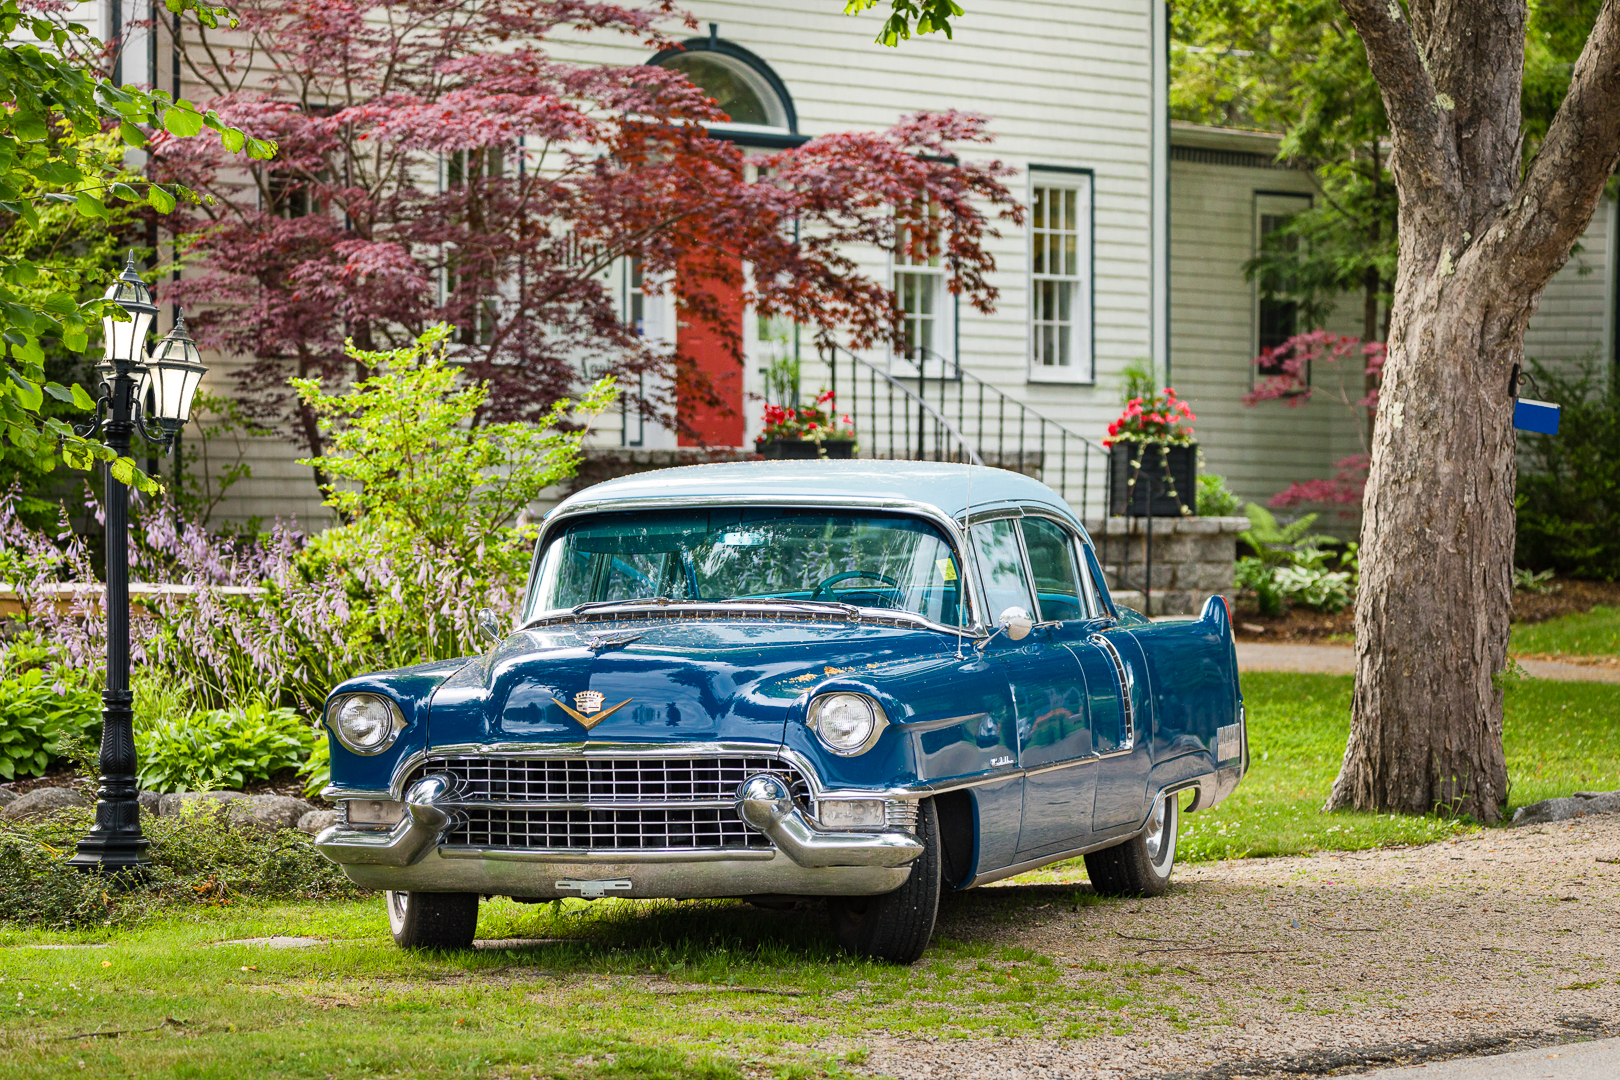
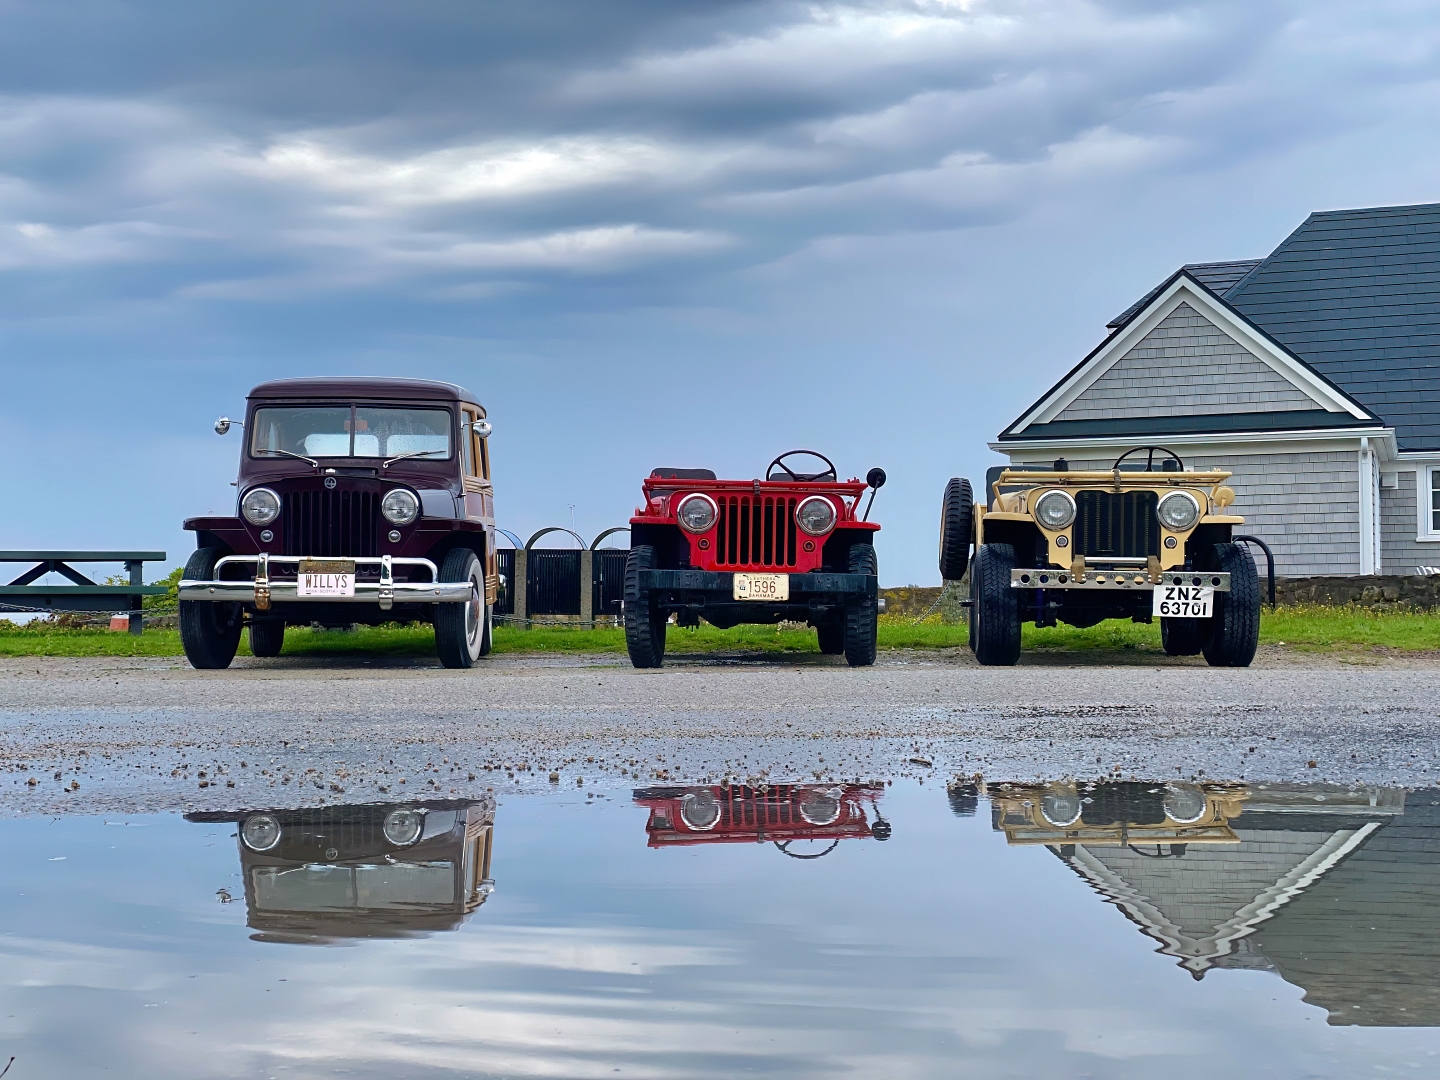
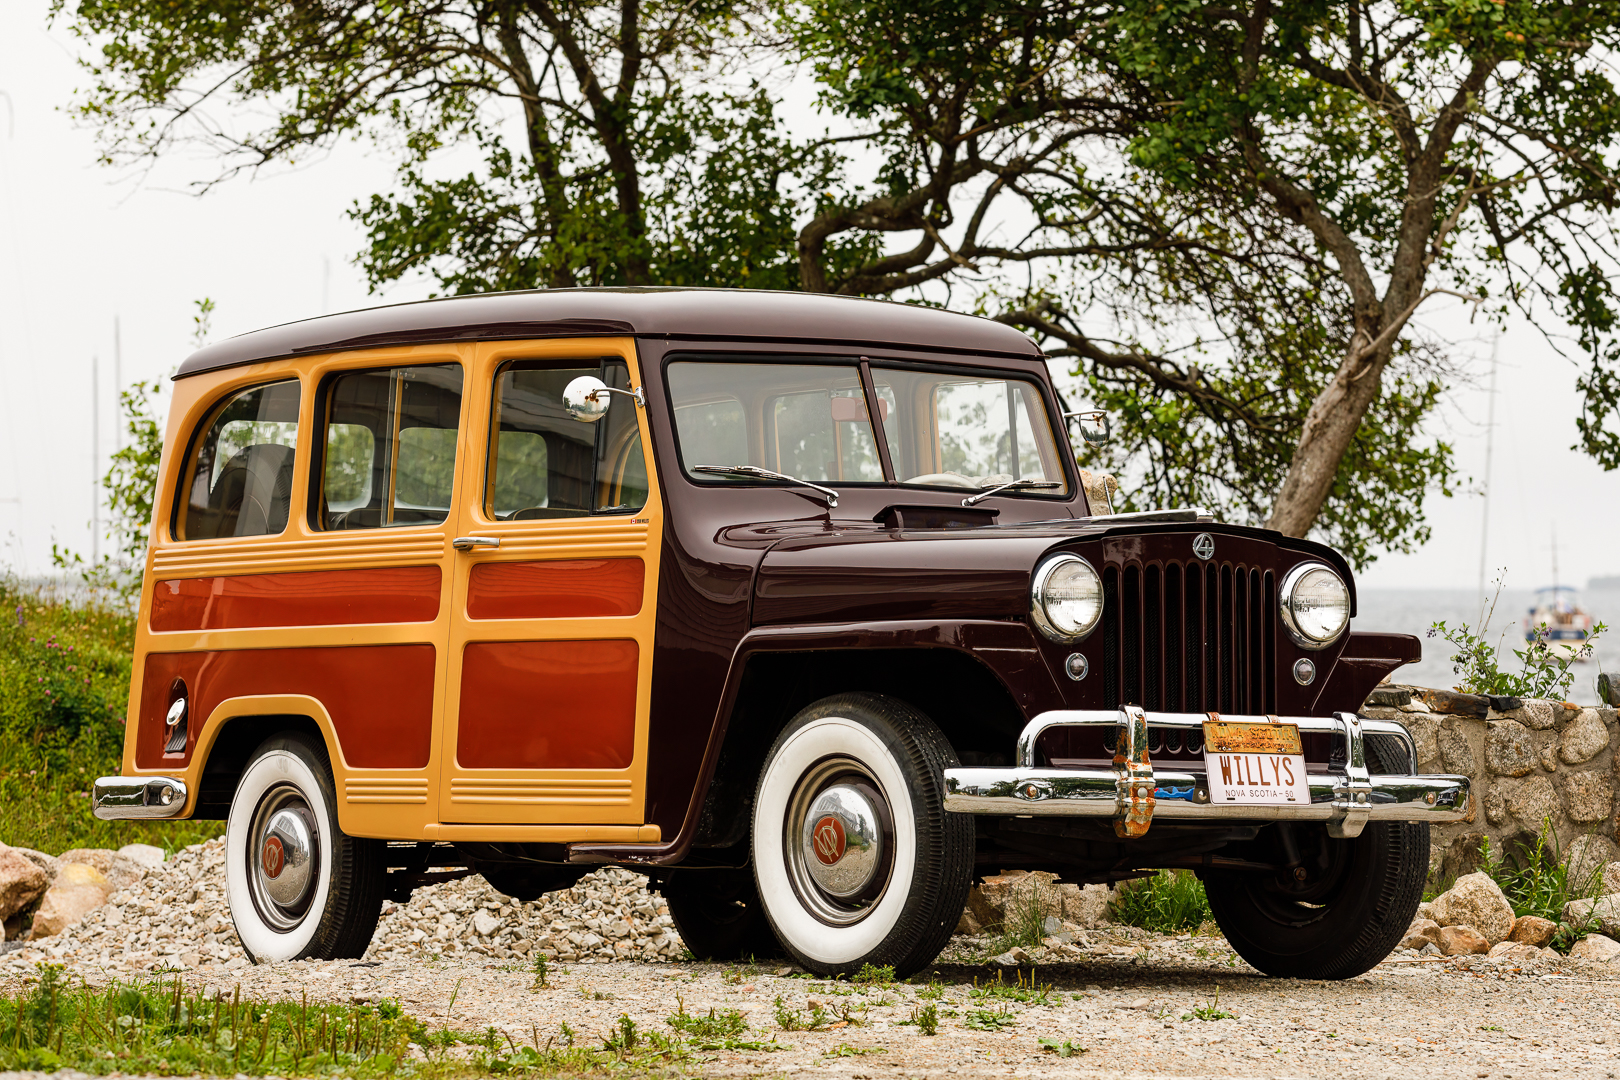


To create images that are more abstract just spend time looking at your subject and find something unique about the car to photograph. Embrace the reflections and also pay attention to the shadows.

Additional Resources
As always with our monthly theme challenges we try to seek out additional instructional resources, below are some YouTube video links to help with some tips, hints and ideas.
Photographing Cars instructional aids:
■ Car Photography Basics in 9 Minutes by Peter Fritz (8min 31sec)
■ Car Show Photography Tips by Tony & Chelsea Northrup (6min 35sec)
■ Classic Cars – 15 Minute Photo Challenge by Gavin Hoey (5min 7sec)
■ How to shoot CARS! 5 tips to better Automotive Photography! by Chris Hau (6min 11sec)
■ iPhone Car Photography Tips and Tricks by The Car Creative (8min 9sec)
■ How To Become The World’s Best Car Photographer by Carfection (16min 56sec)
You’re encouraged to develop the ability to “tell a story or invoke an emotion“, as well as learn to plan and troubleshoot while creating images.
- It’s important to not only create an image but to also include a “Title”, this process helps with; determining your subject or story, and composition.
- Try writing a short paragraph about; how you came up with the idea, any interesting back ground that compelled you to make the image, and describe any techniques how you overcame any obstacles.
- Do some research and include any relevant information behind the subject of your image. This helps with planning and your approach for a story
An important part of improving your photography is practice, practice, practice which is one important aspect of the monthly theme challenge, in addition you have an opportunity to learn about different genres, techniques and tips that you are not familiar with.
Share your images and stories experienced this month
Even though this website is not setup to directly upload your images, you can achieve something similar by commenting on the post; paste your social media or google drive link to your image in the comment, then type any additional message you’d like to share. Everyone who visits will be able to visit your link. Note comments are moderated so it will not show up right away. We do get notifications when any comment is posted, so it won’t take long to get approved and have your comment subsequently show up. By pasting your social media or google drive link in your comment, it gives everyone visiting the blog a chance to click the link to see your image for the challenge and also the ability to look at your other work by viewing your social media through your pasted link. We want sharing to be a positive experience and we hope you have fun with this month’s photo challenge.