For this month, January 2024, the theme challenge is “Winter“. Snow can create dreamy conditions and it can help remove distractions in the landscape. Go around your area to create some images of the conditions where you live and even if you don’t get snow we still want to see what your home town looks like in the winter.
Taking photographs in the cold weather has it’s challenges; keeping yourself warm and comfortable, being careful not to fall, and keeping your gear free from condensation are all important things to consider before going out. See below after the sample images to get tips on equipment cold weather care and proper exposure to get the snow white.
With ice it’s a matter of catching the right light and angle to make your images more interesting. The changing conditions cycling through snow, rain, and refreezing as well as the impact the wind has on the final result can create something very interesting.
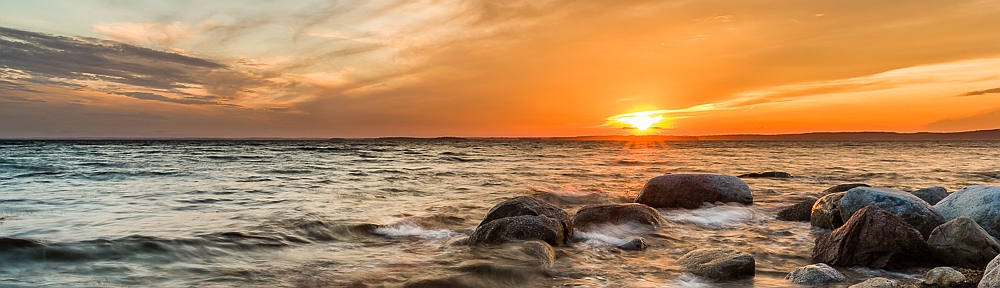
Taking images at sunset or sunrise when it is cold enough to freeze the ocean can help create interesting images. When the tide is high and the ice freezes, the rocks will punch through breaking the ice as the tide goes down.

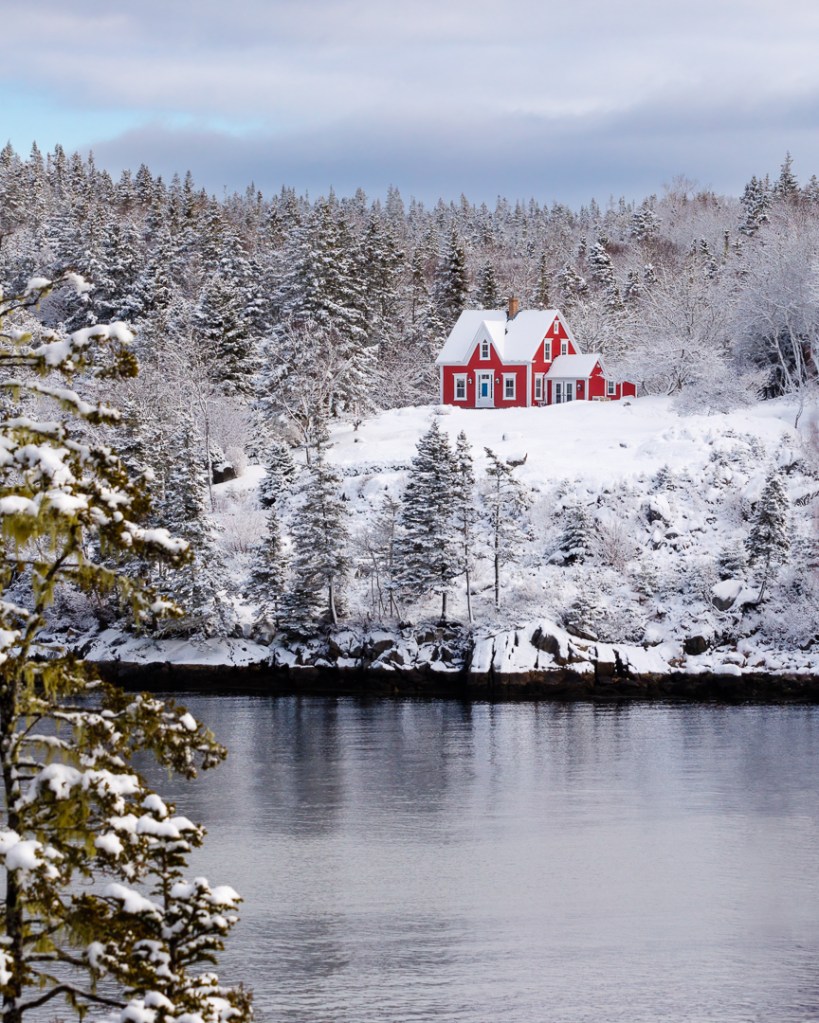
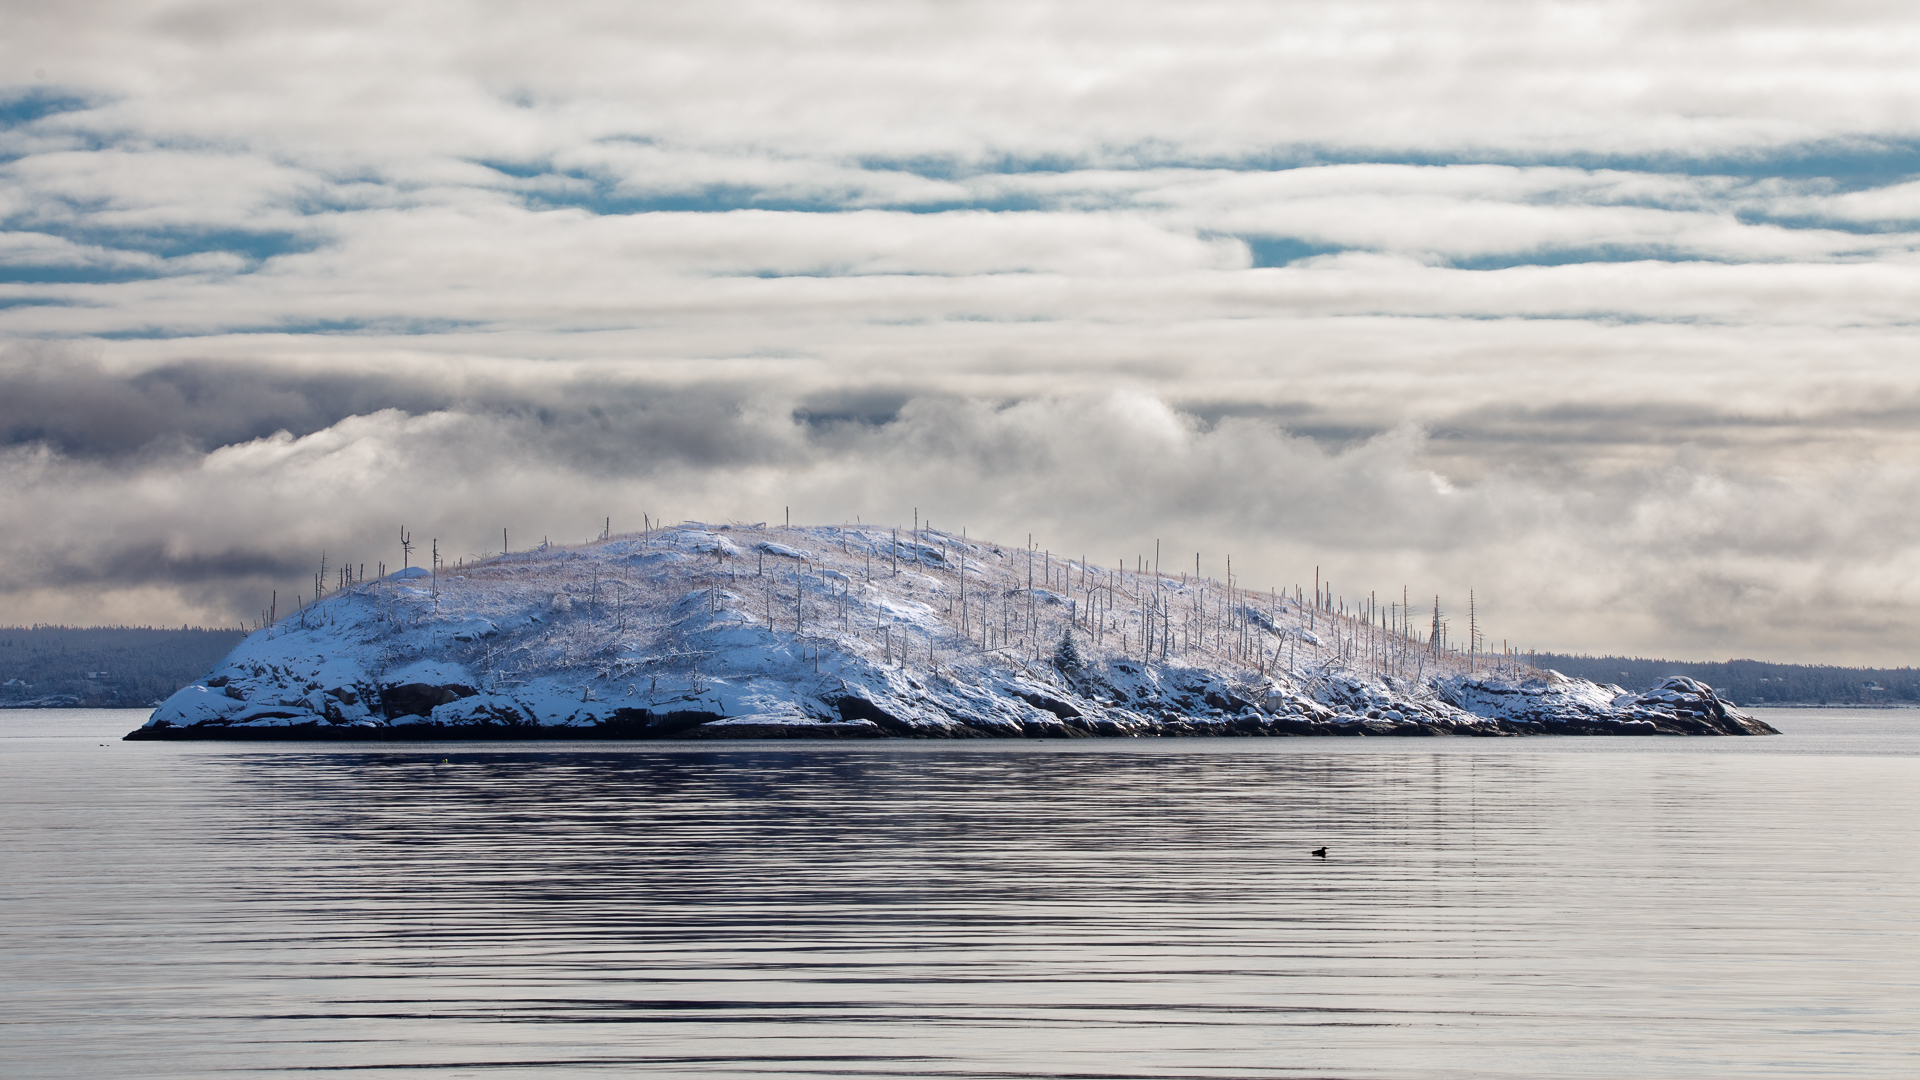
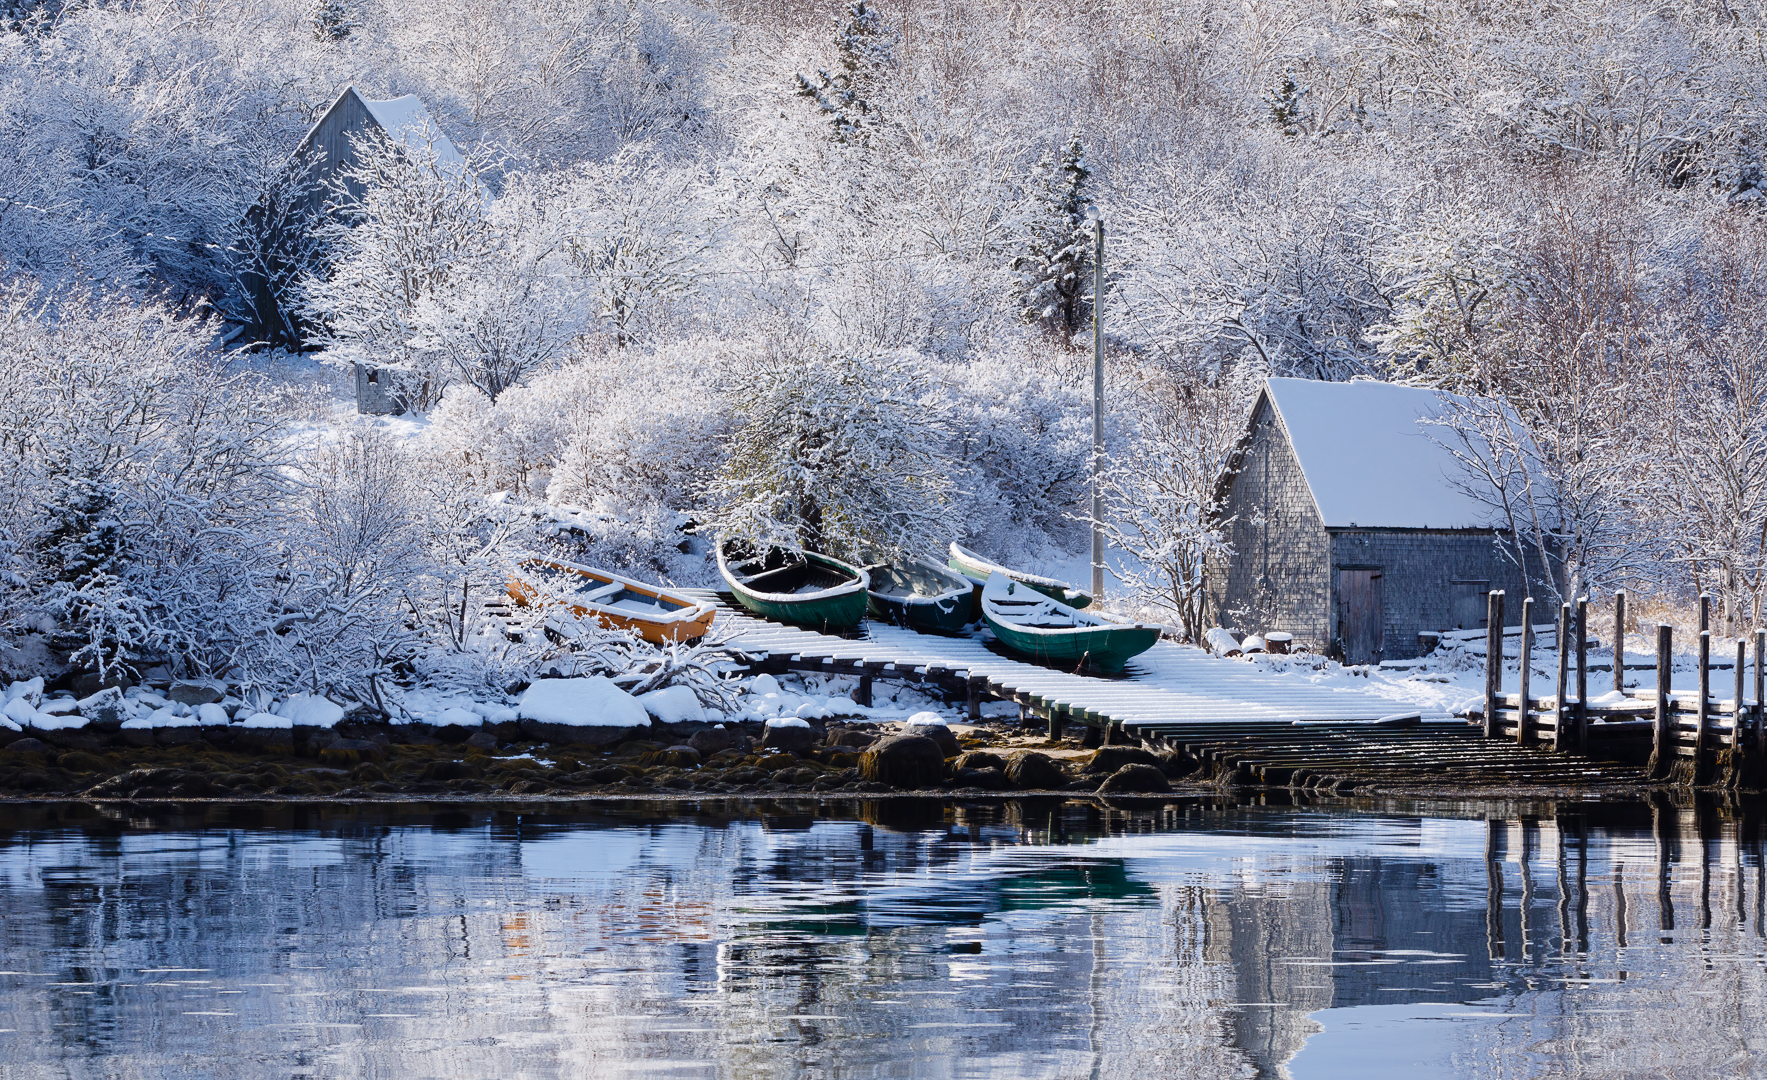
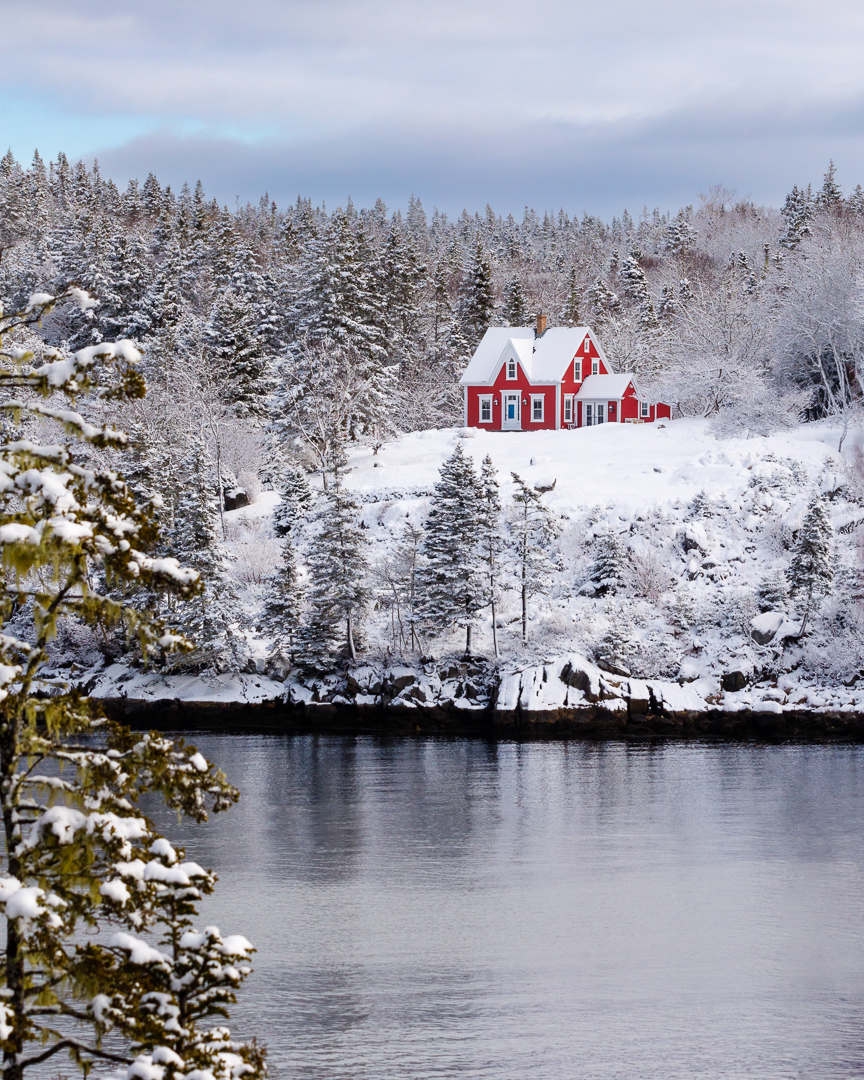
Go around your local area to see what you can find; Horse Island at the mouth of Northwest Cove for example used to be full of trees, but many years of too much cormorant and gull excrement caused the tress to be over fertilized and die off, and with the snow makes the island look more barren while also making the tree trunks stand out. The trees, boat launch, and fishing shack covered in snow creates a less chaotic image which makes it easy to pick out the dories (boats) as the subject. Make use of colour to have your subject stand out, such as the red house which pops out of the image against the white snow at the mouth of Aspotogan Harbour.
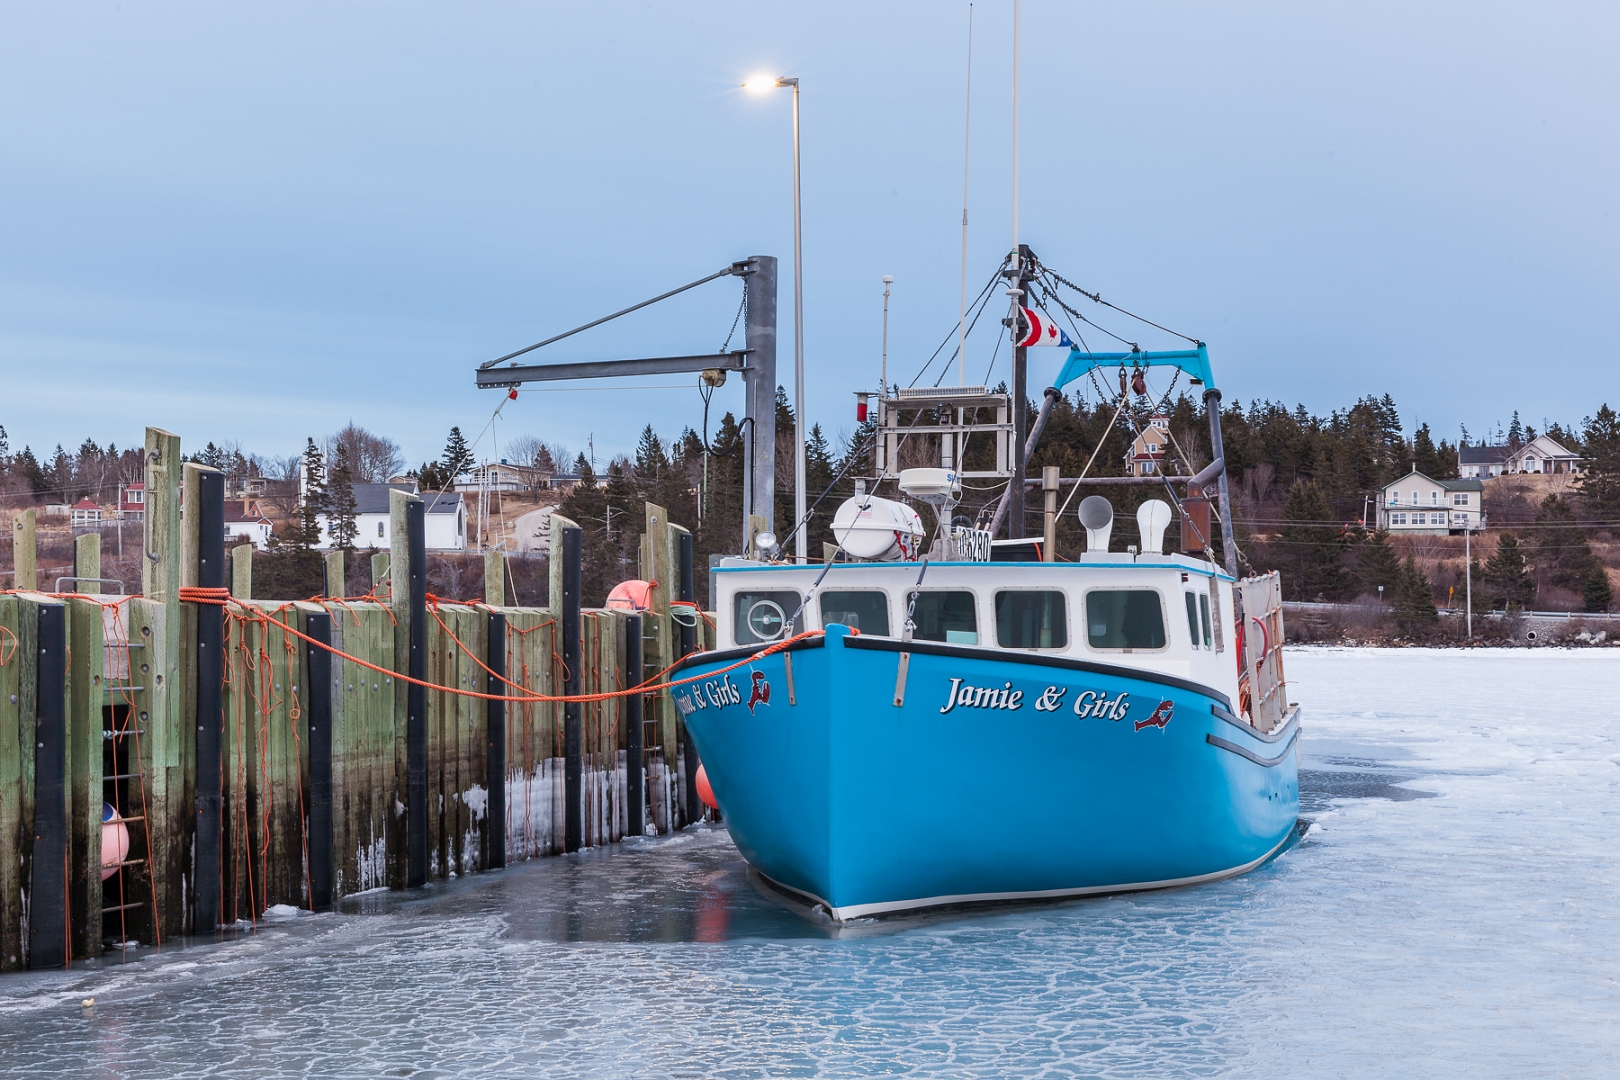
Create some memories of subjects you see in your community under abnormal conditions such as this fishing boat in the ice. If you know the owner you can always share the photo with them as well.
Equipment care: Taking your camera gear from a warm environment to the outside usually does not cause any issues, however when going from the cold back into a warm environment is where condensation can quickly form on your camera/lens and this is where it can be harmful to your gear eventually causing spots on your external and more seriously the internal lens elements which eventually causes mold. Before going in to a warm environment from the cold, place your camera/lens back inside your camera bag (your bag needs to be padded with zipper closed) this will allow your gear to raise in temperature slowly and therefore condensation will not happen. An additional protection tip is to put your camera/lens in a double Zipper Seal (Dollarama 33cmx39.6cm / 13″x15.6″) bag, this will allow the condensation to form on the outside of the bag and not on your camera/lens. Condensation will occur going from the cold outside into a warm building or into a vehicle. You can keep the temperature of your vehicle cooler to minimize the effect.
Stay Warm: To enjoy your time out in the cold dress in layers with thermal socks for your feet and gloves that allow you to operate your camera and keep your hands warm. If you are in icy conditions use crampons or cleats on your boots, they will keep you from falling so you don’t get hurt or break your gear.
White balance is best set for the weather condition; use sunny, cloudy or custom. If you are not sure use auto but the result may not be as good (depending on your camera) as my previous suggestions.
Exposure: The challenge in taking a photograph in snow, frost or ice conditions is getting the right exposure. If you let your camera automatically pick the exposure you will immediately see that the snow, frost and ice is more gray than white. This is because the camera’s auto exposure is based on 18% gray, which is the amount of light reflected from a 50% gray surface. To solve gray looking snow, frost and ice, set your “exposure compensation” at +2. If you see the “highlight alert” on your display then back off the exposure compensation by -1/3 at a time until you no longer see the “highlight alert”. You will then have the proper exposure for shooting with snow or ice conditions.
The same exposure technique goes for manual mode, set your exposure until your camera meter shows +2. Then take a photo and see if you see any highlight alerts, if you do then back off the exposure by -1/3 increments until you no longer see any highlight alerts.
Your final best exposure for auto or manual exposure is usually closer to +2 than +1.
You can review the blog articles on exposure compensation and highlight alert if you need help.
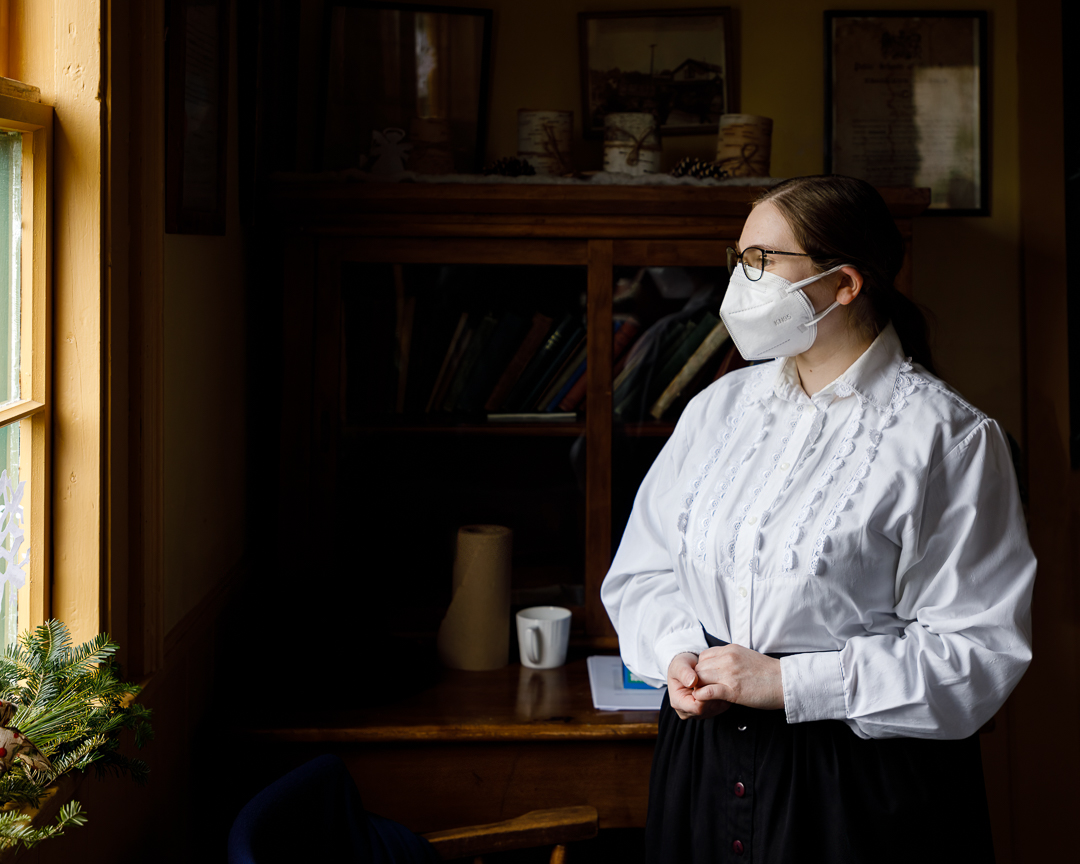
Students are encouraged to develop their ability to tell a story or invoke an emotion, as well as how to plan and troubleshoot while creating their images. As such it’s important to not only create the image but to also include a “title”, and write a short paragraph about; how they came up with the idea, any interesting back ground that compelled them to make the image, and describe any techniques on how they overcame any obstacles.
As always with our monthly theme challenges we try to seek out an instructional resource, below are a number of YouTube video links to help with some hints and ideas.
Snow, Frost or Ice Photography instructional aids:
■ How to take amazing photos in the snow: by Gavin Hoey (3min 53sec)
■ Landscape Photography Tips & Techniques, Winter Freeze: by Thomas Heaton (15min 55sec)
■ Snow Landscape Photography Tips: by Micael Widell (10min 17sec)
■ Landscape Photography in the Snow, Winter in North Yorkshire by: First Man Photography (11min 5sec)
An important part of improving your photography is practice, which is one aspect of the monthly theme challenge, in addition you have an opportunity to learn about different genres, techniques and tips.