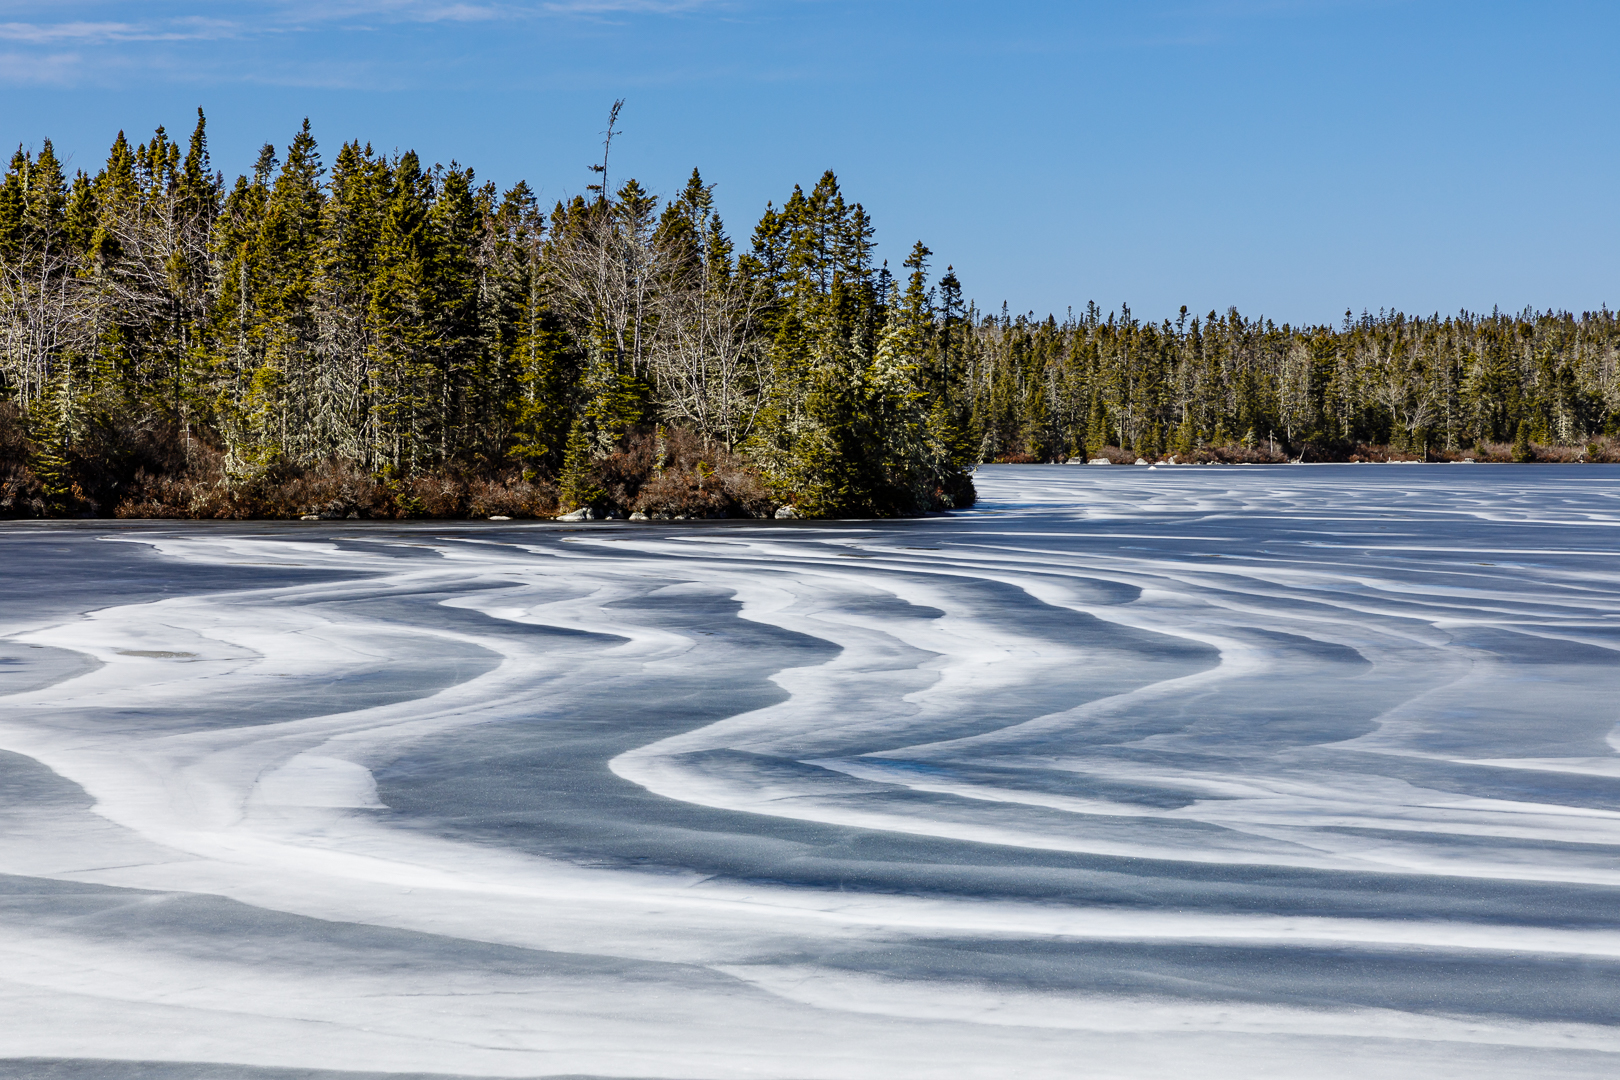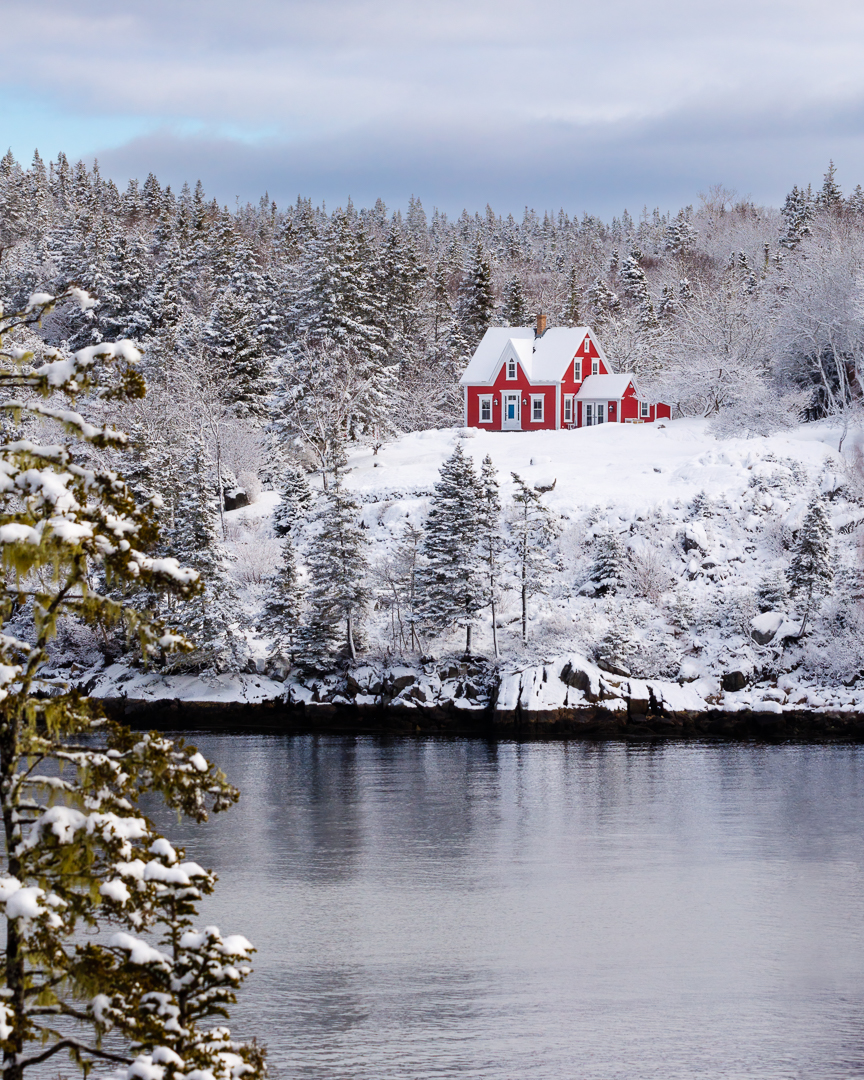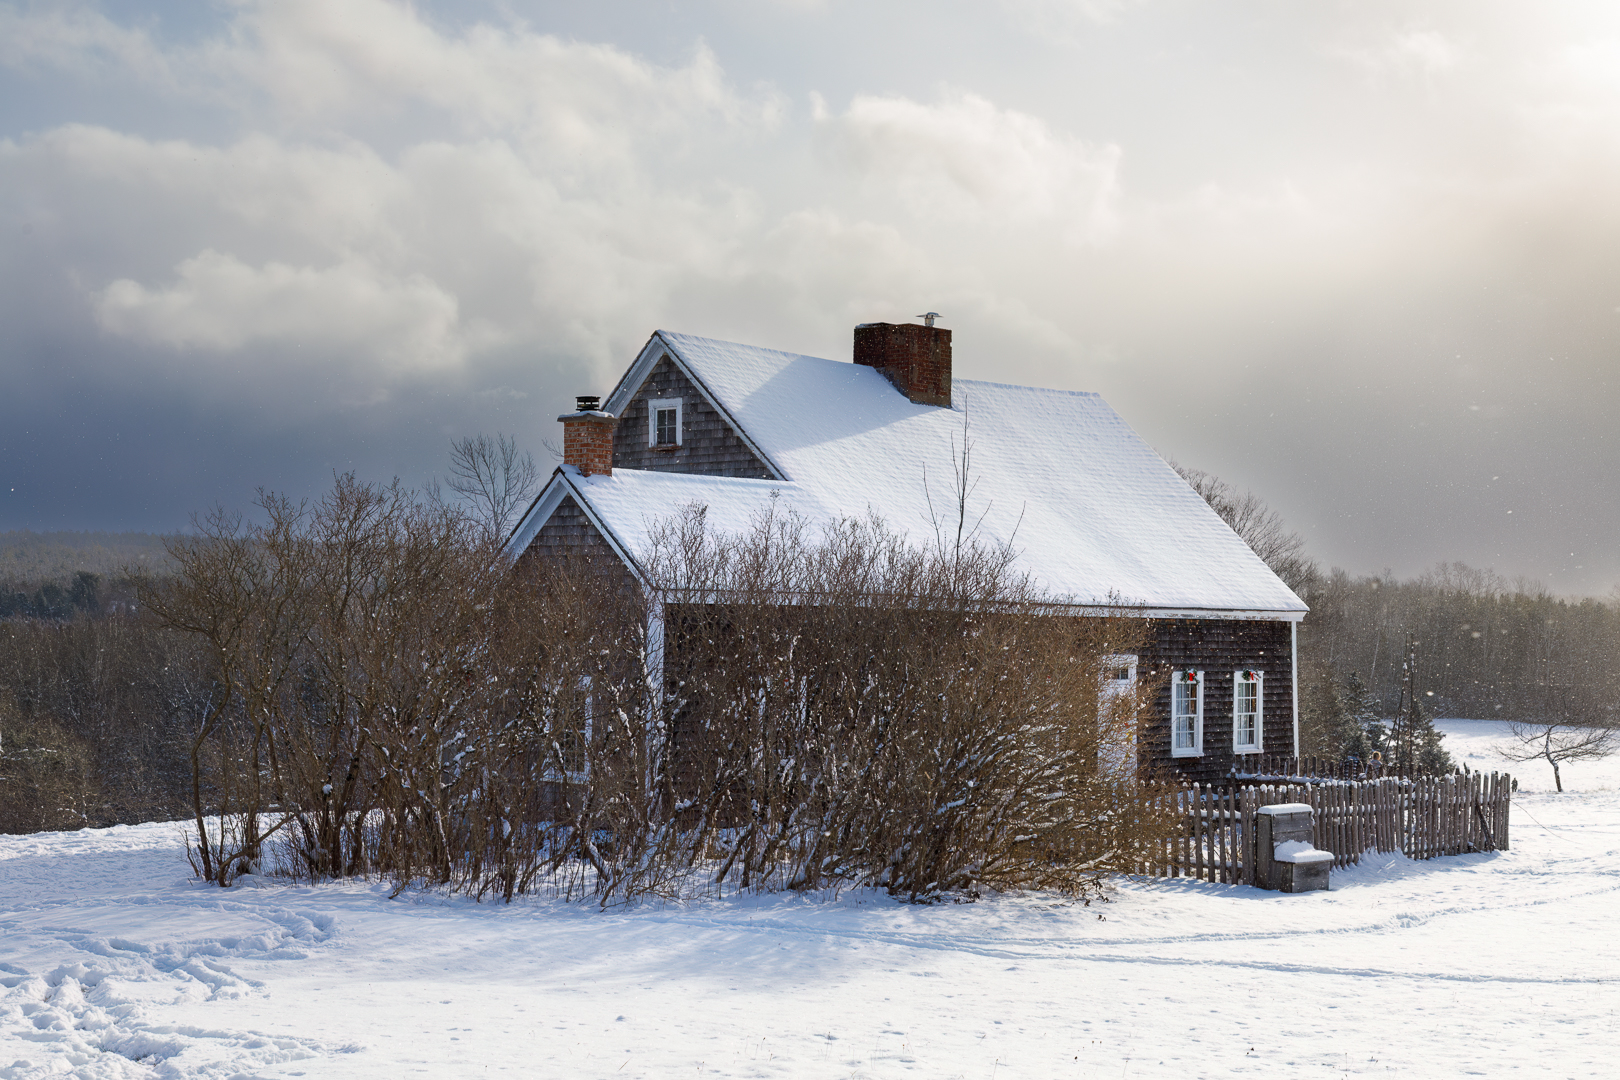

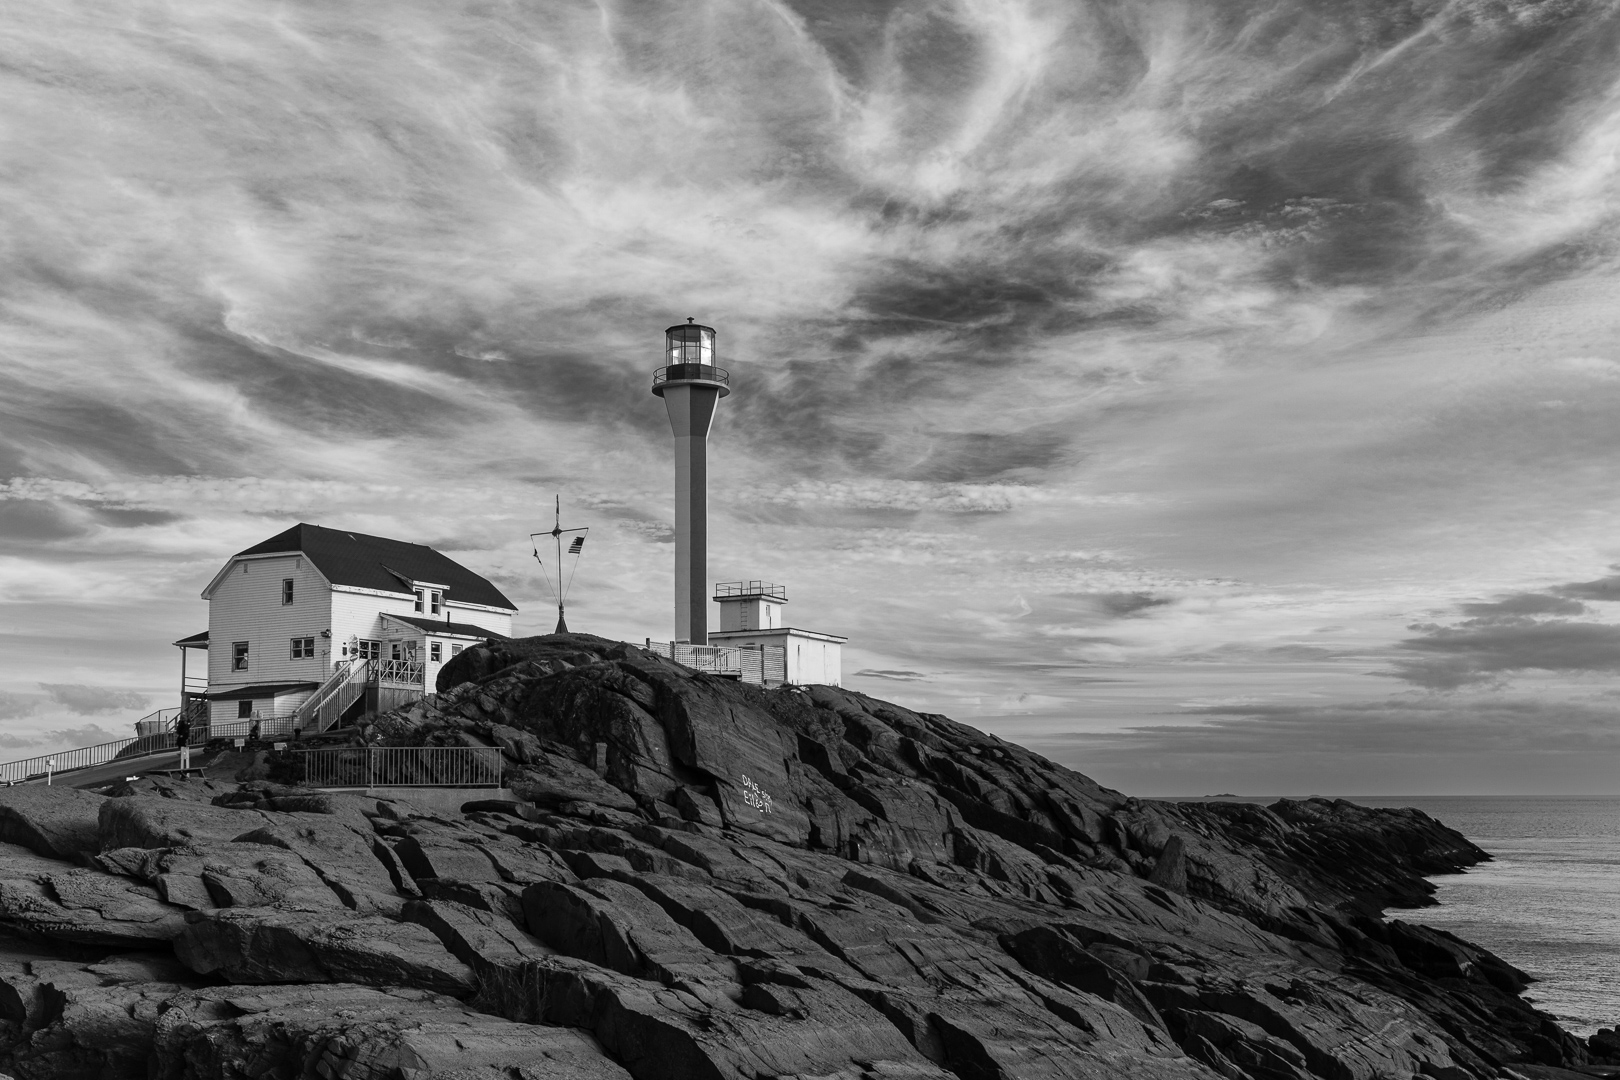
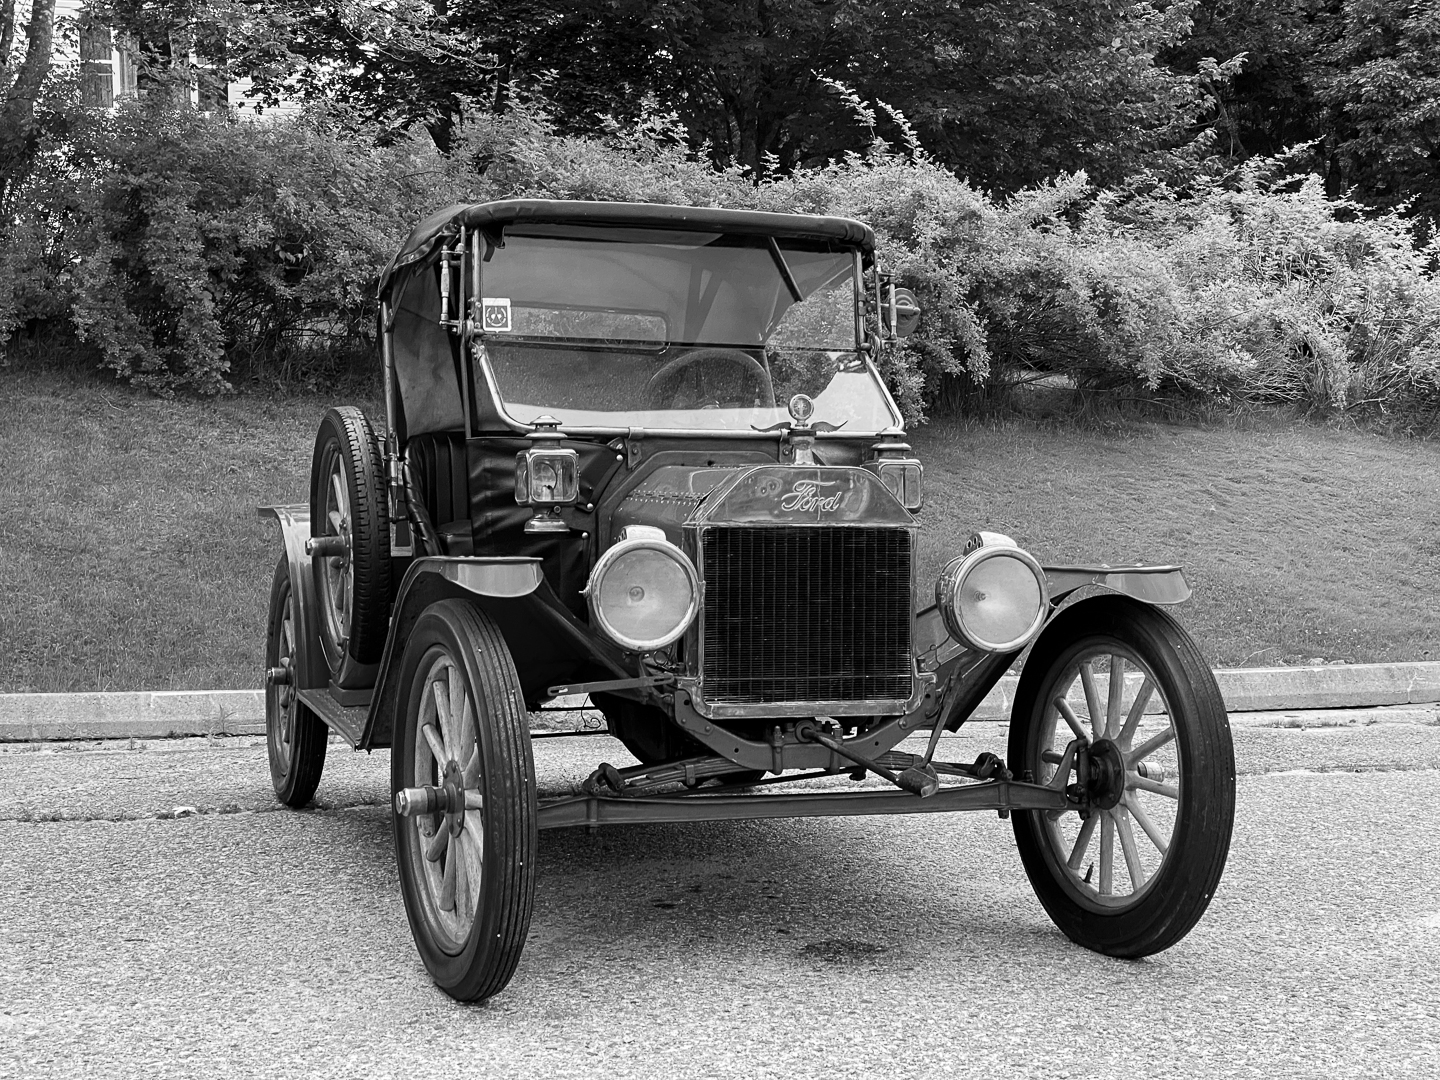
For this month, March 2026, it’s a great time to think about creating “Black & White” images when there is minimal foliage and in general there is a lack of colour in the landscape.
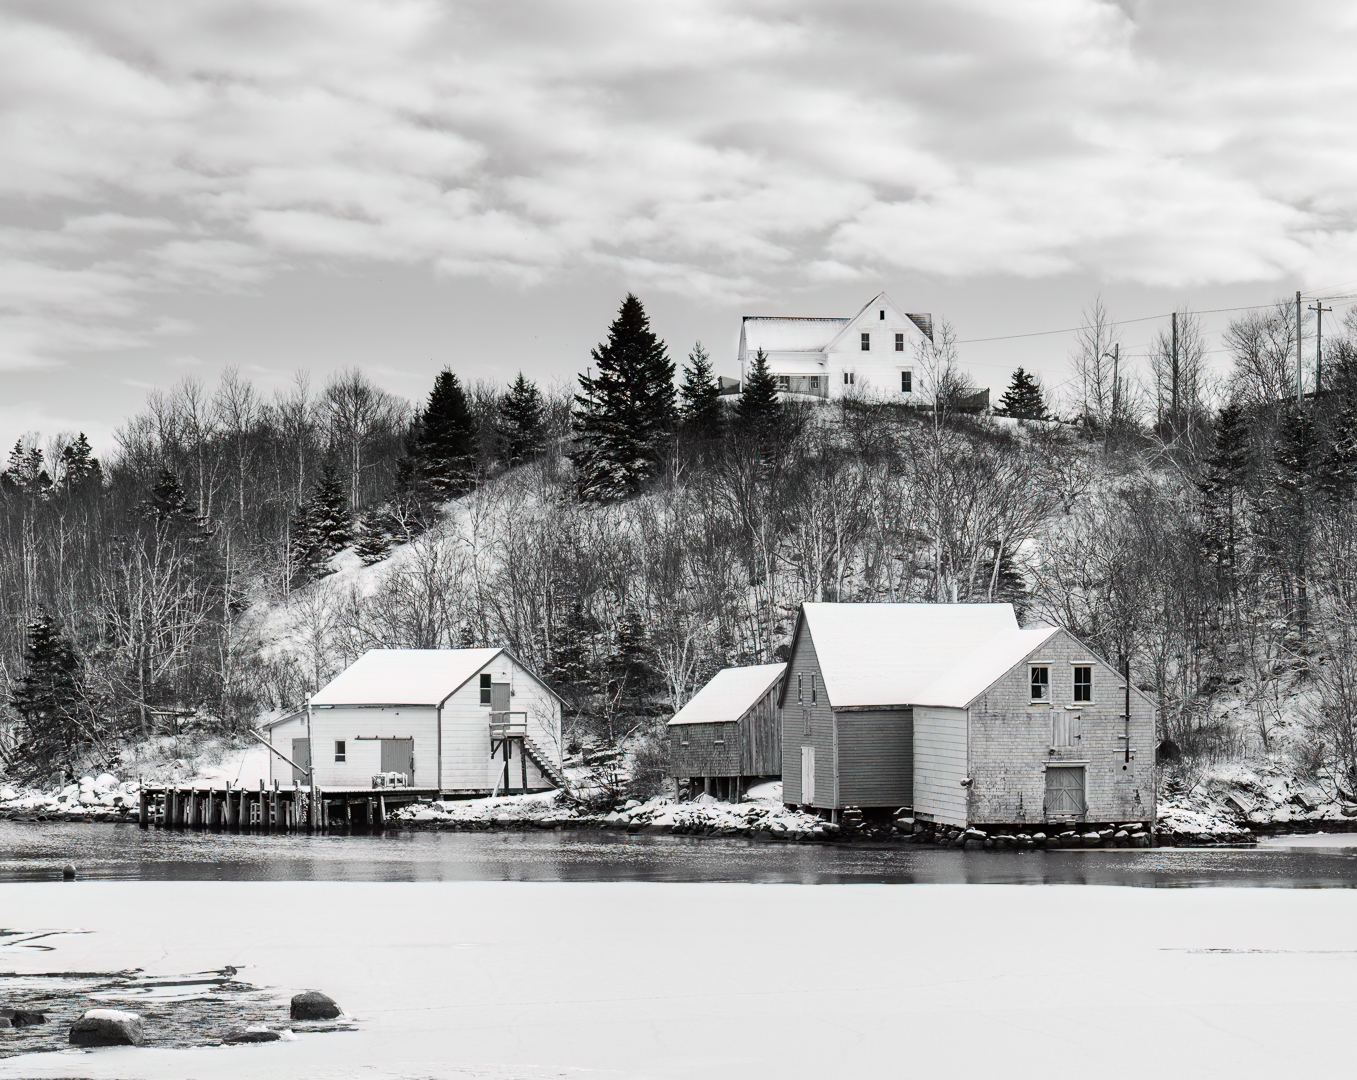
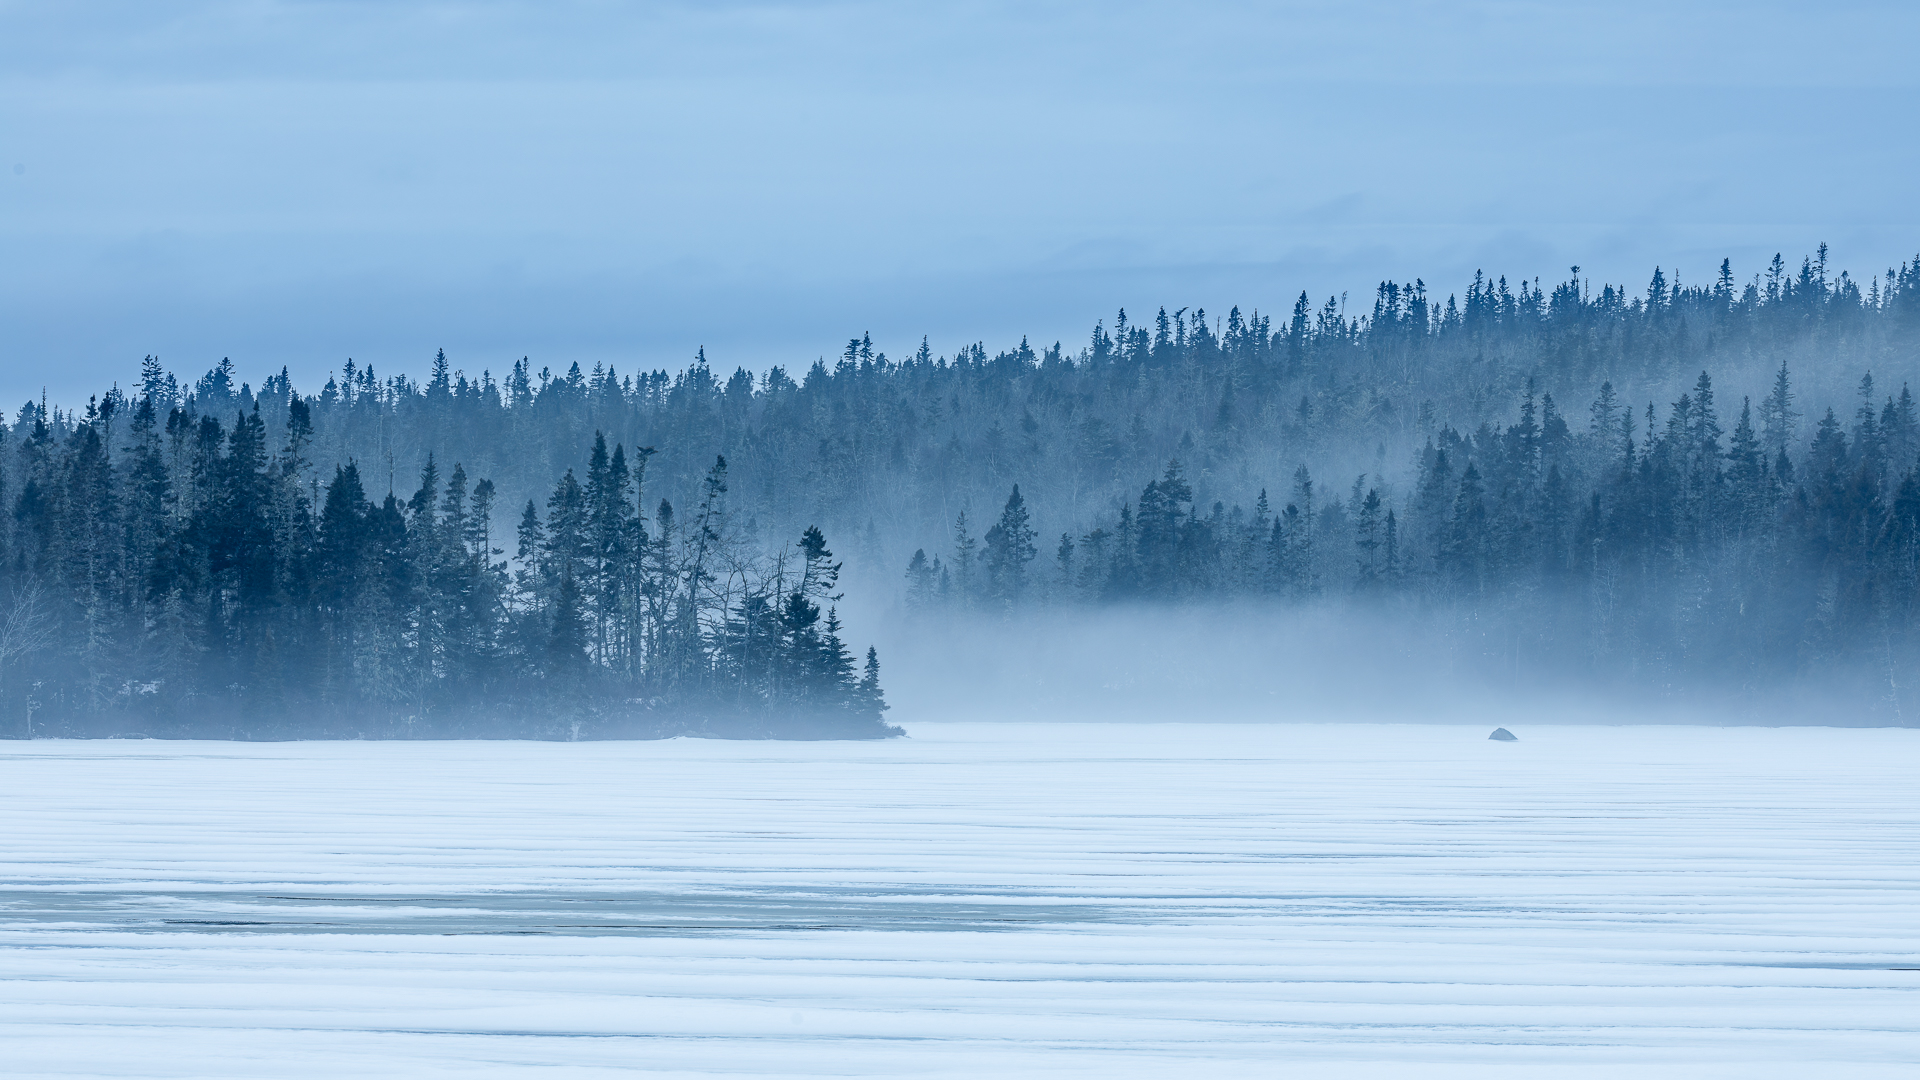
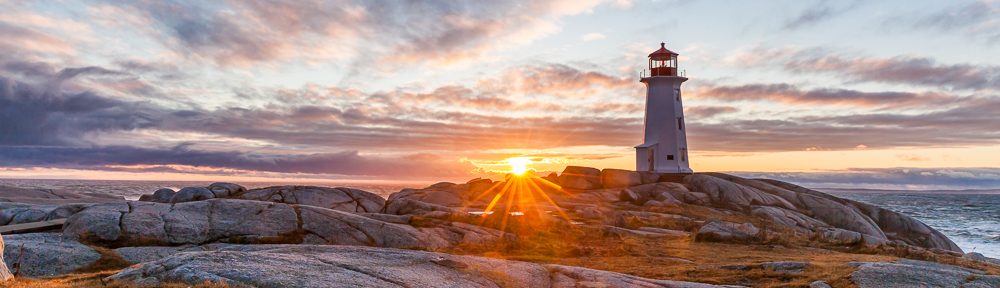
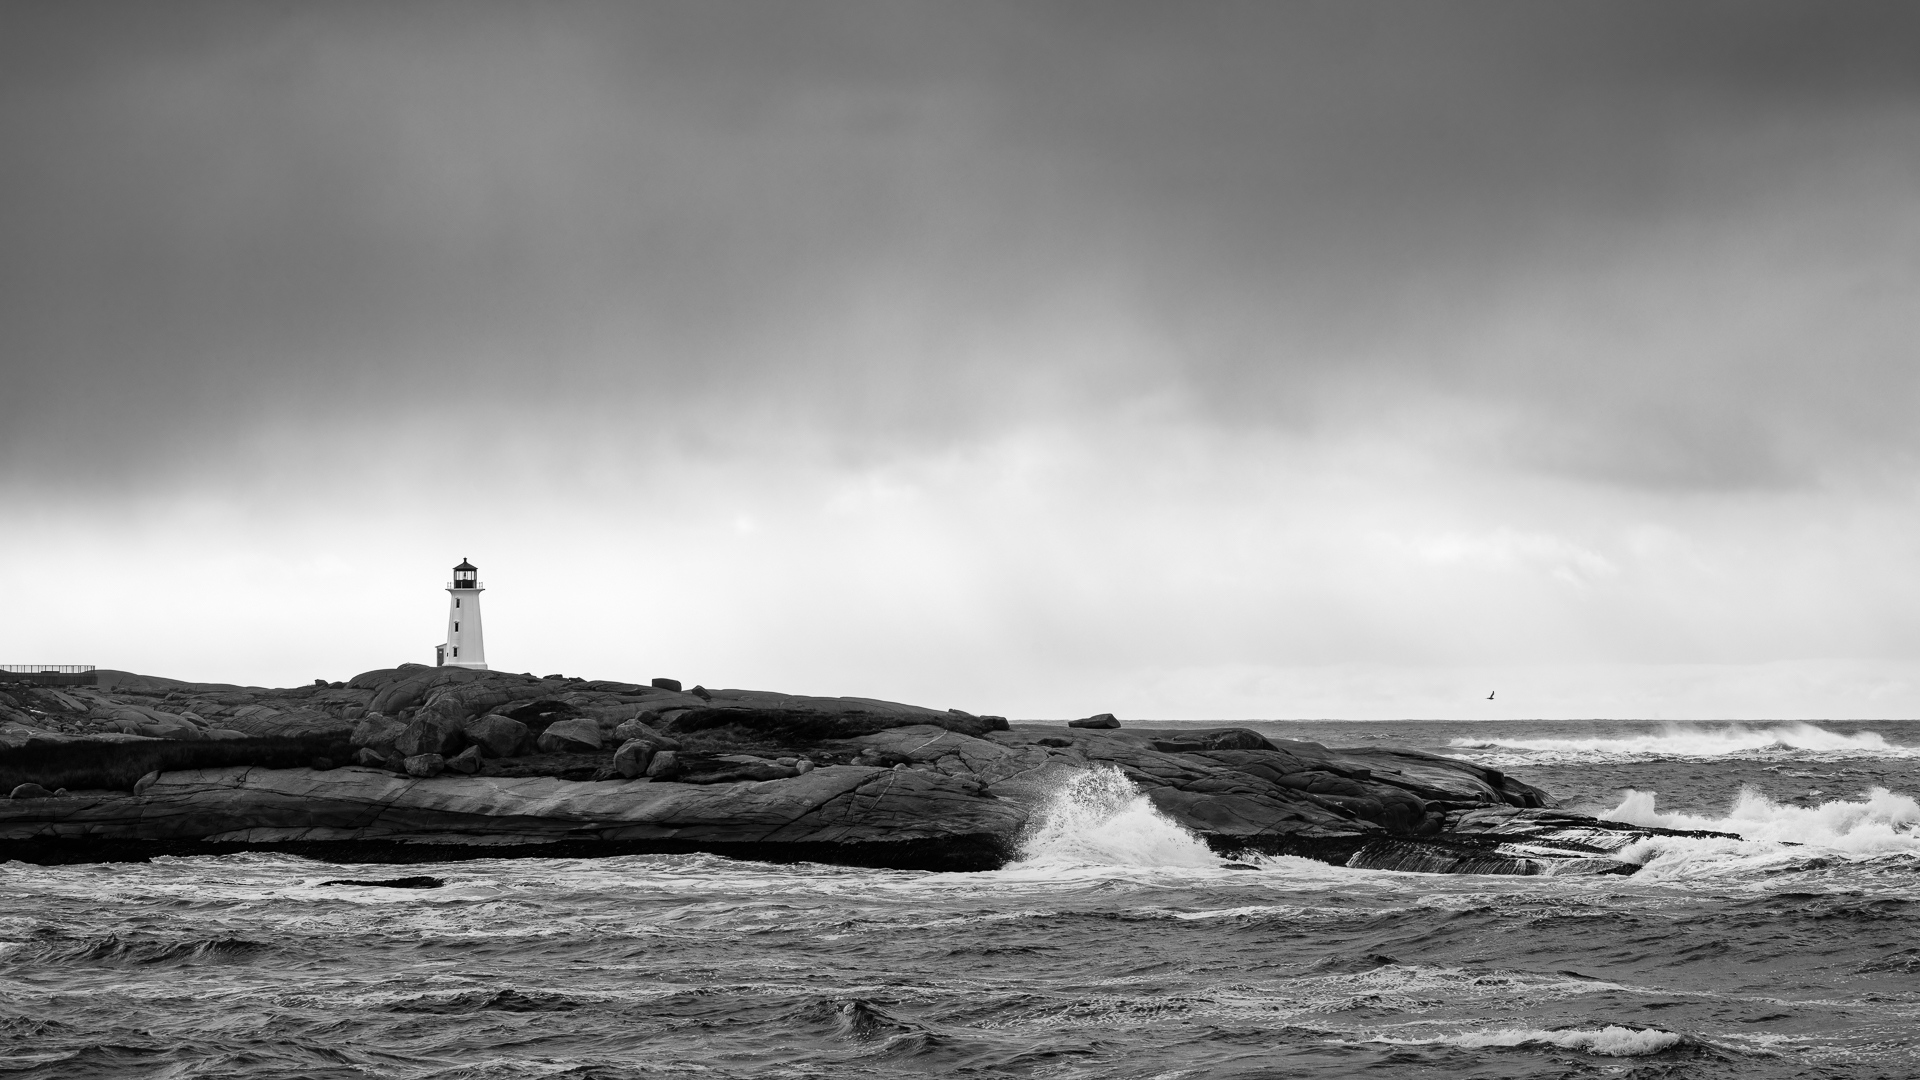
Composition is more important, consider placement of the subject in your frame as well as shape and texture to help your subject stand out in your image. There are many opportunities for Black & White images such as using dramatic clouds to complement your subject.
Include us in where you went and what you found interesting or unique in your area, share some images you’ve created this month.
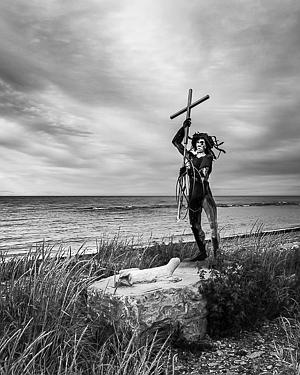
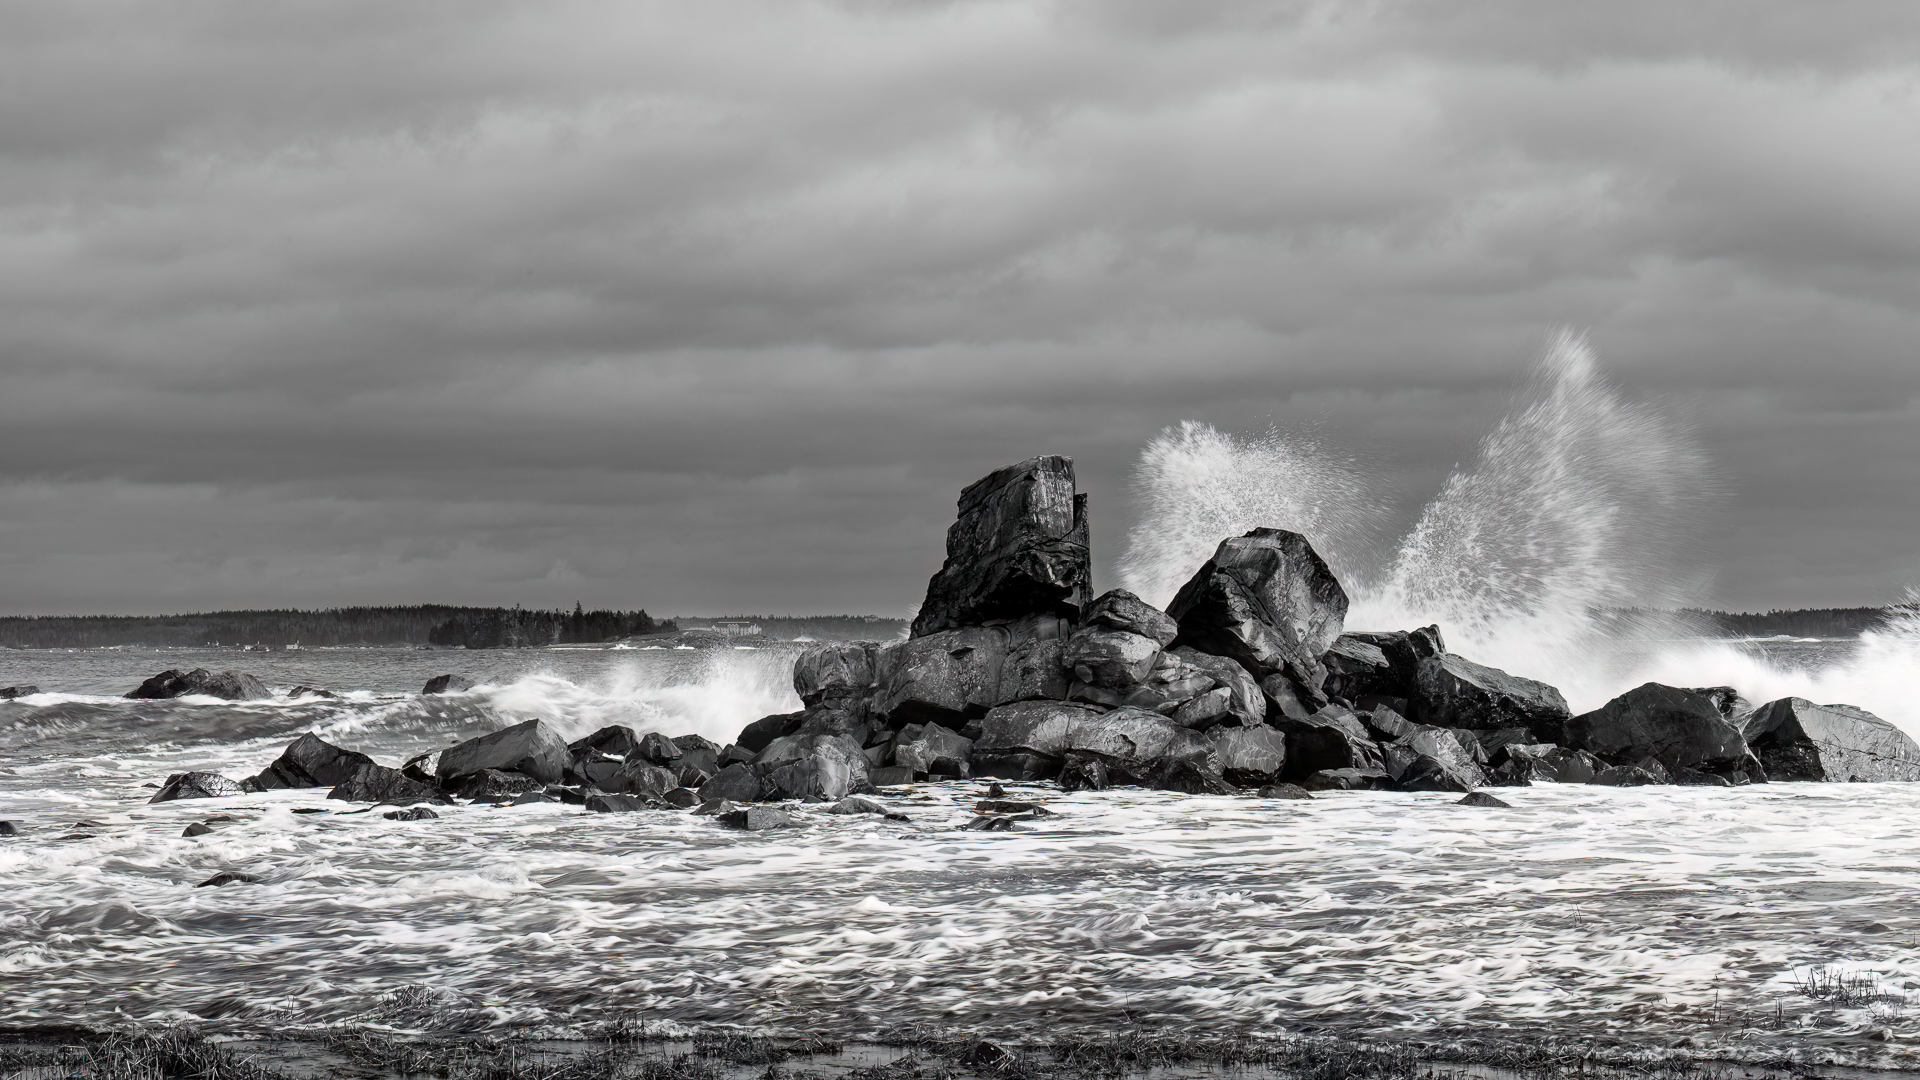
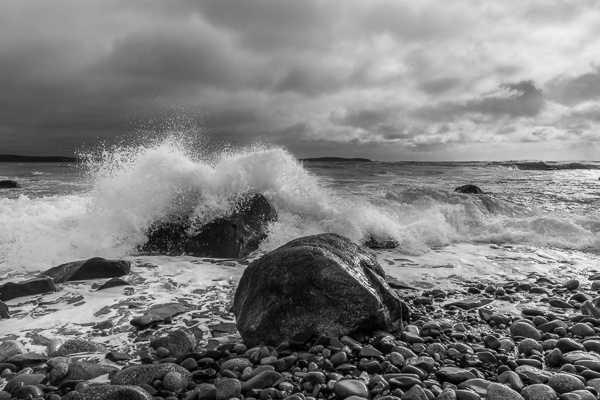
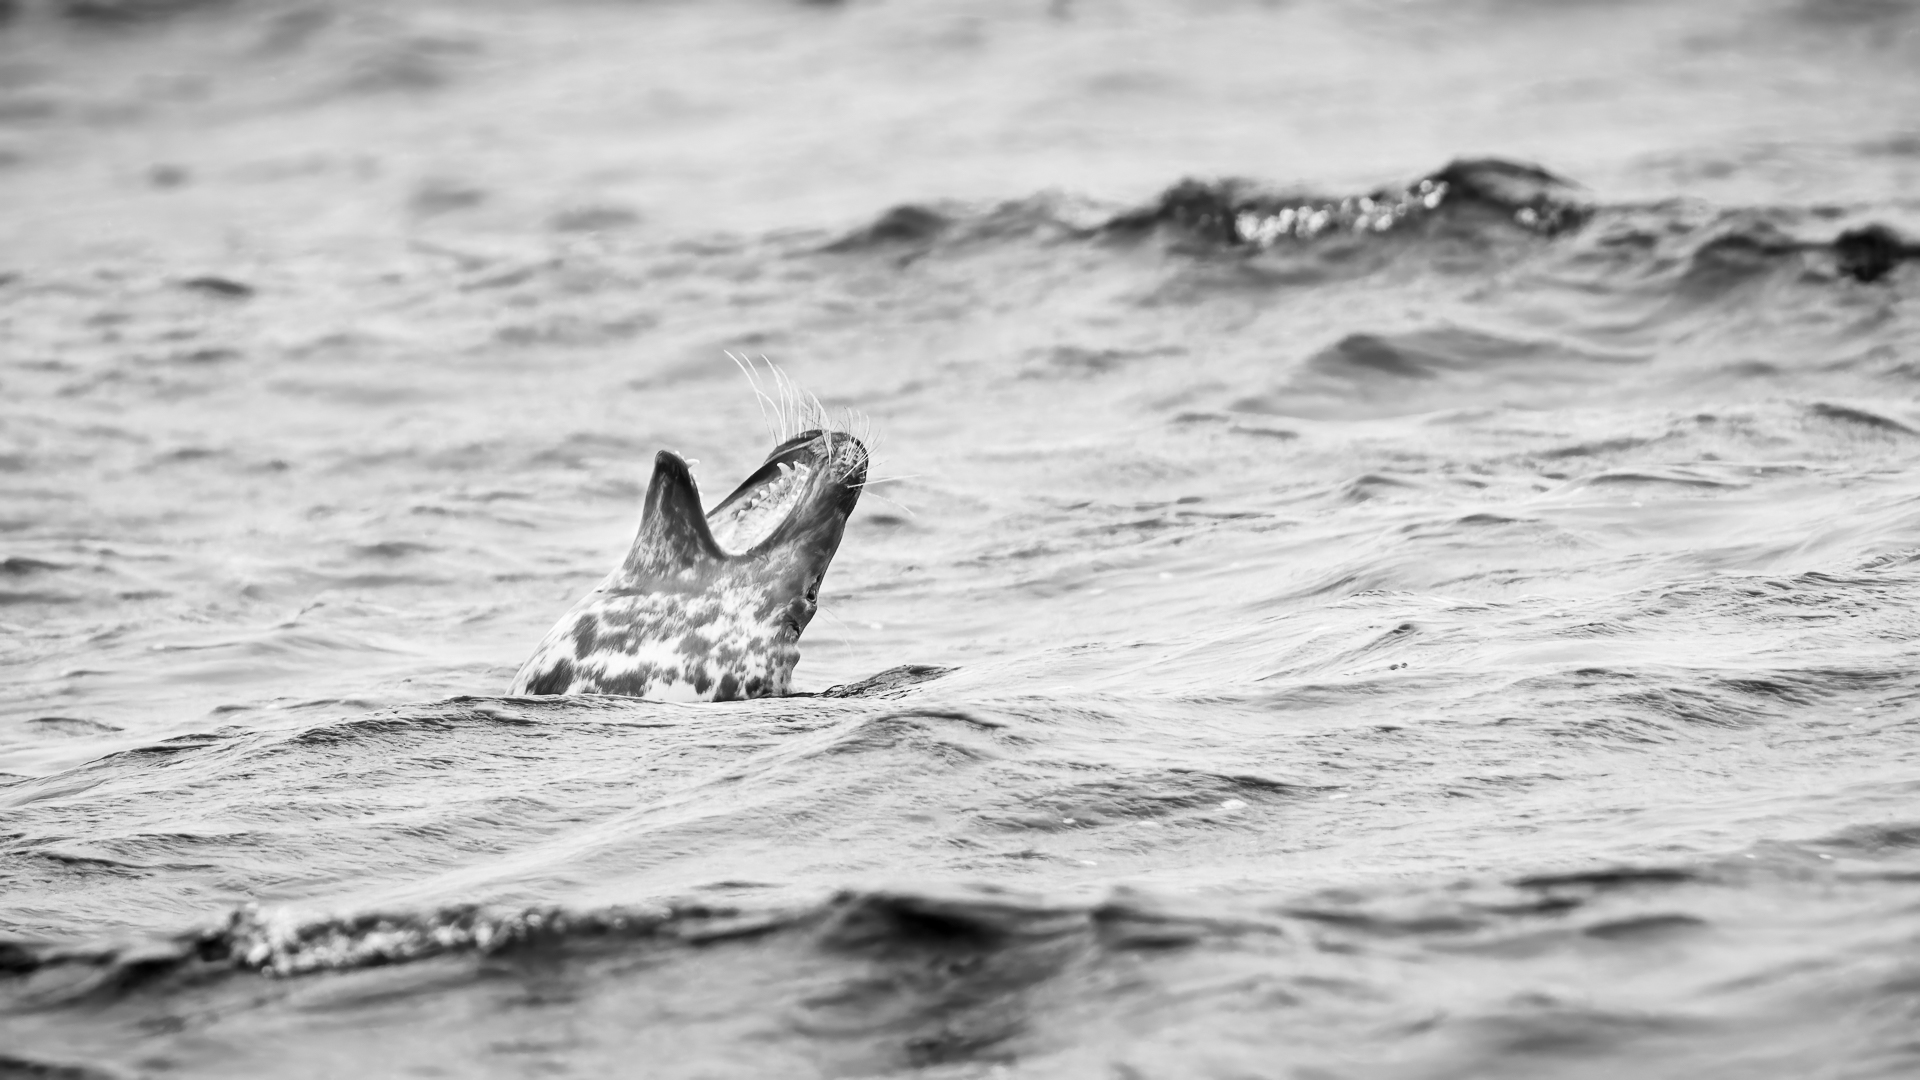
Even during harsh daylight, it’s a great time to consider choosing monochrome to capture images. However, remember to consider your best position for the light in relation to your subject when shooting portraits in harsh daylight conditions to try to minimize harsh shadows.


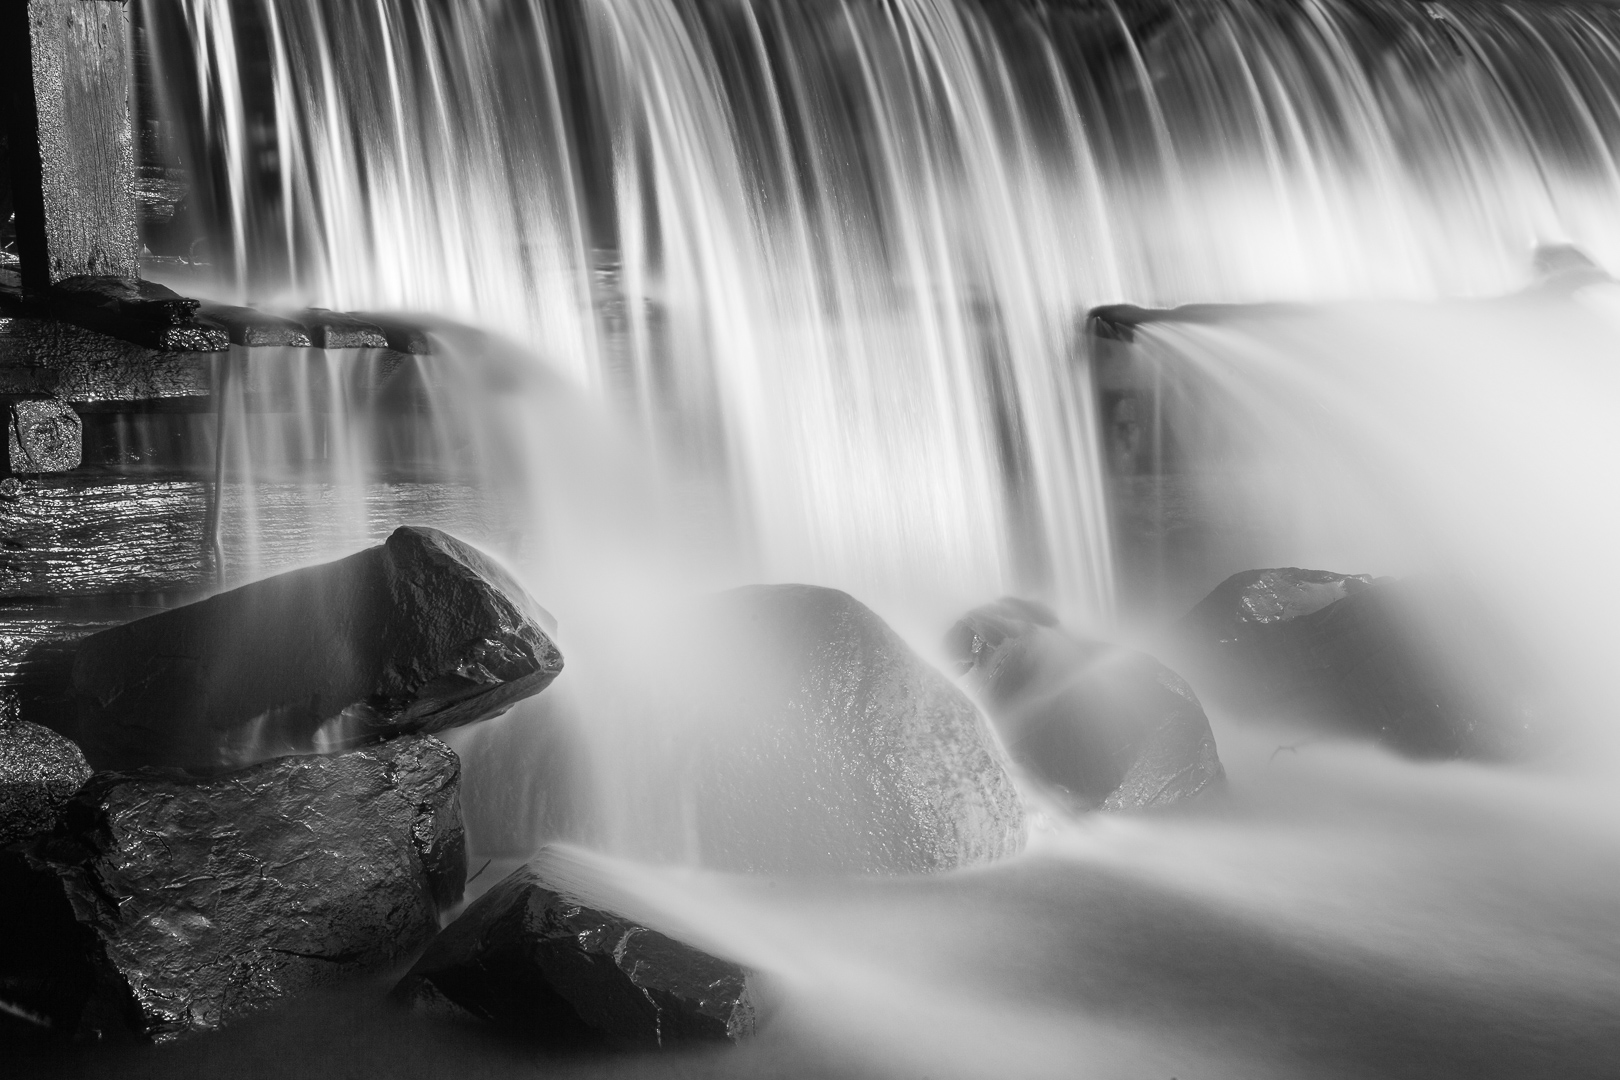
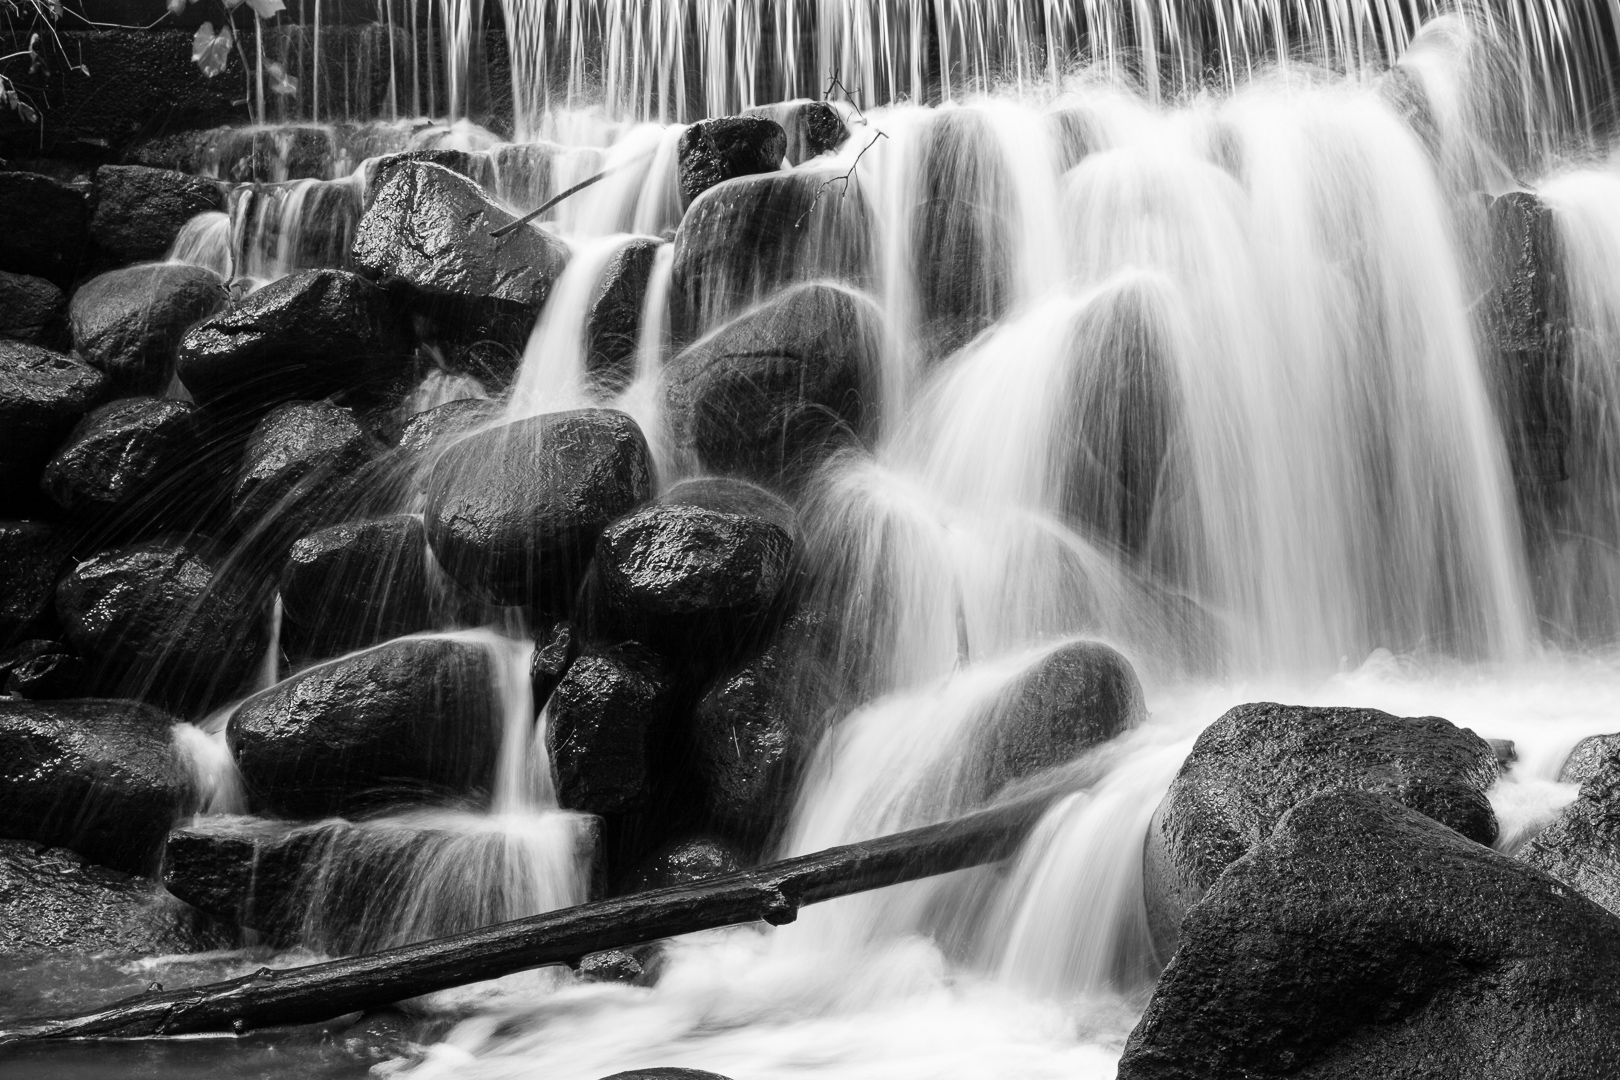
You can also use longer shutter speeds with the appropriate light, usually earlier in the morning, later in the day, or on an overcast day, to create dreamy soothing water fall images. Note you may also require the use of an ND filter to slow the shutter speed down to the desired value. As the temperatures increase and the snow begins to melt as well as some rain, there will be lots of waterfall action to experience.
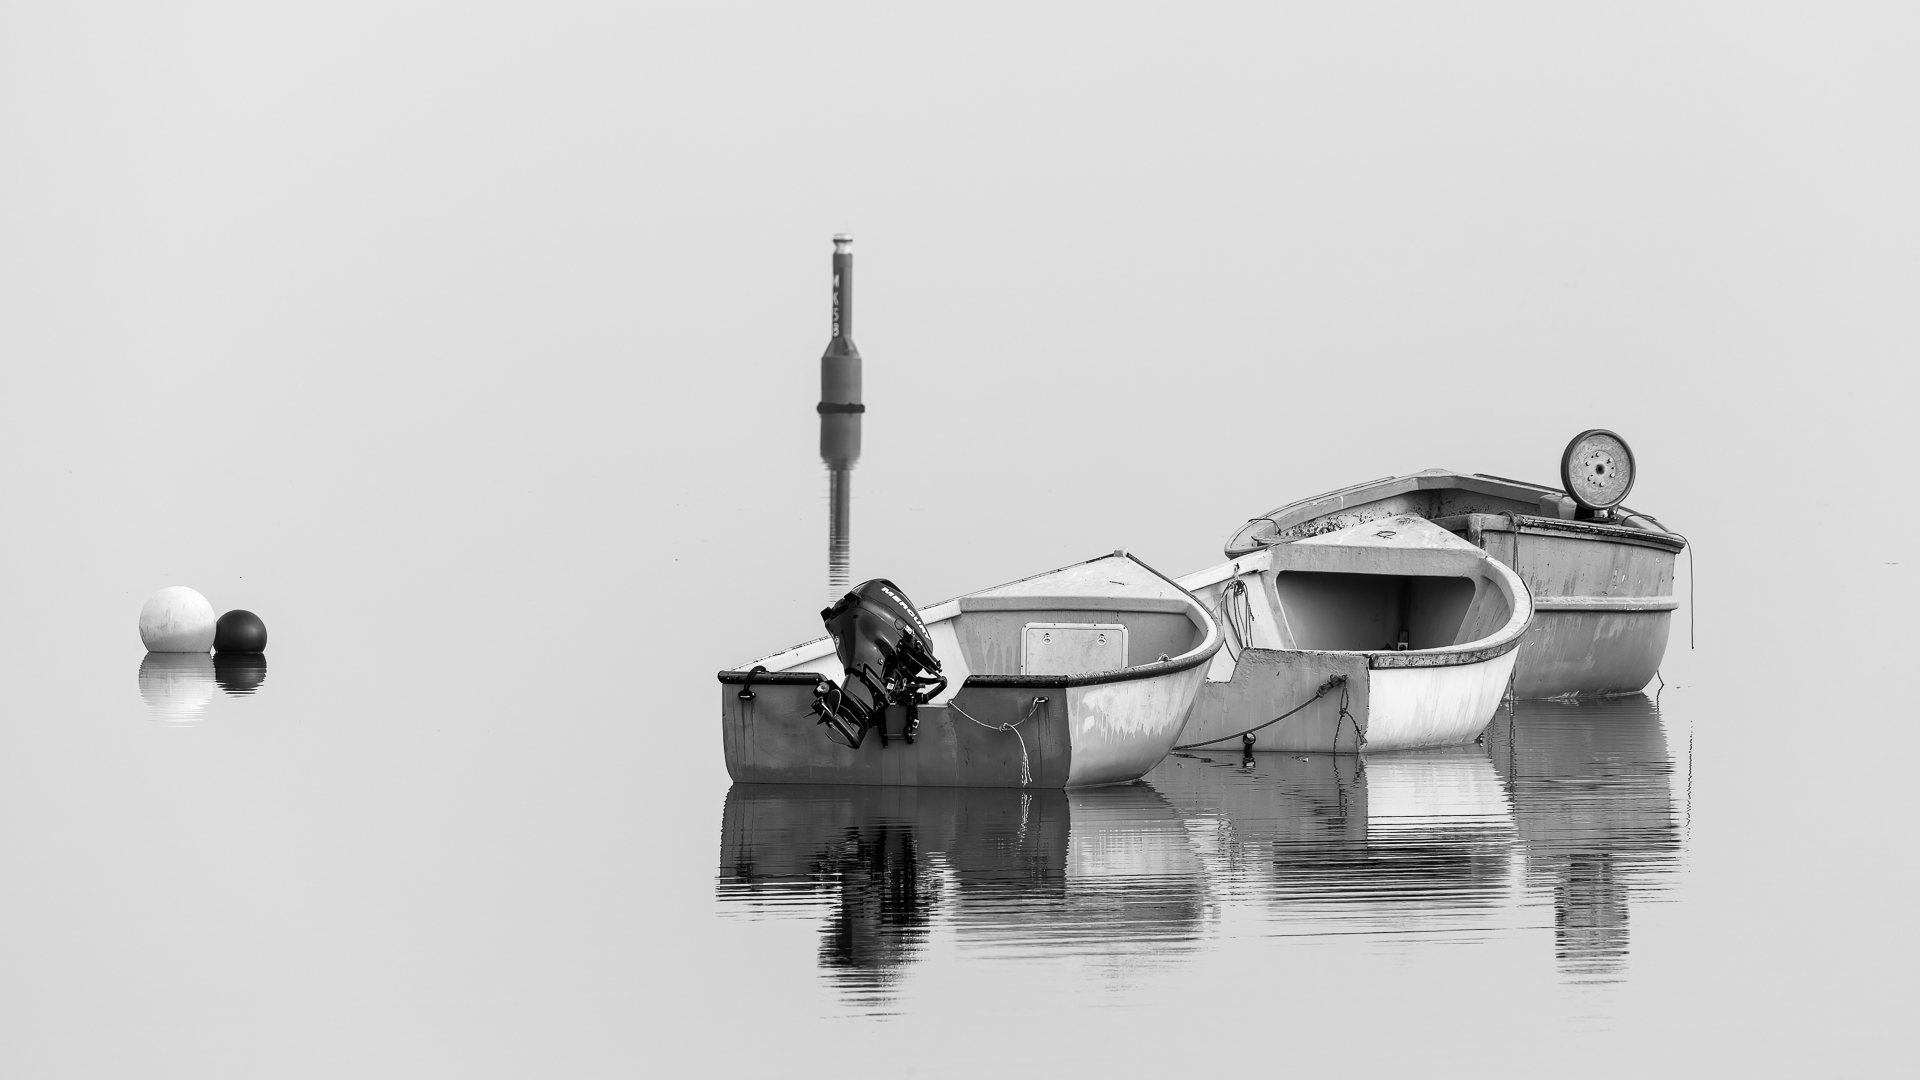
Get out there, have some fun, and practice by slowing down and looking for a subject that interests you. Then make them stand out by giving more attention to composition.


You can use post-processing software to convert your colour images to Black & White. However if you haven’t been doing much shooting for Black & White, it’s a good idea to be able to preview your images on the camera’s LCD using a “monochrome” preset to help you visualize the result as you are shooting.
To see Black & White on the Camera’s LCD, change your Camera settings. Look for “Monochrome” in your camera’s menu under; Picture Style (Canon), Picture Control (Nikon), or Creative Style (Sony):
Warning: It is important to know that when shooting in “Jpeg”, with the picture style set to monochrome, the captured image will not contain any colour information, therefore, remember to change the “Picture Style” option back to the previous setting such as “S” (standard) when done shooting monochrome images to allow capturing any new images in colour. Note: when shooting in “RAW” the colour information is retained.
Additional Resources
As always with our monthly theme challenges we try to seek out additional instructional resources, below are some YouTube video links to help with some tips, hints and ideas:
■ The Secret to Black and White photography success By: Nigen Danson (16min 33sec)
■ The Black & White Photography Trick Pros Swear By! By: Ian Worth (12min 31sec)
■ How to master Black and White photography By: Expressive Photography (20min 25sec)
■ Black and White Photography in the Digital Era B&H Event Space Speaker: Harold Davis (38min 15sec)
You’re encouraged to develop the ability to “tell a story or invoke an emotion“, as well as learn to plan and troubleshoot while creating images.
- It’s important to not only create an image but to also include a “Title”, this process helps with; determining your subject or story, and composition.
- Try writing a short paragraph about; how you came up with the idea, any interesting back ground that compelled you to make the image, and describe any techniques how you overcame any obstacles.
- Do some research and include any relevant information behind the subject of your image. This helps with planning and your approach for a story
An important part of improving your photography; practice, practice, practice one of the important aspects of the monthly theme challenge, in addition you have an opportunity to learn about different genres, techniques and tips that you may not be familiar with.
Share your images and stories experienced this month
Even though this website is not setup to directly upload your images, you can achieve something similar by commenting on the post; paste your social media or google drive link to your image in the comment, then type any additional message you’d like to share. Everyone who visits will be able to visit your link. Note comments are moderated so it will not show up right away. We do get notifications when any comment is posted, so it won’t take long to get approved and have your comment subsequently show up. By pasting your social media or google drive link in your comment, it gives everyone visiting the blog a chance to click the link to see your image for the challenge and also the ability to look at your other work by viewing your social media through your pasted link. We want sharing to be a positive experience and we hope you have fun with this month’s photo challenge.