
For this month, February 2025, the theme challenge is “Fruit”. February is typically one of our coldest winter months here in Atlantic Canada, so this project allows us to work inside. We’ll learn about back lighting while creating some images to show the texture of fruit. This is not the only way to photograph fruit but this technique gets us started with macro/close up photography.
You’ll place some cut fruit slices on a suspended piece of glass with a white back ground, then introduce the back-light under the piece of glass. Using a camera equipped with a 50-100mm lens on a tripod above your fruit slice subject. Be aware of your minimum focus distance so you can be as close as possible to fill the frame with a sharp image.
Include us in your success, share the image you’ve created this month.
The Setup
There are a number of items required for the setup;
■ (1) Camera + Tripod with extension arm. Note you may not need an extension arm depending on your setup. Make sure your camera is level on both axis ( it helps to use a 2 axis bubble level – Amazon.ca Link ).
■ (2) Lighting; A lamp, LED light or off camera flash to create the back-light, placed under the glass which will bounce the light around the white box described in #7 below.
■ (3) Fruit such as; kiwi, orange, lemon, lime, orange, and pink grapefruit are the ones I choose.
■ (4) A sharp knife to cut the fruit. Try to keep the thickness consistent, this will help with image sharpness by keeping the fruit within the same focal plane.
■ (5) A piece of glass; I used some from a window which was larger and a bit thicker (tempered), as an alternative you can use the glass from a picture frame (8″x10″ or 11″x14″) but be careful it can break very easily. Use some masking tape or duct tape along the edges of the glass so you don’t cut yourself.
■ (6) two objects to suspend the glass, higher than the white box and back-light.
■ (7) White Box; White foam board, 20″x30″x5mm from Dollarama (you can purchase single sheets in-store for about $2 each); to create a white box (4 pieces; bottom + left side + right side + back), using a metal ruler, x-acto knife, duct tape or masking tape, for the background. Which will bounce the light placed under the glass. Make the white box the required size considering your back-light source, the height and the width available under the piece of glass.
■ (8) Paper towel + water to clean the glass.

Here is a crude setup drawing as described above. Note your setup maybe different because of the size of your sheet of glass. Basically the light (white box + flash,or led light) is below the sheet of glass. Point your light toward the back of the white box to create a nice soft light box, as the light will bounce around the white box.
Camera Settings: For camera settings you can start in Aperture Priority mode (Av for Canon or A for Nikon, Sony etc…). Depending on your subject and focal length the aperture would typically be between f/5.6 and f/11, just check your images in camera to make sure they are sharp across the whole frame. Keep your ISO as low as possible between 100 – 800. Keep an eye on what the camera chooses for the shutter speed. If the shutter speed is slow say 1/50 then raise your ISO to obtain a faster shutter speed of at least 1/100 or as a minimum 1/focal length. Use a wired remote or a 2 second timer. Use manual focus while in live view mode with x5 or x10 magnification.
Focal Length: To fill the fame as best as possible try using a lens between 50mm -100mm. Be aware of your minimum focus distance to ensure you can focus on your subject.
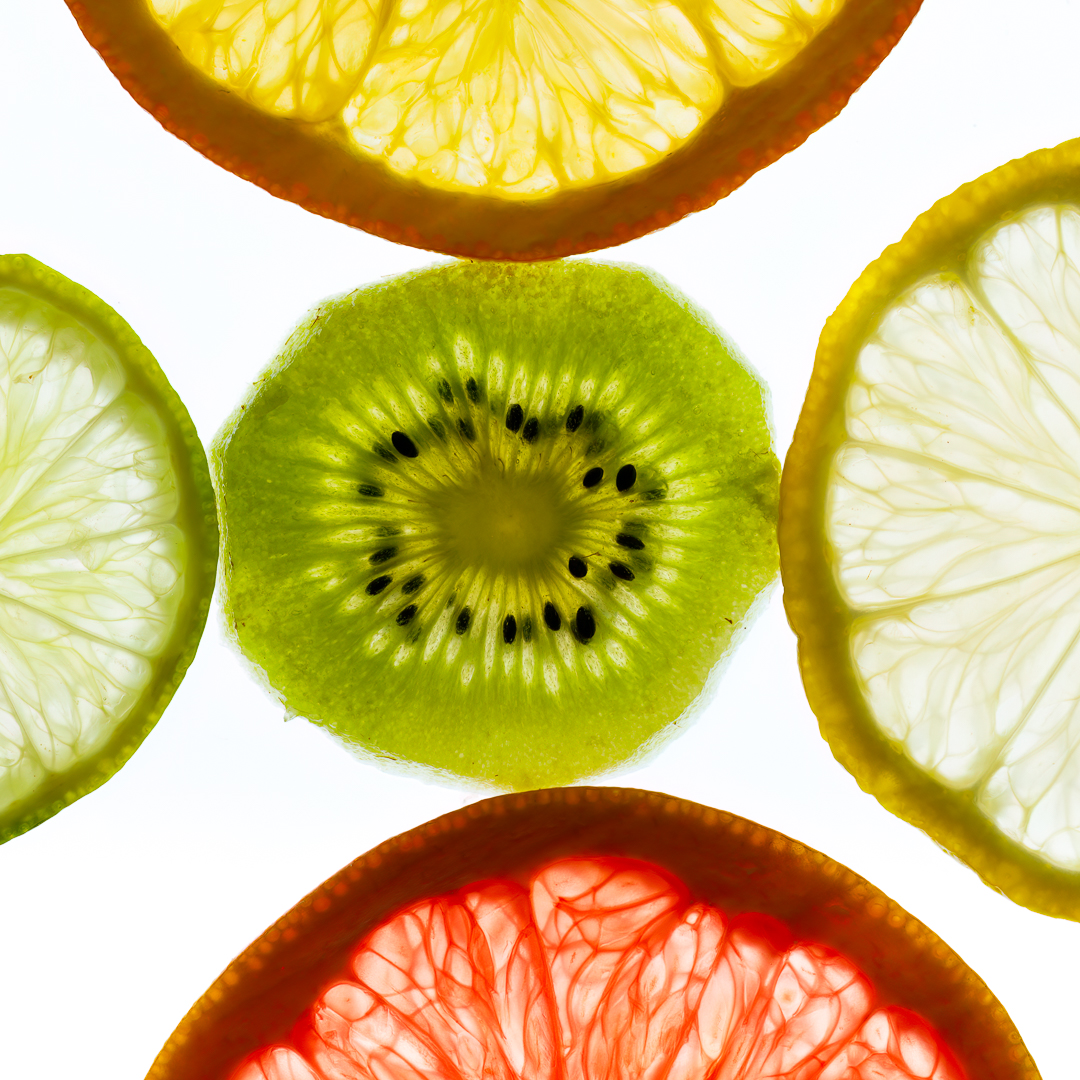
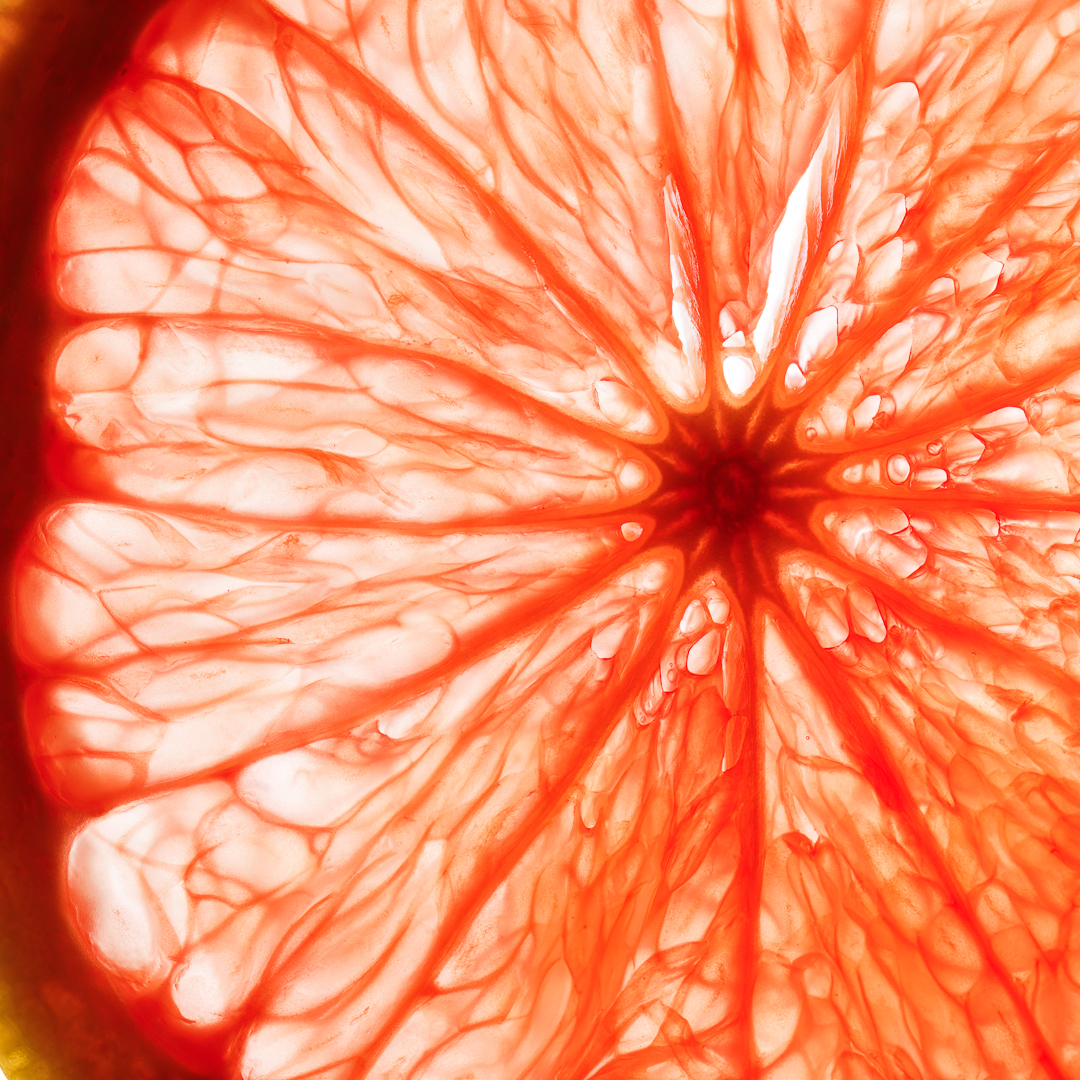
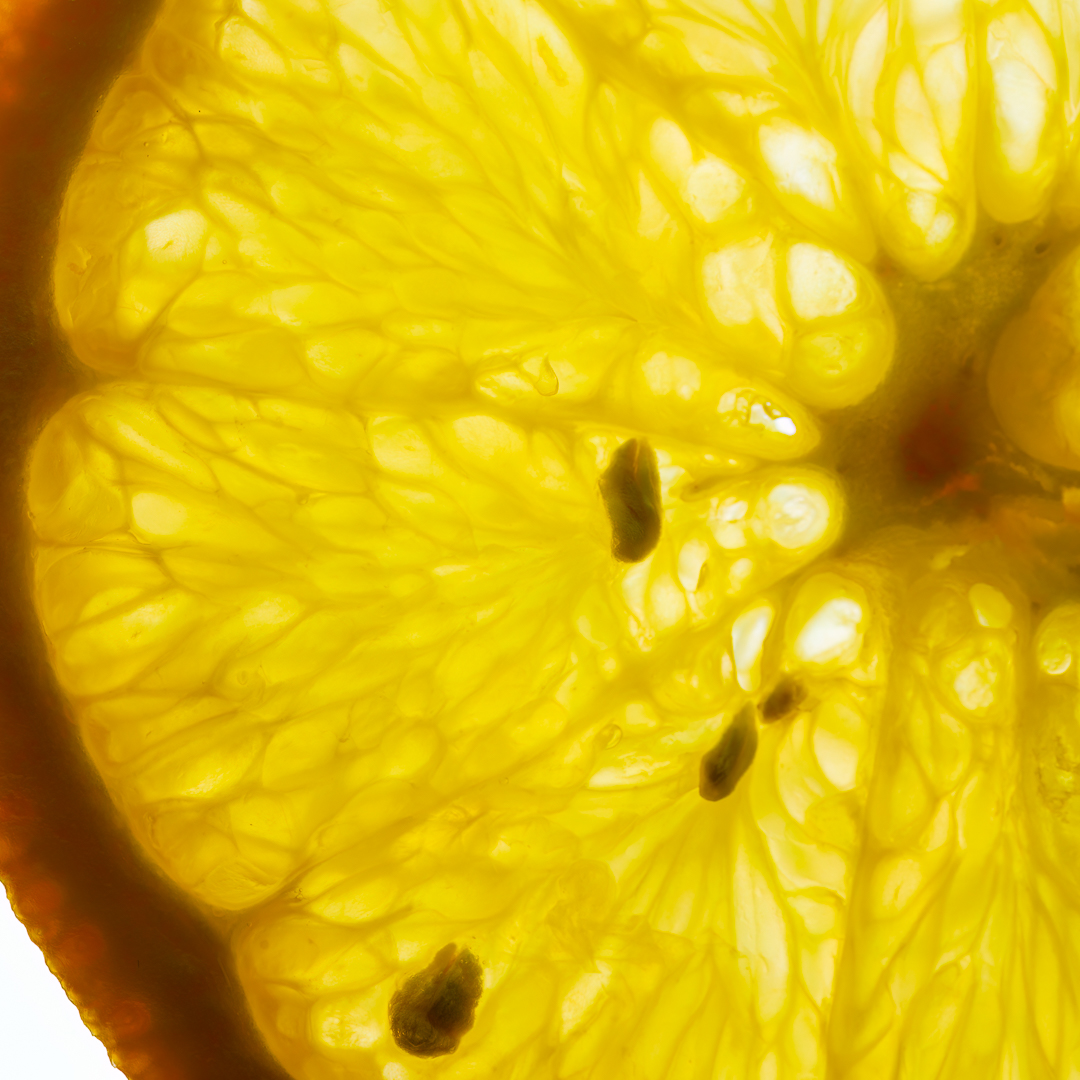
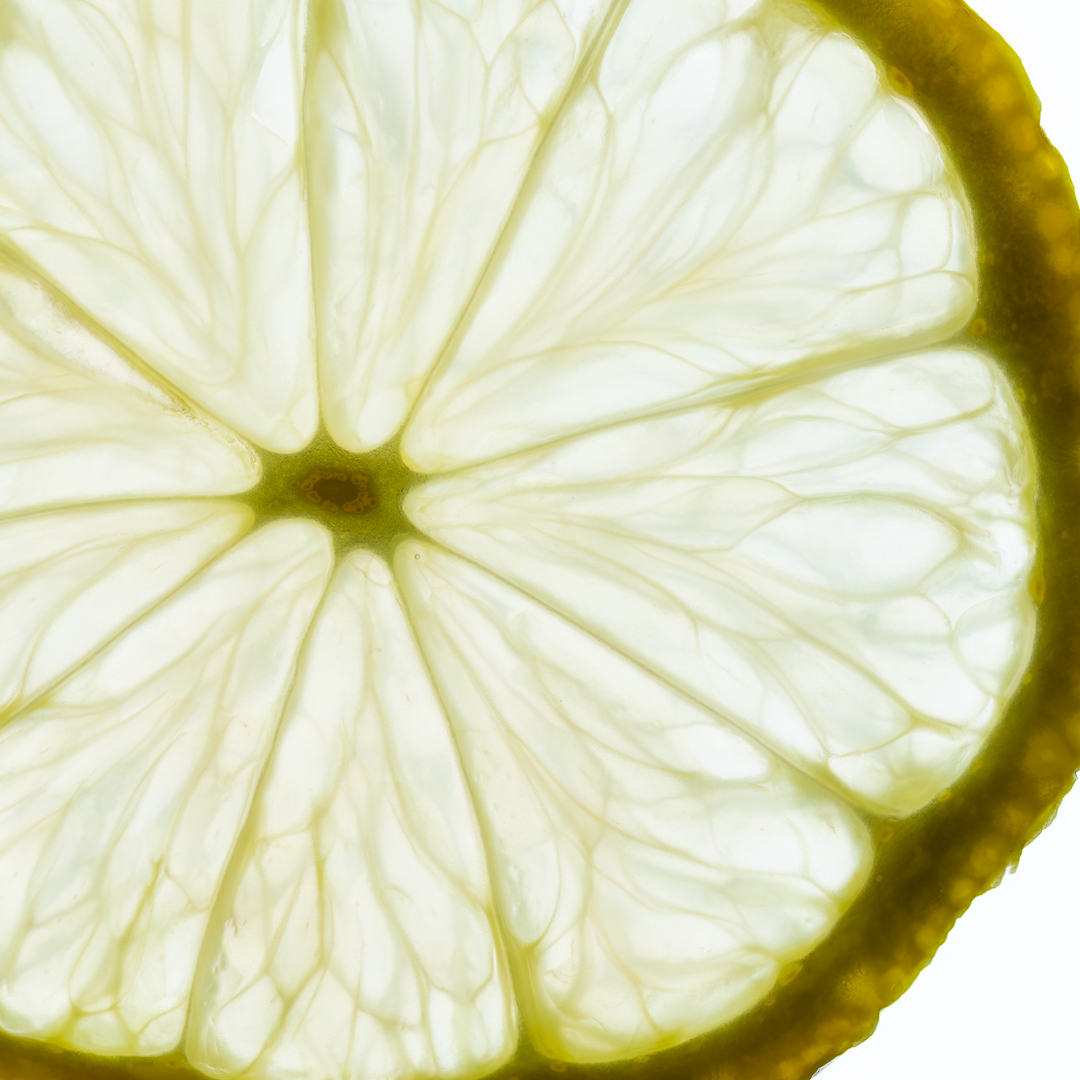
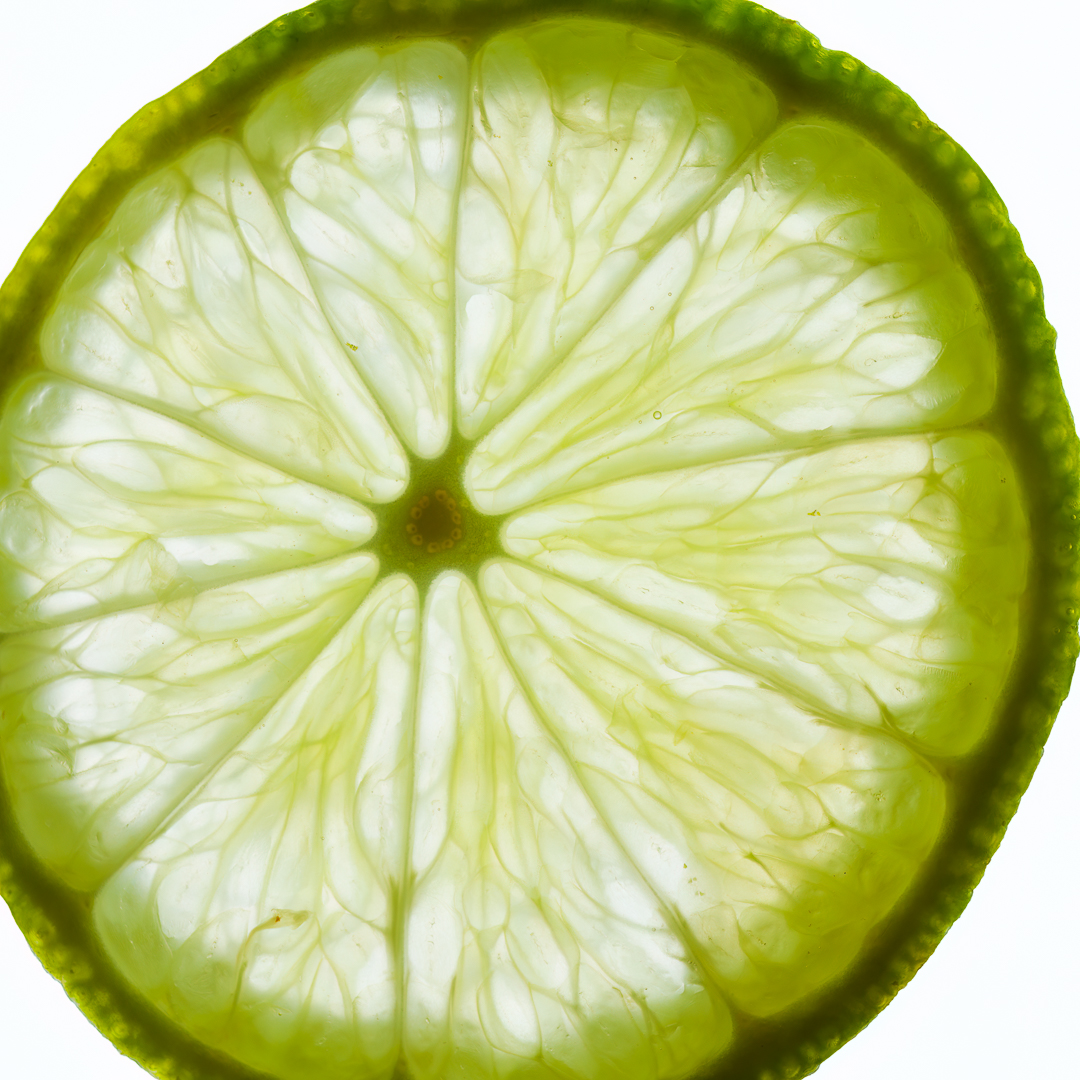
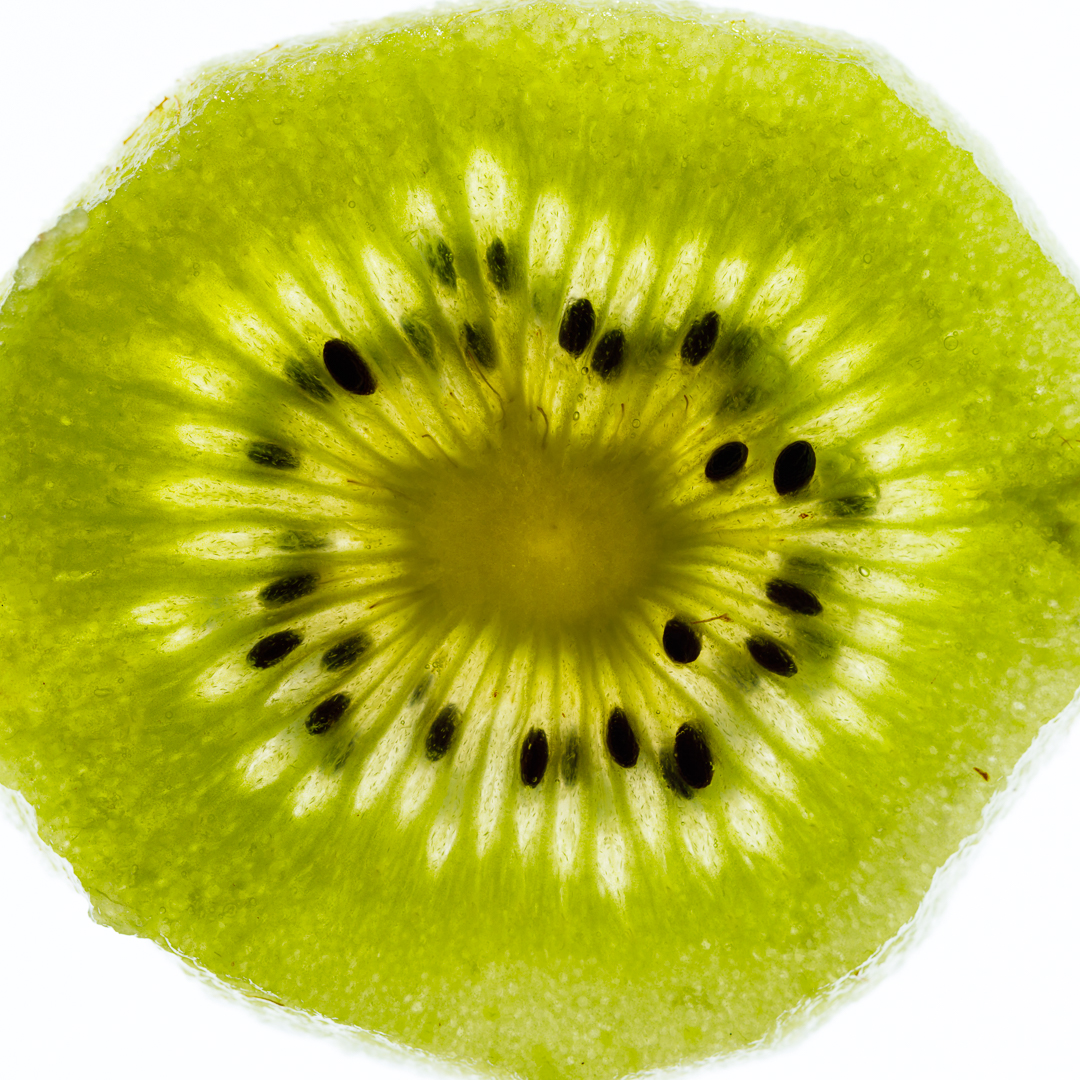
Example Images
For the example images below the camera, 5DmkIV, EF100mm f/2.8 Macro lens, settings were; f/8, 1/200, ISO 100, @100mm using a Canon 580EXII off camera flash with a wireless Godox Trigger system. The Fruit I chose to photograph was; a pink grapefruit, naval orange, lemon, lime, and kiwi. All images were edited in ©Adobe Lightroom.
Additional Resources
As always with our monthly theme challenges we try to seek out an instructional resource, below are some YouTube video links to help with some tips, hints and ideas.
Photographing Fruit instructional aids:
■ How to Photograph Fruit with Back Lighting – Start to Finish: by Janice Sullivan (9min 35sec)
■ Fruit Macro Photography Tutorial: by Adaptalux (11min 17sec)
The following video has vegetable and fruit ideas to make them more interesting subjects to photograph
■ Cut The Cucumber Just So & It Becomes A Work Of Art: by Scrumdiddlyumptious (3min 29sec)
An important part of improving your photography is practice, practice, practice which is one important aspect of the monthly theme challenge, in addition you have an opportunity to learn about different genres, techniques and tips that you are not familiar with.
Share your images and stories experienced this month
Even though this website is not setup to directly upload your images, you can achieve something similar by commenting on the post; paste your social media or google drive link to your image in the comment, then type any additional message you’d like to share. Everyone who visits will be able to visit your link. Note comments are moderated so it will not show up right away. We do get notifications when any comment is posted, so it won’t take long to get approved and have your comment subsequently show up. By pasting your social media or google drive link in your comment, it gives everyone visiting the blog a chance to click the link to see your image for the challenge and also the ability to look at your other work by viewing your social media through your pasted link. We want sharing to be a positive experience and we hope you have fun with this month’s photo challenge.
