This month I encourage you to go out in Foggy conditions, which is usually the best early in the morning. Sometimes fog can enhance the rays of light, create an atmosphere, and help isolate subjects from an otherwise chaotic scene.
You may not tend to want to go out and take photographs when it’s foggy, but if you give it a try I think you will come back with images different than you typically take. Go out and experience the quiet and cool of the fog, see what happens to the light as the fog starts to lift as it creates amazing effects, and take advantage of the opportunity to isolate your subject.
Similar to previous challenges, it doesn’t matter what camera you have, even the camera in your phone will work. Depending on the gear you have it will allow you to take different images.
Let’s take a look at some image examples.
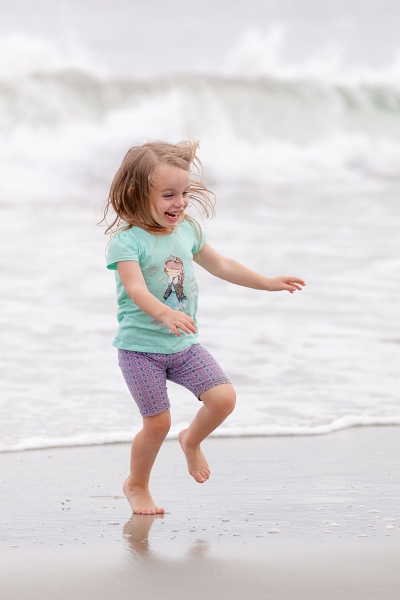
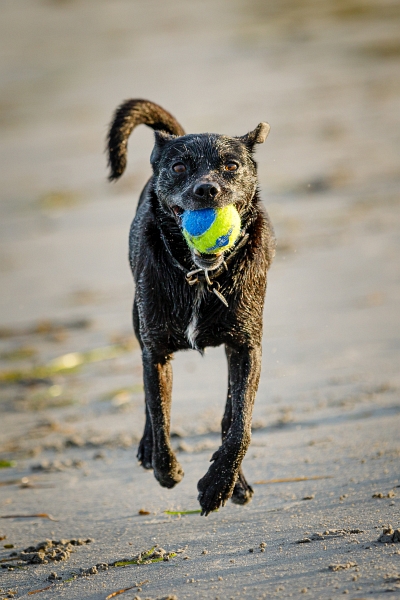
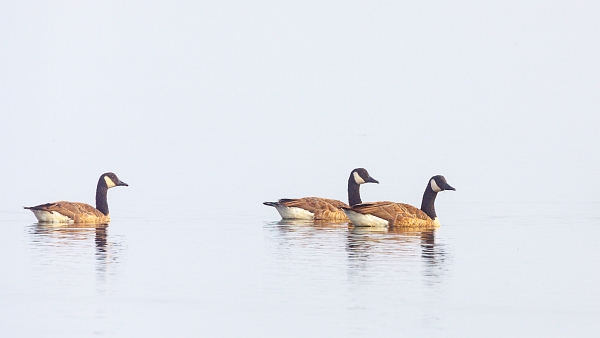
Boats and Wildlife; With boats you do not always have the perfect location from the shore view to isolate the subject. The fog also provides a dreamy feel to the final image. Wildlife set in the early morning fog also provides a minimalistic image.


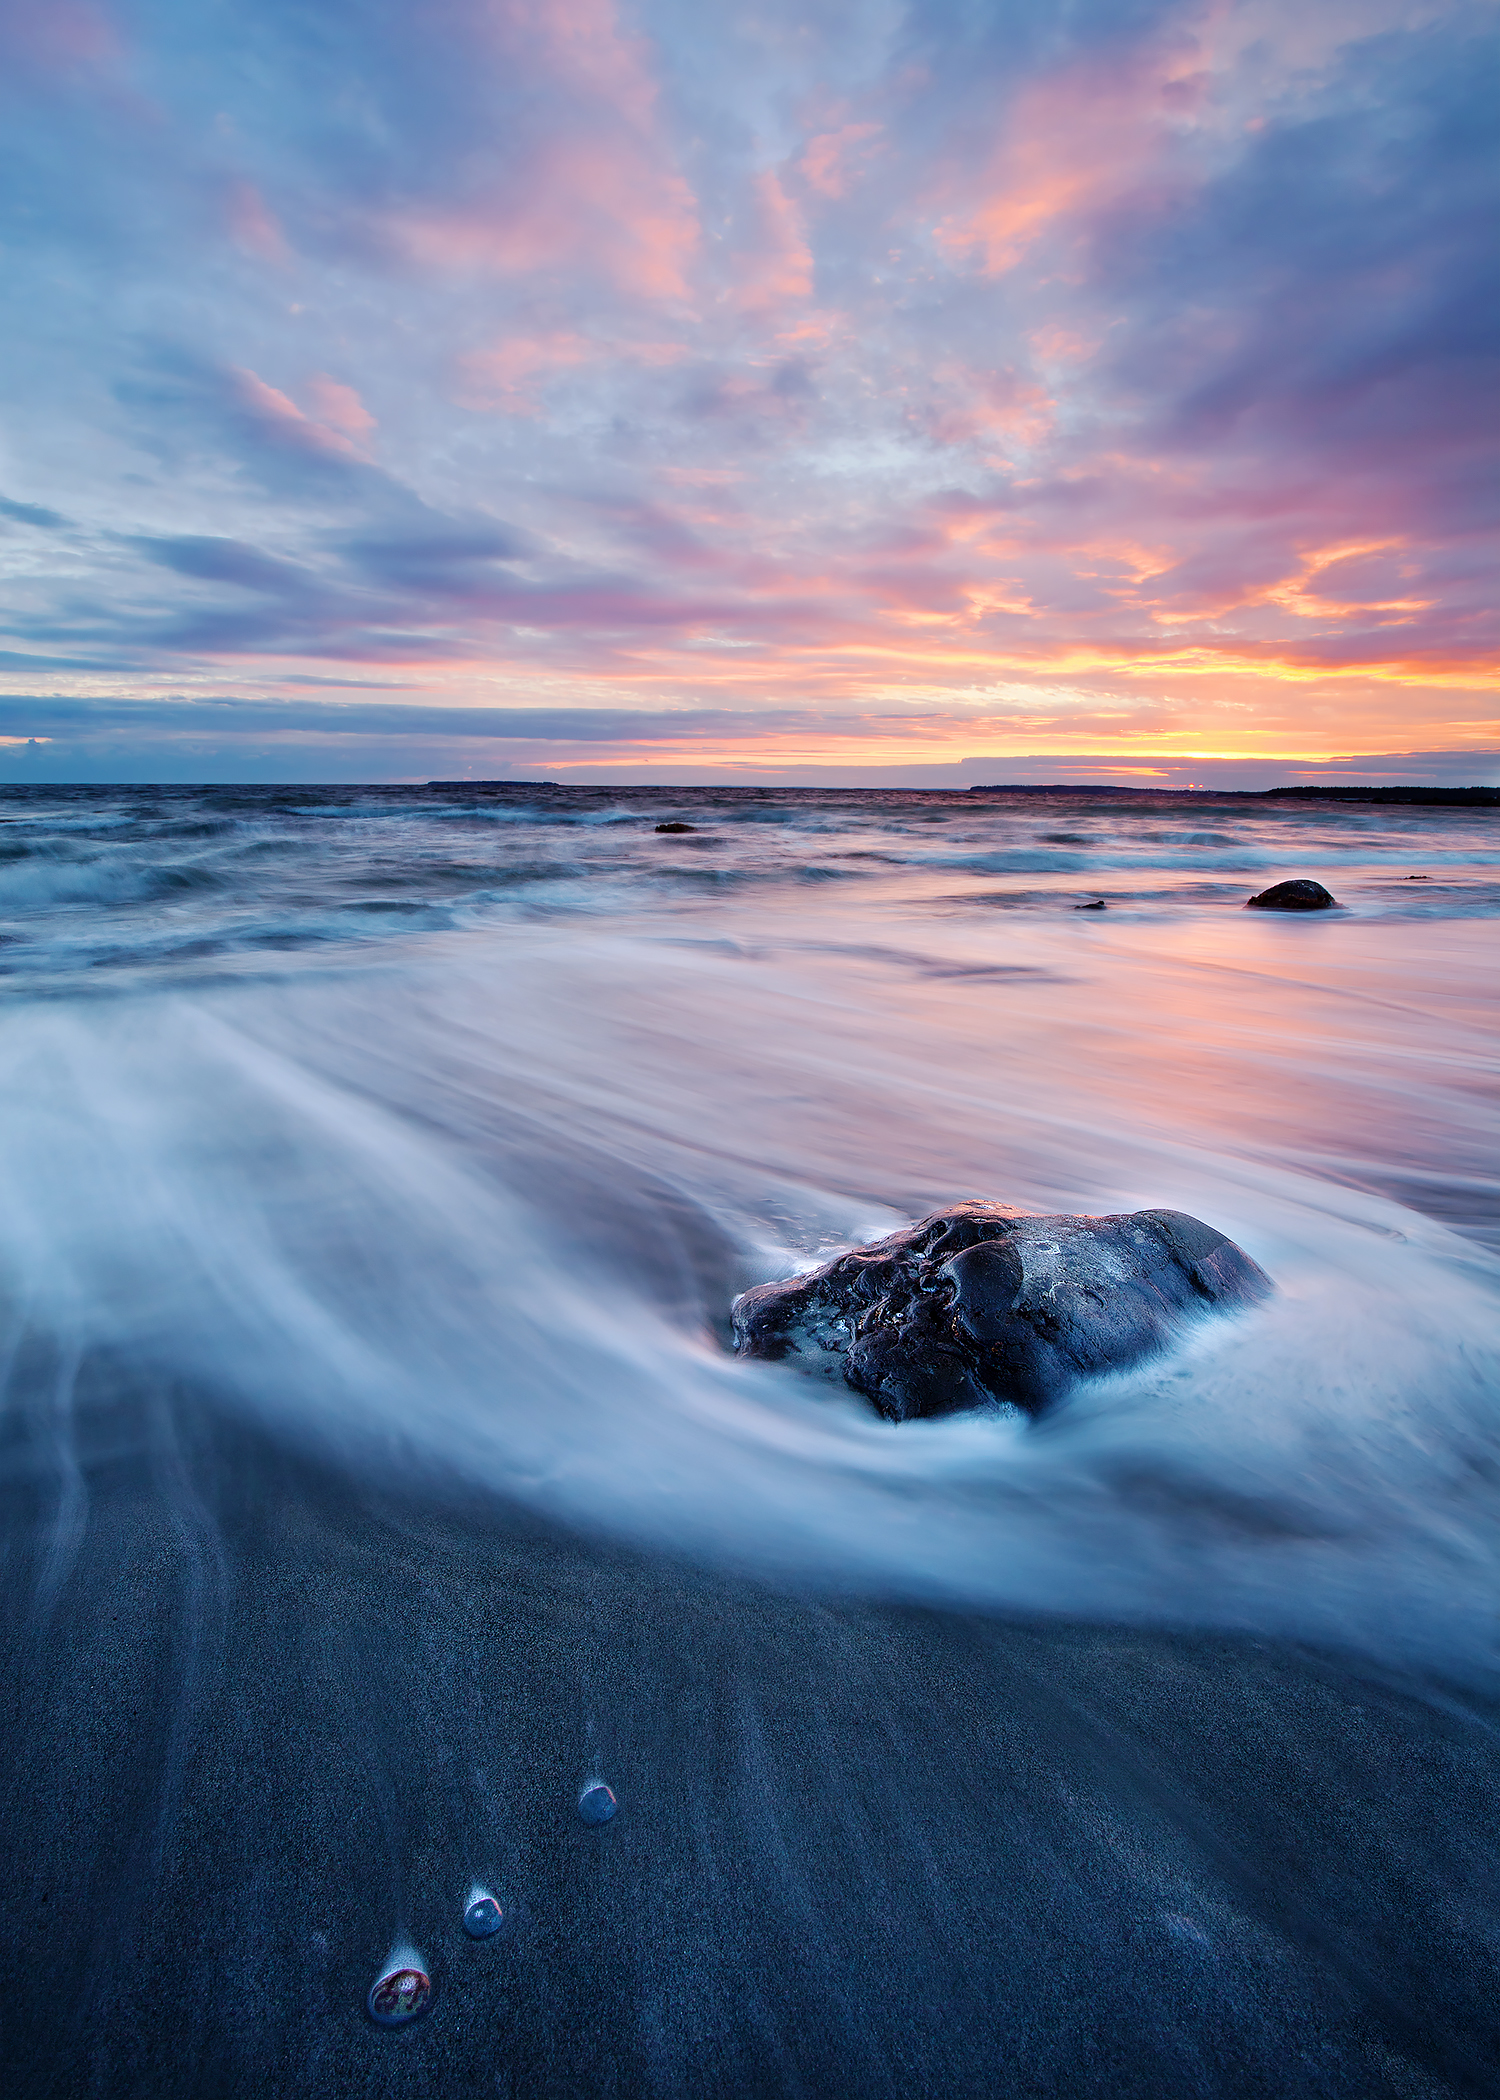
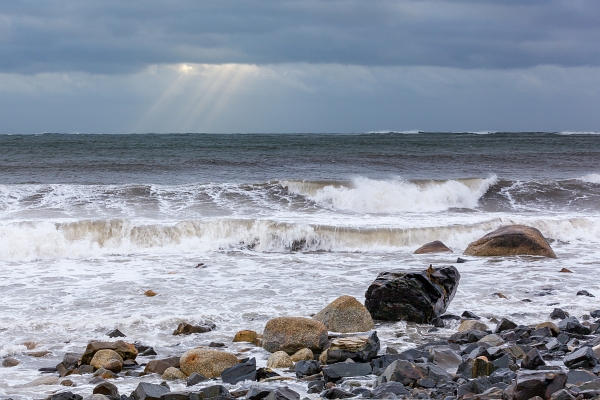
Enhance the Light; As the morning sun breaks through the fog you can see the rays of light which is enhanced due to the sun back lighting the fog. It’s important in the photo below to place the sun partially behind an object to help reduce the extreme bright light of the sun. The Star burst of the light can also be enhanced by choosing a smaller aperture, this allows the light to bounce around the aperture rings in the lens creating or enhancing the star burst effect while the fog helps spread the light into rays.

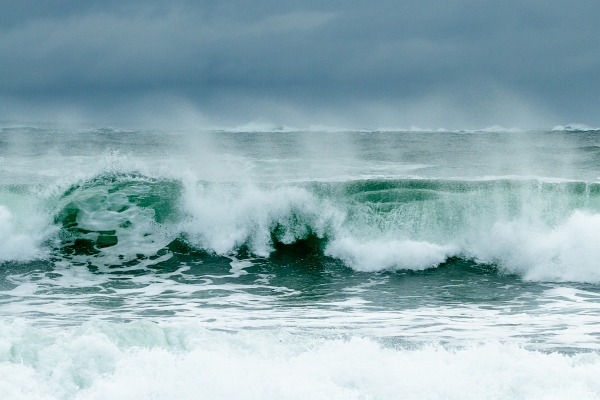
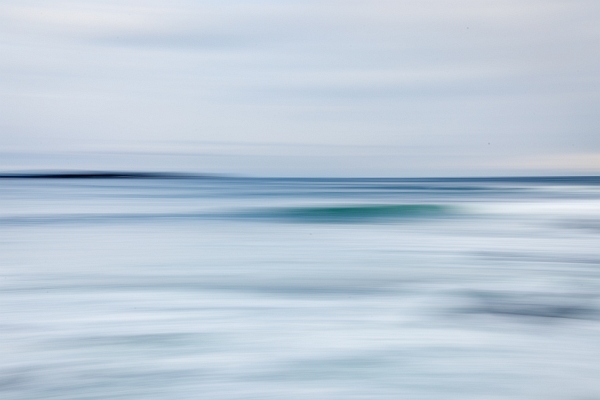
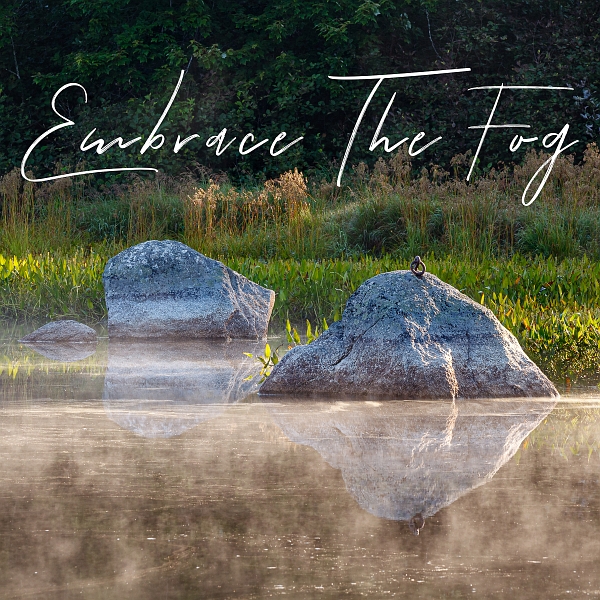
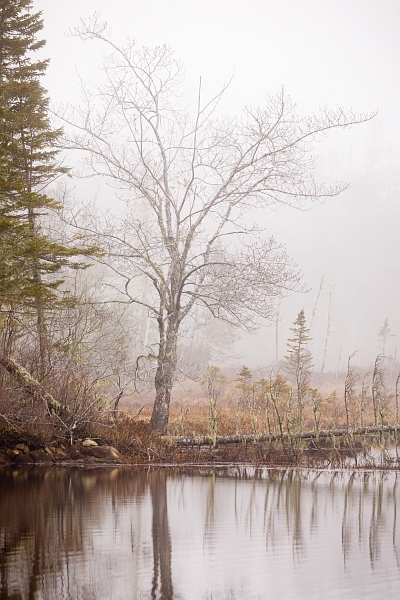
Isolate your Subject; With the images below, typically without the fog the backgrounds are too chaotic, but with the fog it’s much easier to isolate the subject. The fog provides the means to remove distractions from your composition. Take a series of images in this situation because the amount of fog can change with each photo, you can then choose which image you like the best from the images you have taken.

Let’s see what images you create this month.
Students are encouraged to develop their ability to tell a story or invoke an emotion, as well as how to plan and troubleshoot while creating their images. As such it’s important to not only create the image but to also include a “title”, and write a short paragraph about; how they came up with the idea, any interesting back ground that compelled them to make the image, and describe any techniques on how they overcame any obstacles.
As always with our monthly theme challenges we try to seek out an instructional resource, below are some YouTube video links to help with some important tips, hints, ideas, or just something to think about.
Photographing in Foggy Conditions instructional aids:
■ How I Photograph Foggy Landscape Photography by: Michael Shainblum (13min 30sec)
■ How to Take THE BEST FOG Photos! Photo shoot training, editing suggestions by: Tony & Chelsea Northrup (4min 46sec)
An important part of improving your photography is practice, which is one aspect of the monthly theme challenge, in addition you have an opportunity to learn about different genres, techniques and tips.