The theme challenge for June 2022 is “Golden Hour“. This month the assignment is to go out during the “Golden Hour” and enjoy capturing some images when there is amazing light.
The “Golden Hour” is the time of day that is the hour after sunrise or the hour before sunset. This is when the sun is closer to the horizon and is casting warm light on the landscape and your subject. You determine how you want the landscape or subject in the light depending on the angle of light cast on the landscape or subject to your camera. This is also the time of day where you can make use of the shadows to add depth to your images.
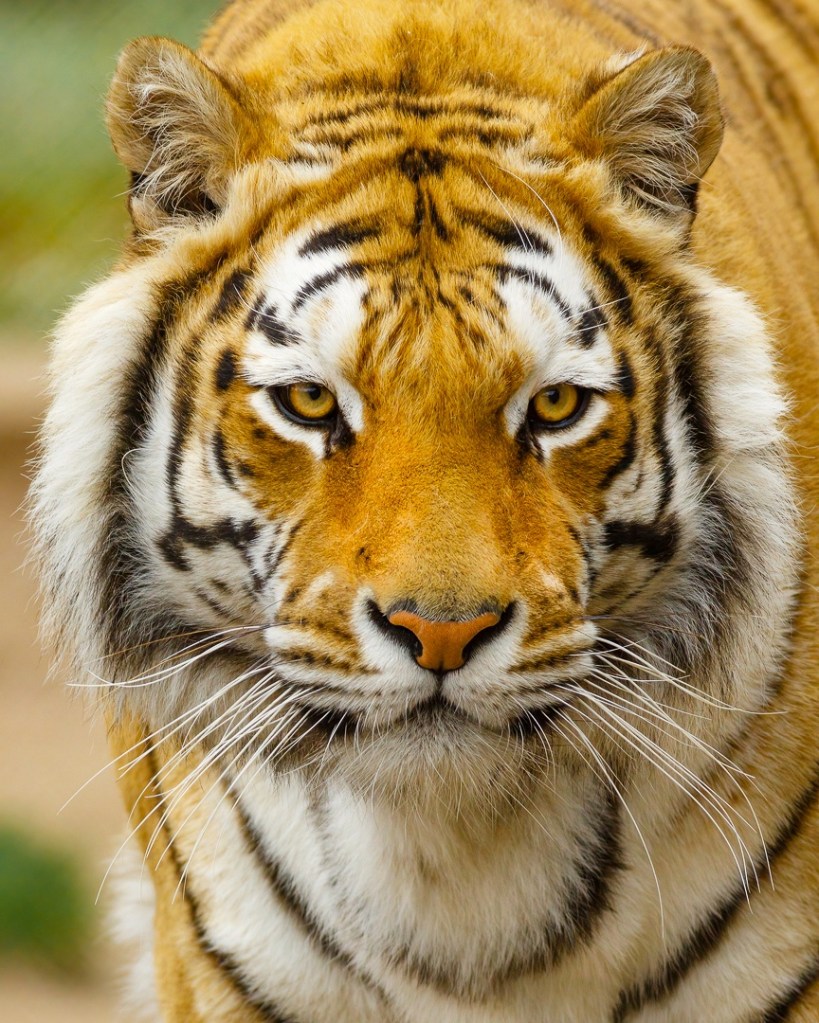
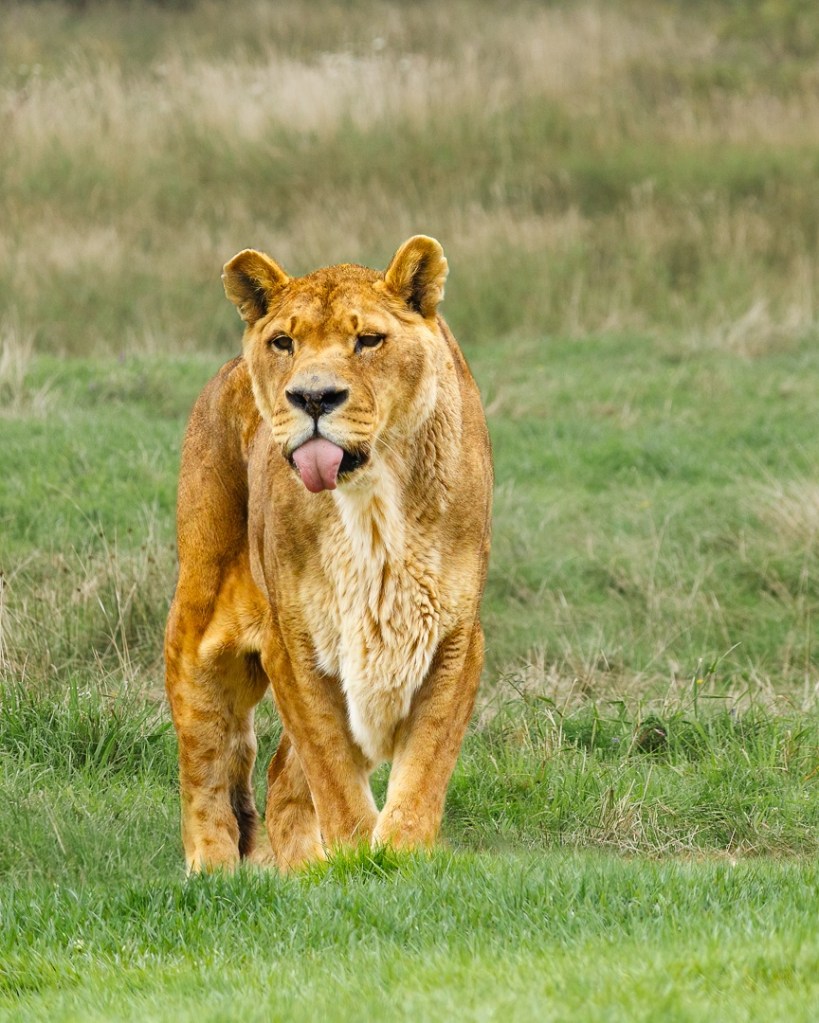
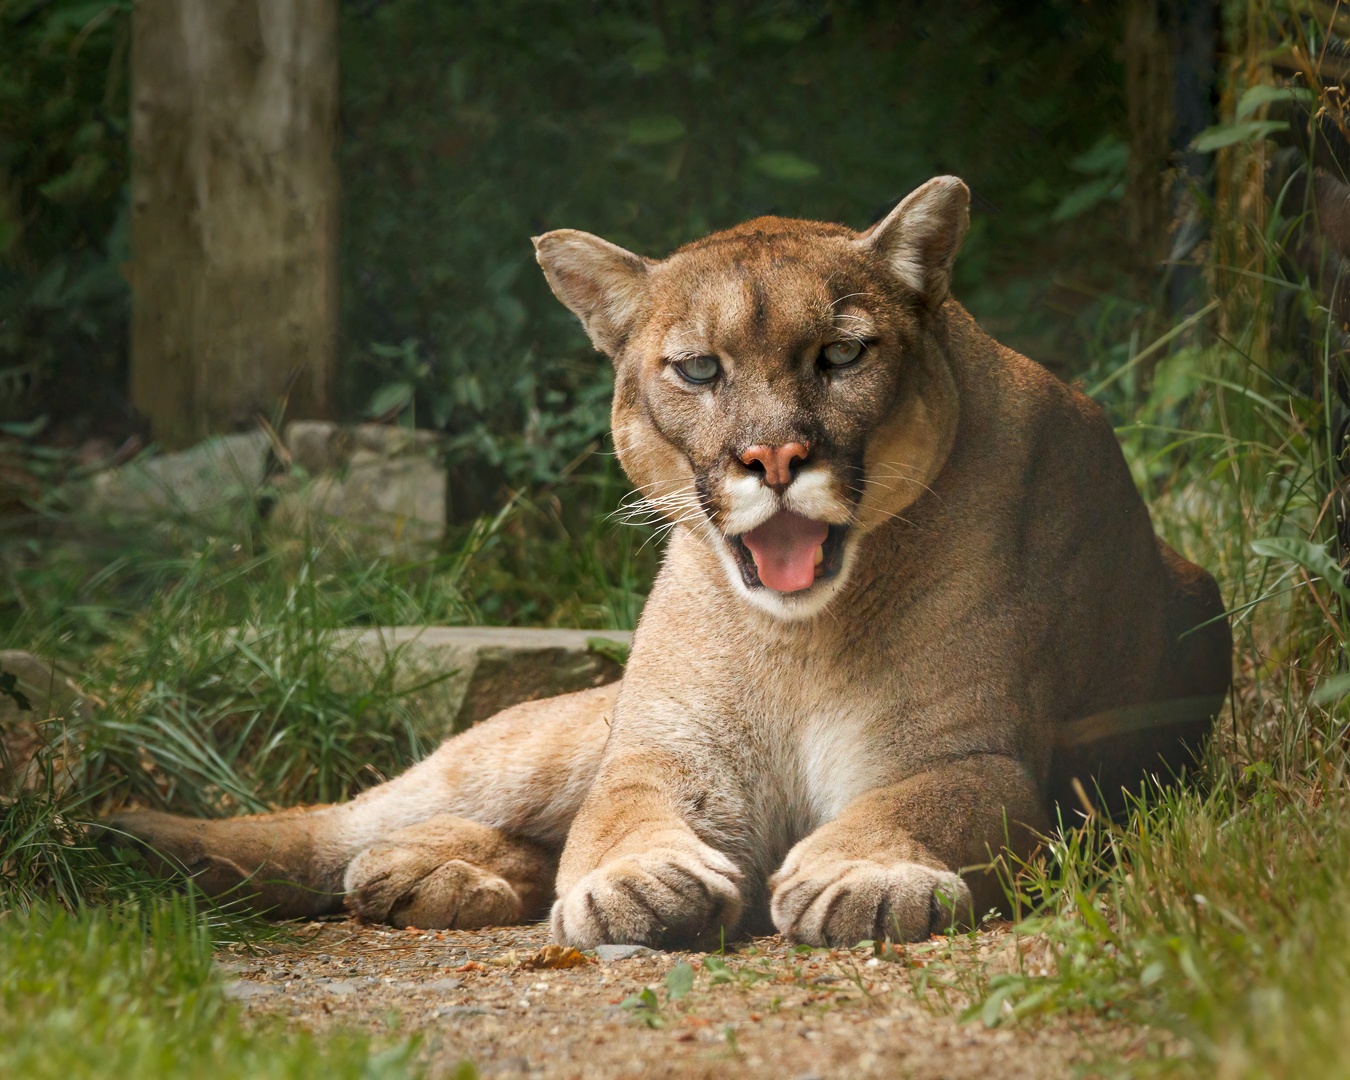
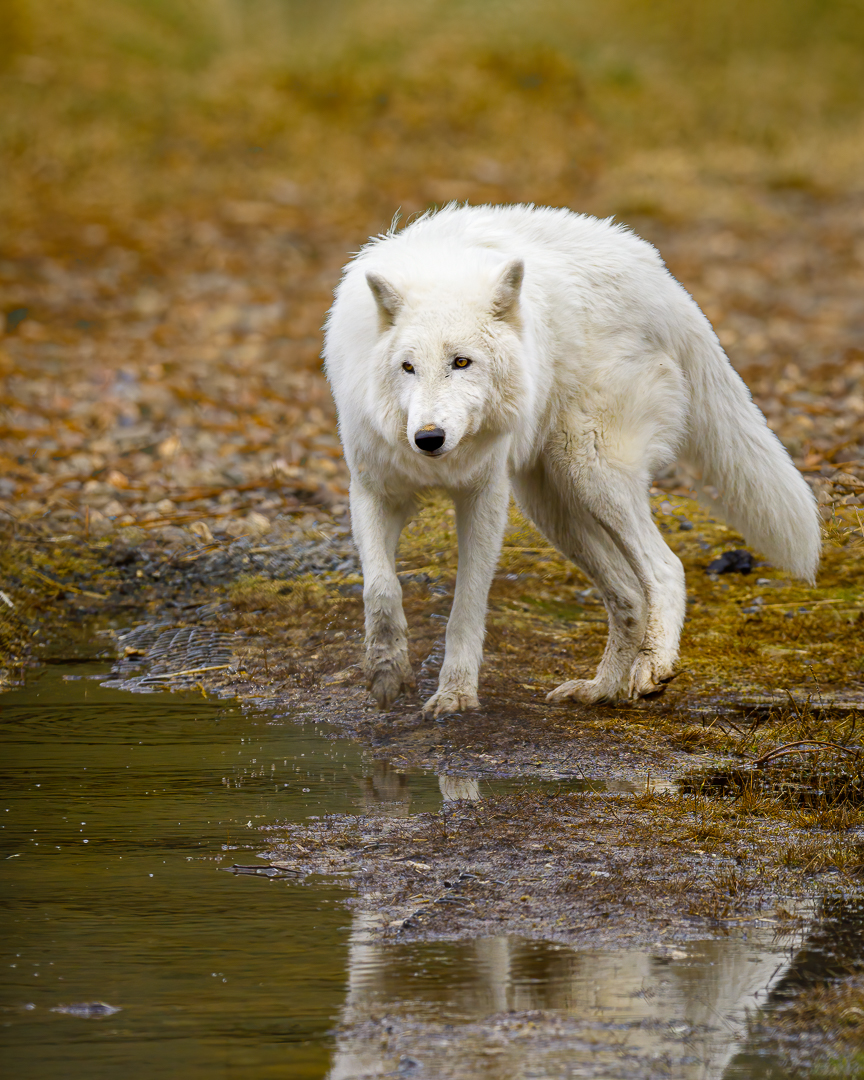
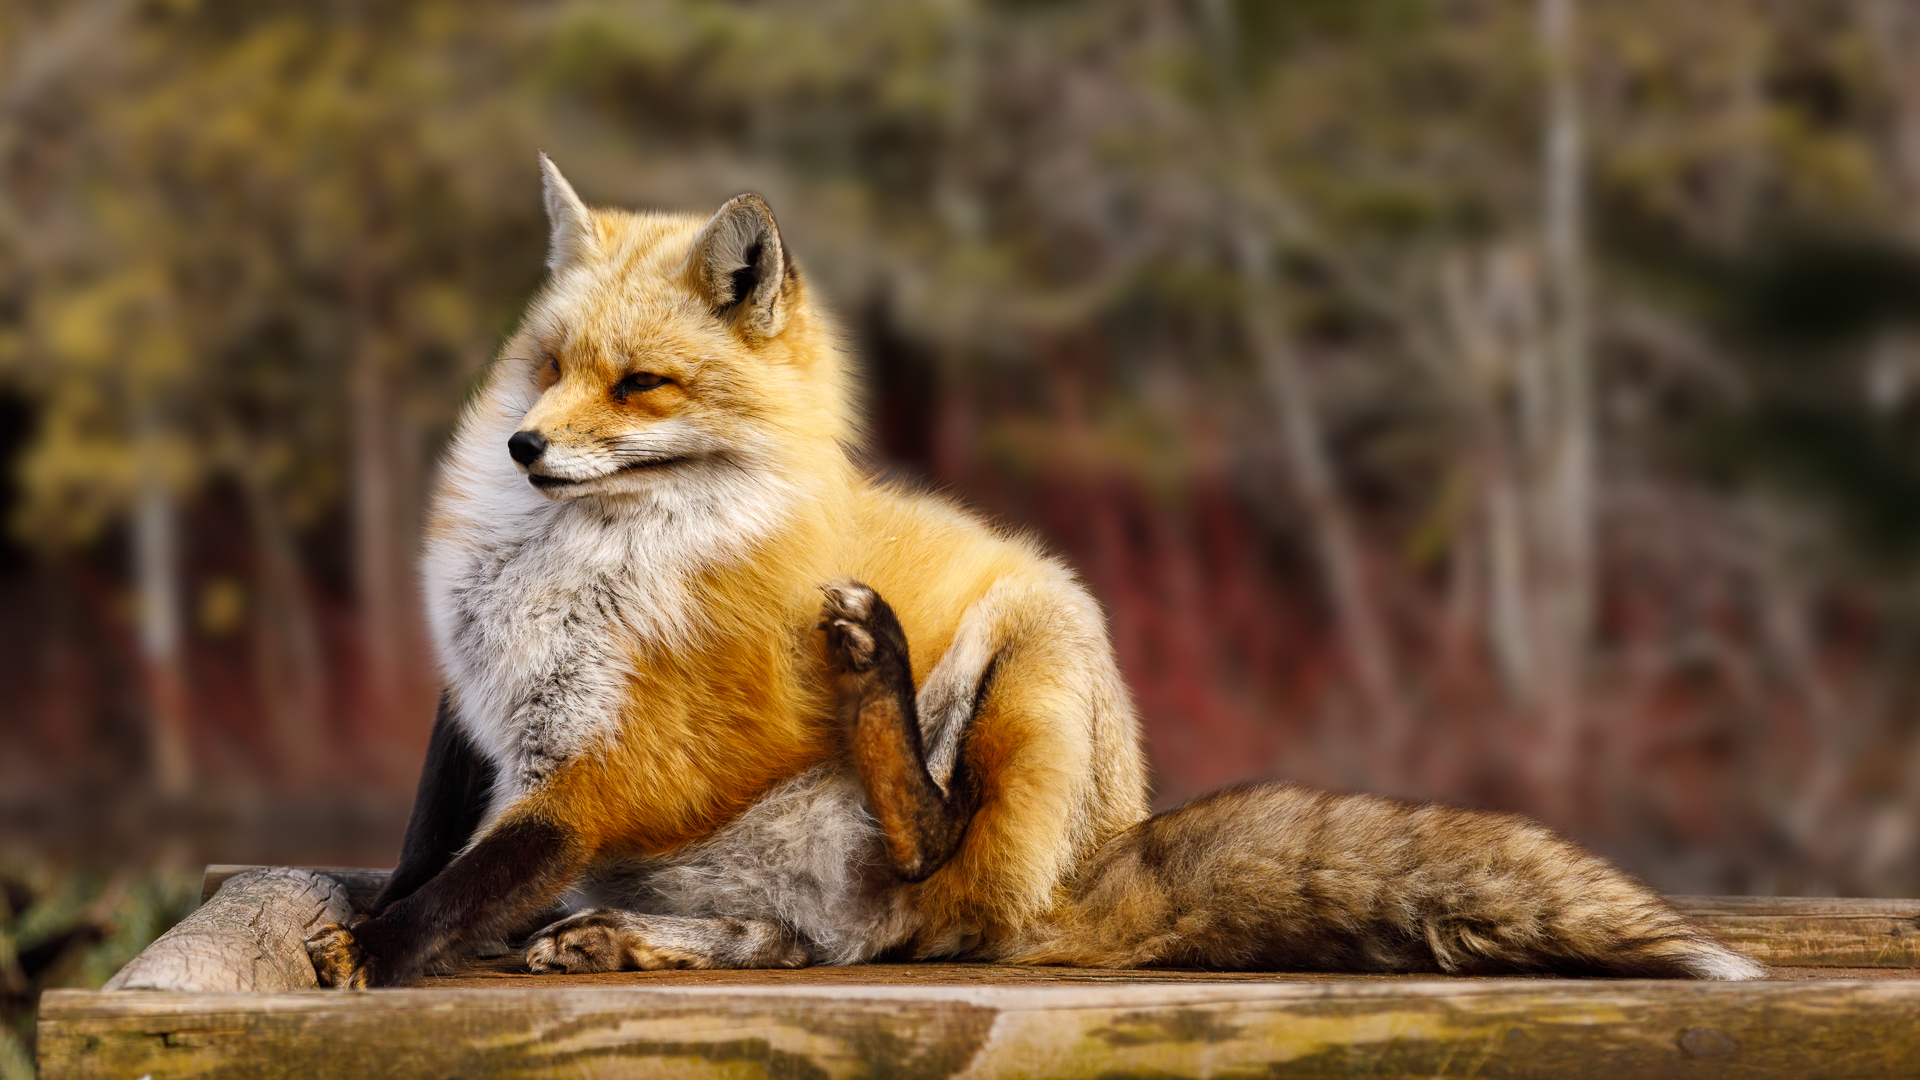
Below we’ll talk through some examples of golden light images, which will hopefully give you some ideas for this month’s challenge. Although the examples shown below are of landscapes and wildlife you can also shoot portraits in this type of light as well, especially side or back-lit portraits. The concept is to use the warm light to enhance your subject so consider your camera position in relation to the subject and the light.
Let’s see what Golden Hour images you create this month. If you want to share your image there is no facility to upload your image here, however just paste your social media link to the image in your comment and we’ll be able to see your image. Please note comments are moderated so it will not show up right away, however we do get a notification when any comment is posted so it won’t take long to get approved and subsequently show up.
As an example; take a look at the sample comments for an Instagram image and Facebook image at the bottom of the September 2021 Monthly Theme – Water blog post. By posting your social media link of your image in your comment, it gives us, or anyone visiting the bog, a chance to not only see your image for the challenge but also the ability to look at your other work as well by visiting your social media through your link. Again the comments here are moderated, we want sharing to be a positive experience. We hope you have fun this month with this challenge.
The first image of a Willet perched on top of a damaged lobster trap, that had washed ashore, was taken at a low angle to get the subject in a clean background. This time of day with the warm light gives an orange colour to the feathers which during normal daylight would be brownish gray with white. The warm light also provides a great background colour. Remember to focus on the bird’s eye. This was shot with a longer focal length, 600mm, and with an aperture of f/7.1 creating the creamy blurred background in the image.

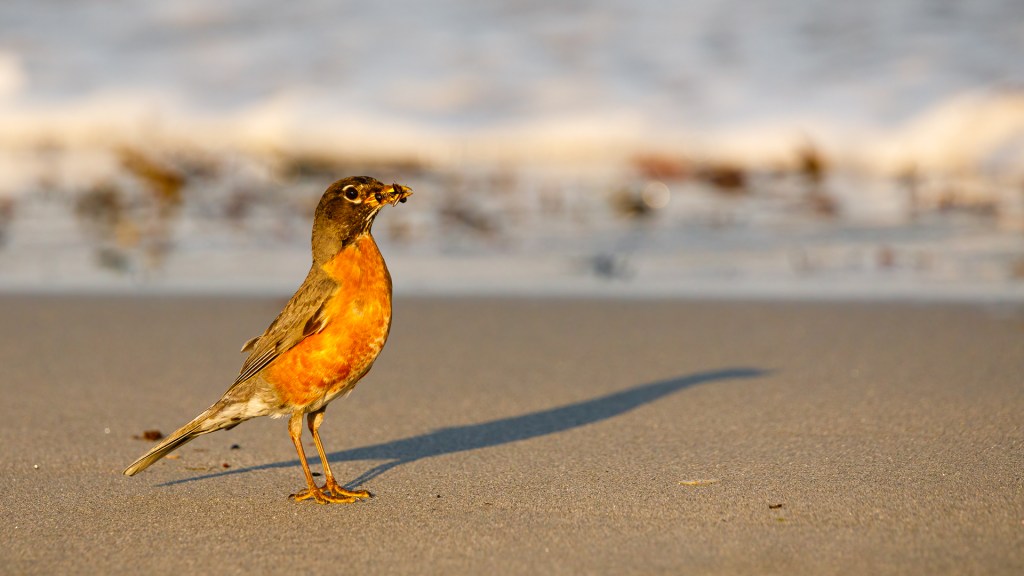
We don’t see American Robin’s very often at the beach close by where we live unless there is some seaweed on the sand where they can forage for insects. In the golden hour light it enhances the rusty red colour of the Robin’s breast feathers and also casts a long shadow which enhances the dimension of the bird. The background slight blue colour of the water is a complementary colour to the bird and the warm sand colour so the background also blends in well with this image.
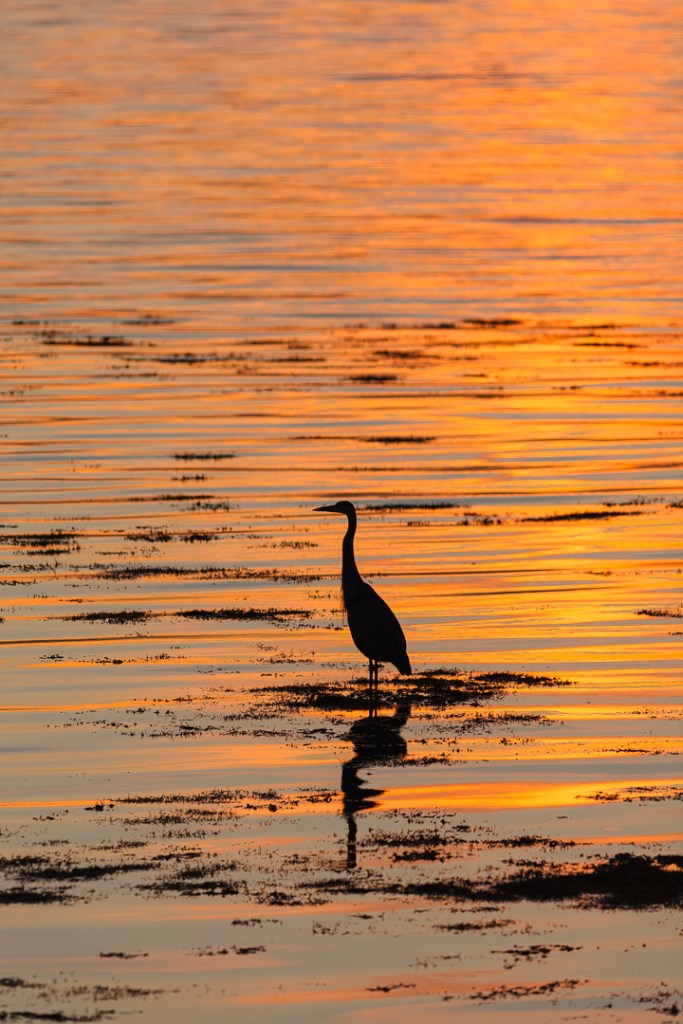
The image of the Great Blue Heron, is in silhouette due to the Golden Hour back light. It’s not always necessary to see detail in your subject as seen here you can still recognize the bird because of it’s shape which is also enhanced by the reflection in the water. The subject was placed in the bottom center to provide some symmetry for the golden water above and surrounding the bird.
The grass shown below is in part of a local swampy area in Blandford Nova Scotia, known as the dipper pond, which can be beautiful with golden light. You can also see the various shadows cast by the grass creating areas of interest due to the light being closer to the horizon. Taking this image was intended to be more about the colour and shadow. Also shot with a 1/15s shutter speed to get a slight sense of movement on some of the grass as the wind was blowing it around, which can be seen in a few areas. The wood post is the only remaining part of the fence, which has been deteriorating for quite some time, in that area of the swamp.

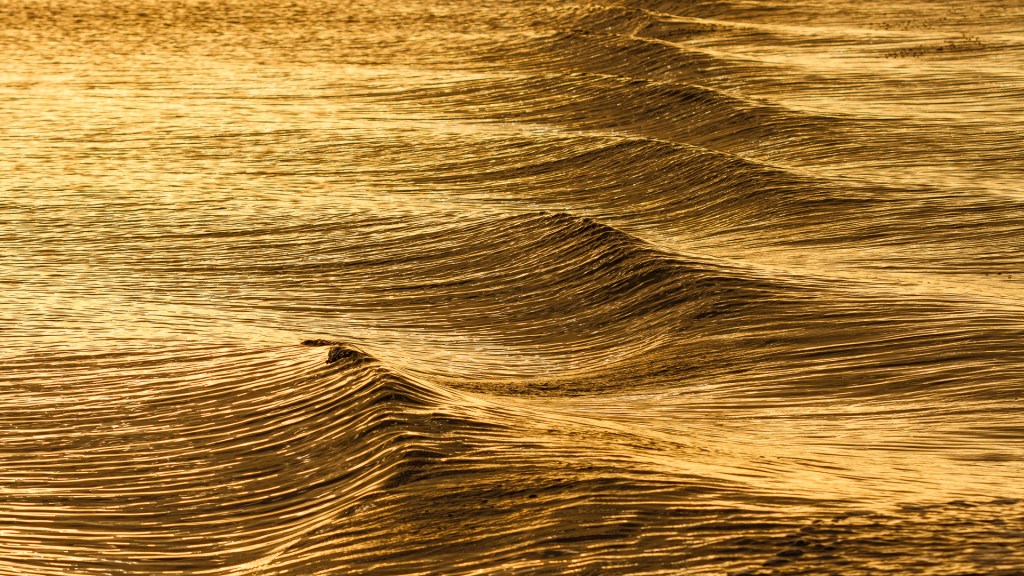
If you happen to be out in a boat in the early morning or early evening you might get a chance to capture the golden light on the waves from the wake created behind the boat as you’re streaming to your destination. This image makes use of selective focus to have the middle part of the image the sharpest.
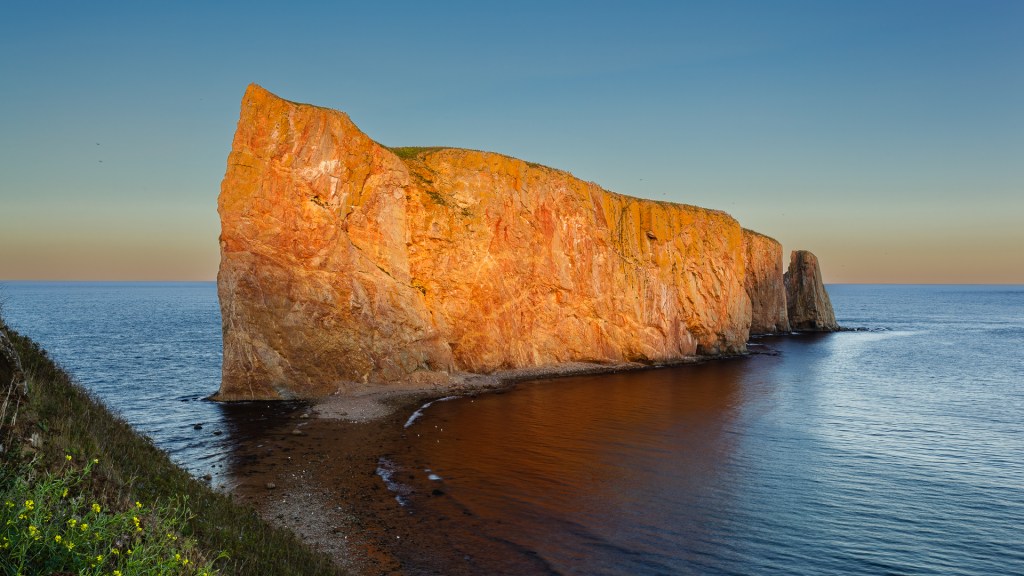
This next image shows golden light hitting Percé Rock at the end of day taken from The View Point of Percé Rock on Cape Mont Joli which can be a peaceful spectacular sight, taking in the Northern Gannets as they are flying around the rock and diving in the bay. The shadows on the rock are created as the sun gets even closer to the horizon, during sunset as the sun is dropping behind Mont Saint-Anne. Percé Rock is located in the town of Percé on the Gaspé Peninsula, Quebec, Canada.
With our monthly theme challenges we try to seek out an instructional resource, below are a few YouTube video links to help with some hints and ideas.
Golden Hour Photography instructional aids:
■ Landscape Photography Tips and Techniques – Capturing Light During The Golden Hour: Visual Art Photography Tutorials (9min 14sec)
■ Landscape Photography In Golden Hour: by Steven Hanna – Landscape Photography (7min 44sec)
Students are encouraged to develop their ability to tell a story or invoke an emotion, as well as how to plan and troubleshoot while creating their images. As such it’s important to not only create the image but to also include a “title”, and write a short paragraph about; how they came up with the idea, any interesting back ground that compelled them to make the image, and describe any techniques on how they overcame any obstacles.
An important part of improving your photography is practice, which is one aspect of the monthly theme challenge, in addition you have an opportunity to learn about different genres, techniques and tips.