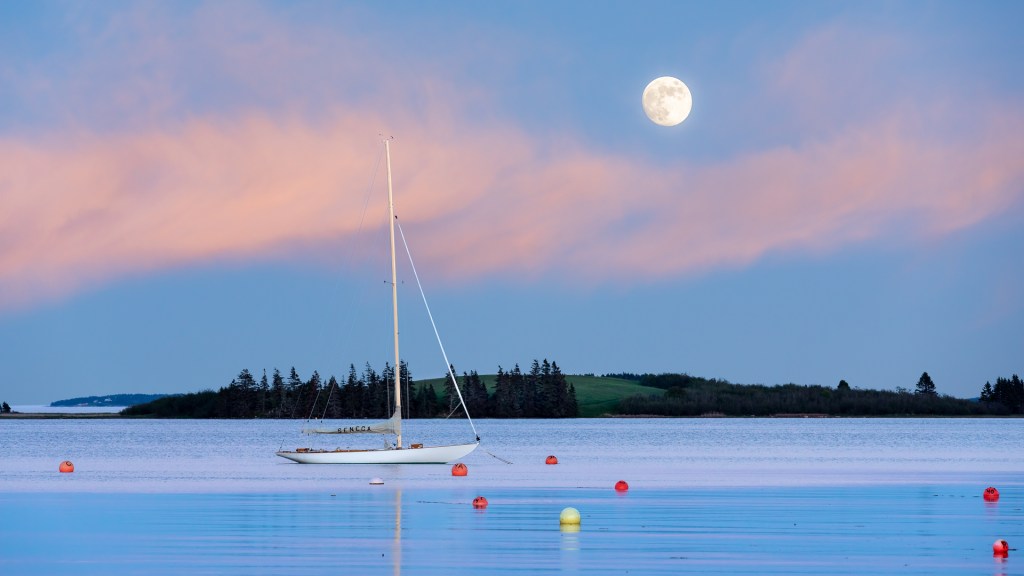

Sorry for the late post this month. The theme challenge for August 2022 is “Summer Fun“. This month the assignment is to go out and enjoy summer and while you are out capture what’s going on around you. We’ll show some examples below but you are certainly not limited to just these ideas, it’s just to get you thinking. Let’s see what images you create this month.
If you want to share your image there is no facility to upload your image here, however just paste your social media link to the image in your comment and we’ll be able to see your image. Please note comments are moderated so it will not show up right away, however we do get a notification when any comment is posted so it won’t take long to get approved and subsequently show up. By posting your social media link of your image in your comment, it gives everyone visiting the bog a chance to not only see your image for the challenge but also the ability to look at your other work as well by visiting your social media through your link. We want sharing to be a positive experience and we hope you have fun this month with this challenge.
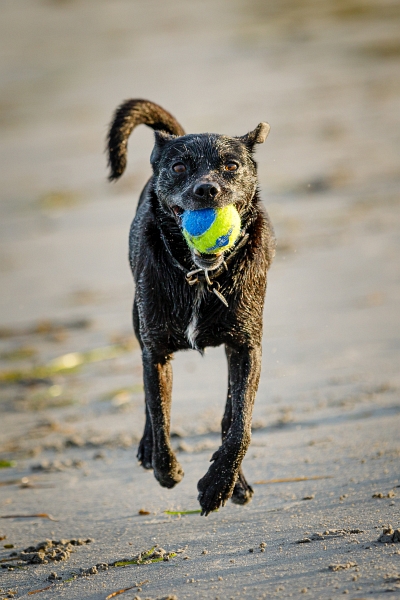
As you are out and about this month observe what is going on around you and capture what you see you think would be fun or someone having fun. The first image of the girl on the beach would be a great subject to represent someone having fun. However, let’s be clear here this was my grandchild so it was no problem to photograph her because I had her parents permission, but please do not take images of children unless they are yours or related and still make sure you have permission to photograph them by their parents and leave the sharing online to them unless they have hired you to take the photos and you have a signed model release, even then keep the safety of the child in mind at all times. The second image of the dog was taken at a local beach and who was enjoying playing fetch with it’s owner. Introduce yourself and ask if the owner minds if you take photos of their dog, and remember to get their email so you can offer to send them a photo or two as a thank you, they will appreciate it.

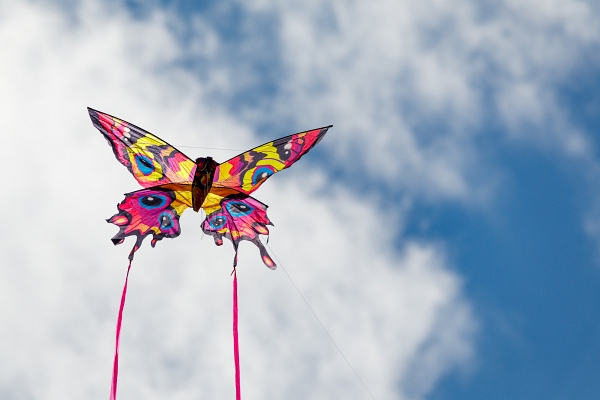
Looking at the next image, when was the last time you flew a kite? They can be very interesting and colourful and if there are some clouds with blue sky for a great background your image will be even better. There are so many flowers this time of year, flowers are a difficult subject but take your time and you’ll have a lot of fun. Think about composition, perspective, and a clean background and you’ll come away with some great images.

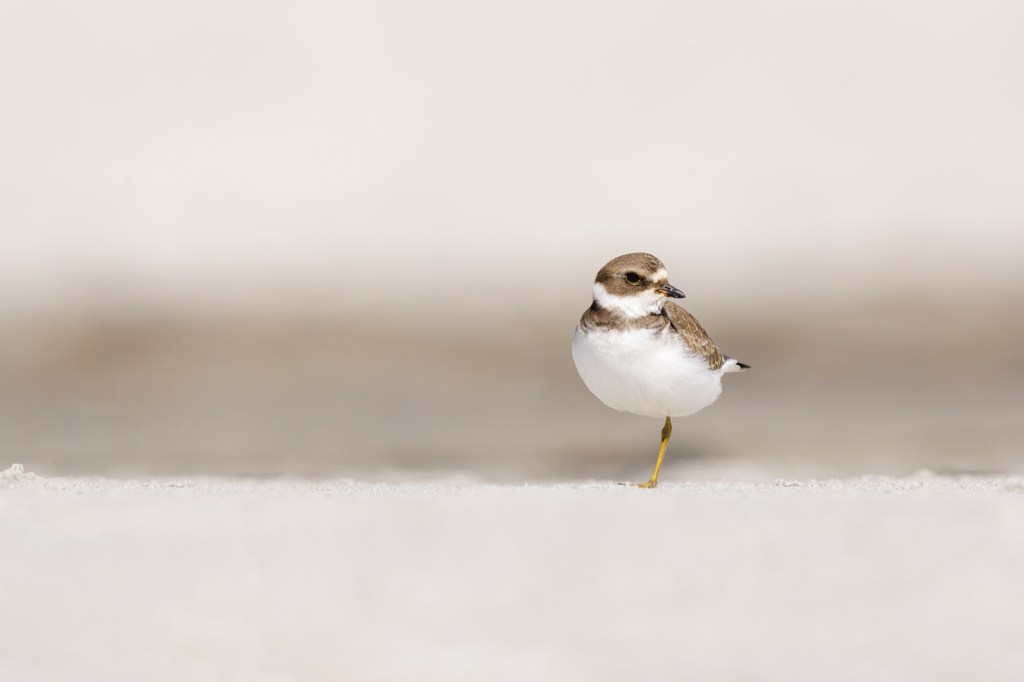
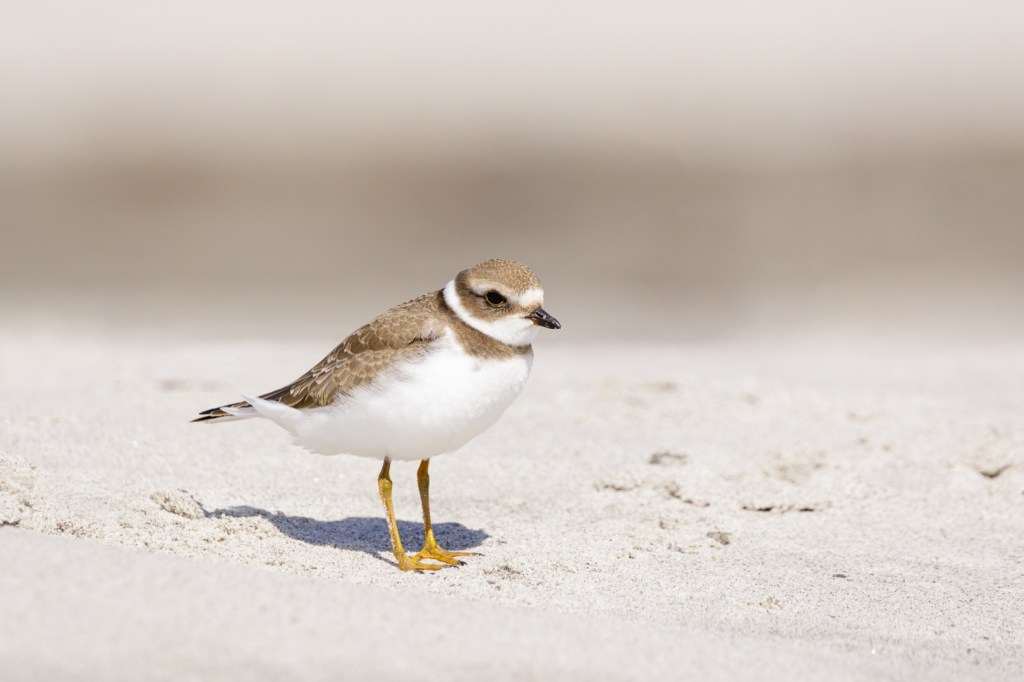
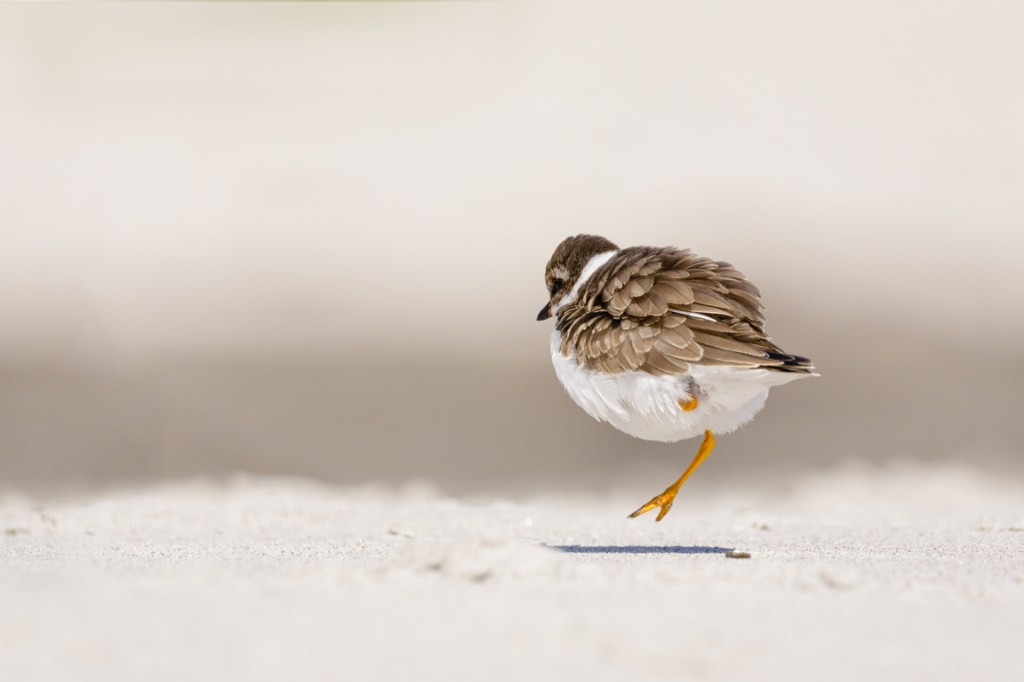
The shorebirds such as sandpipers and piping plovers should be migrating soon and you’ll be able to go to a beach and get an opportunity to spend time with them and capture some great images. Have some fun yourself and remember do not chance the birds, observe them to see what they are doing and go sit where you think they are going to go. Wait for them to come to you. They will come very close if you stay still and wait. Be patient and you will be rewarded. Remember to get low as possible, sit kneel or even lie down on a sheet of plastic or blanket.

With our monthly theme challenges we try to seek out an instructional resource, below are a few YouTube video links to help with some hints and ideas.
This Month’s Photography instructional aids:
■ How To Photograph Shorebirds: by Simon d’Entremont (12min 7sec)
■ My 8 Best Tips for Flower Photography: by Micael Widell (8min 9sec)
Students are encouraged to develop their ability to tell a story or invoke an emotion, as well as how to plan and troubleshoot while creating their images. As such it’s important to not only create the image but to also include a “title”, and write a short paragraph about; how they came up with the idea, any interesting back ground that compelled them to make the image, and describe any techniques on how they overcame any obstacles.
An important part of improving your photography is practice, which is one aspect of the monthly theme challenge, in addition you have an opportunity to learn about different genres, techniques and tips.