For this month, June 2023, the theme challenge is “Pets”. Since the Covid-19 pandemic and the recent wildfire events, we begin to think about our families and friends from a more personal point of view. It’s now more important than ever that we take the time to create lasting memories with a photograph. So this month let’s start with our pets, even if you do not have a pet yourself, visit a local beach or park and I guarantee there will be people there with their dog who are typically more than grateful for you to take a few pictures of their pet, just kindly ask them first. Then share your email address so they can contact you to receive a free photo. It’s always nice to give back and provide a digital image in return for them letting you practice with their pet.
One easy way to give the pet owner your contact information is have an image on your phone that has your picture and email information so they can take a photo of it. You can also create a simple Google Sites page with your contact information and then create a QR-code using https://qr-creator.com/ and have it on your phone that will take the pet owner directly to that Google Sites page. The exchange can be very fast and simple.
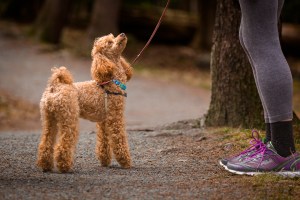
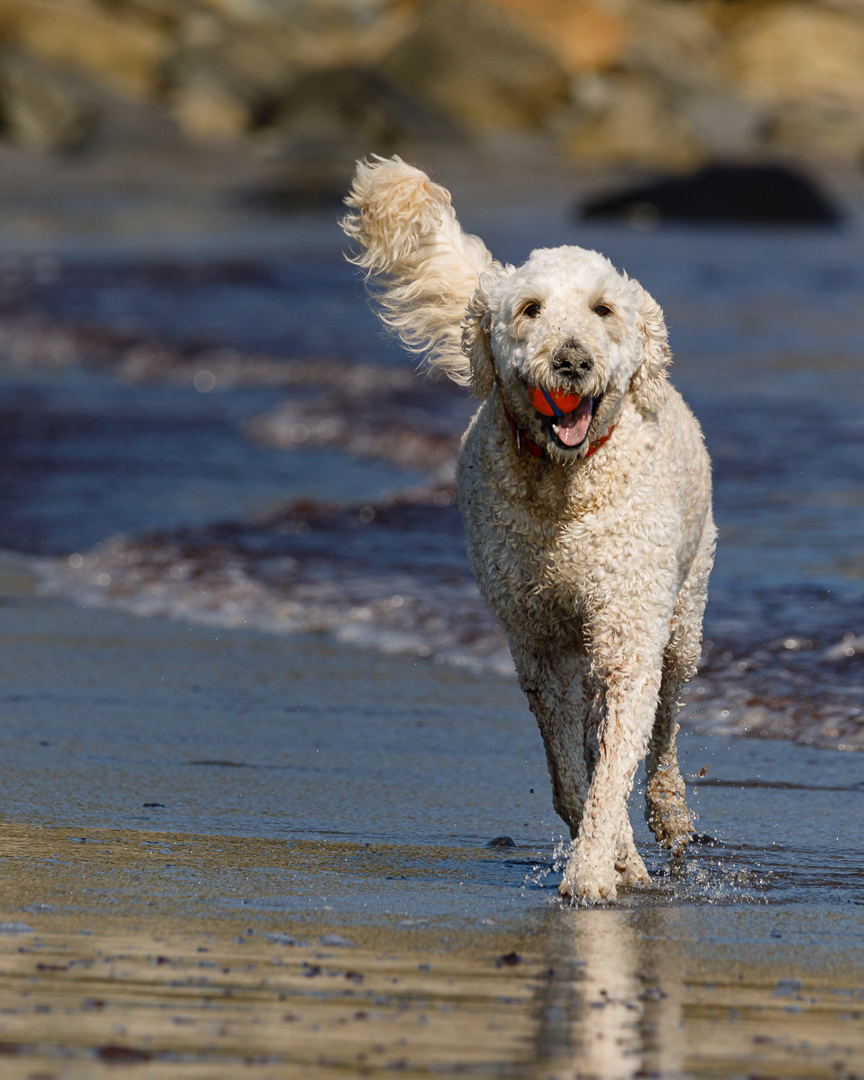
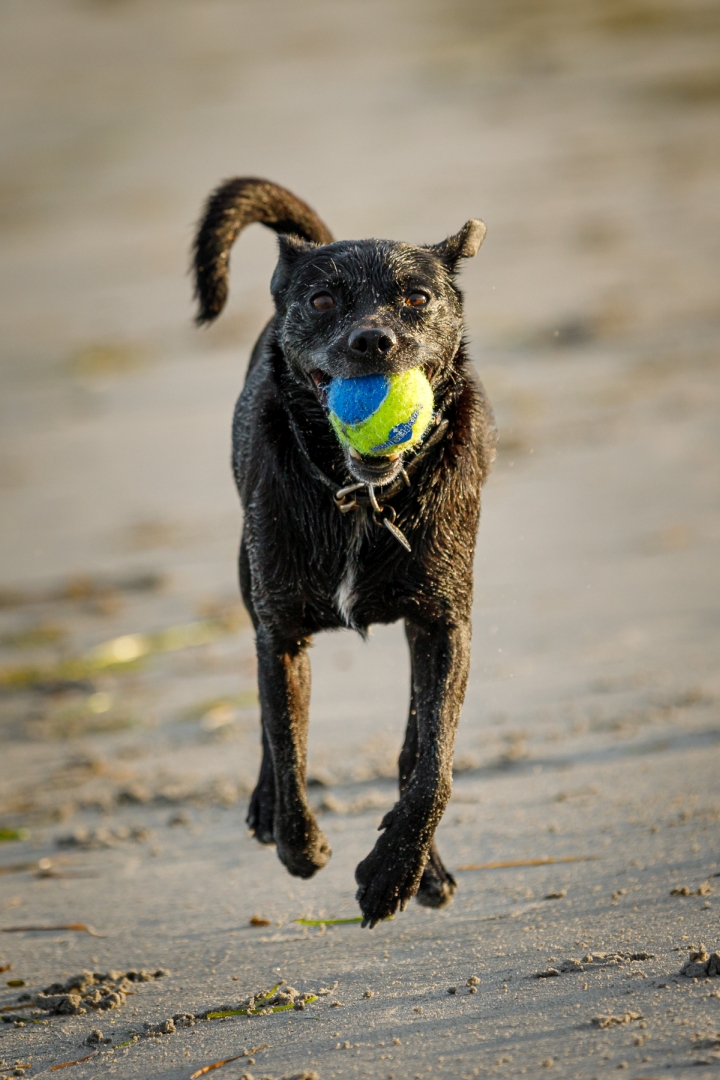
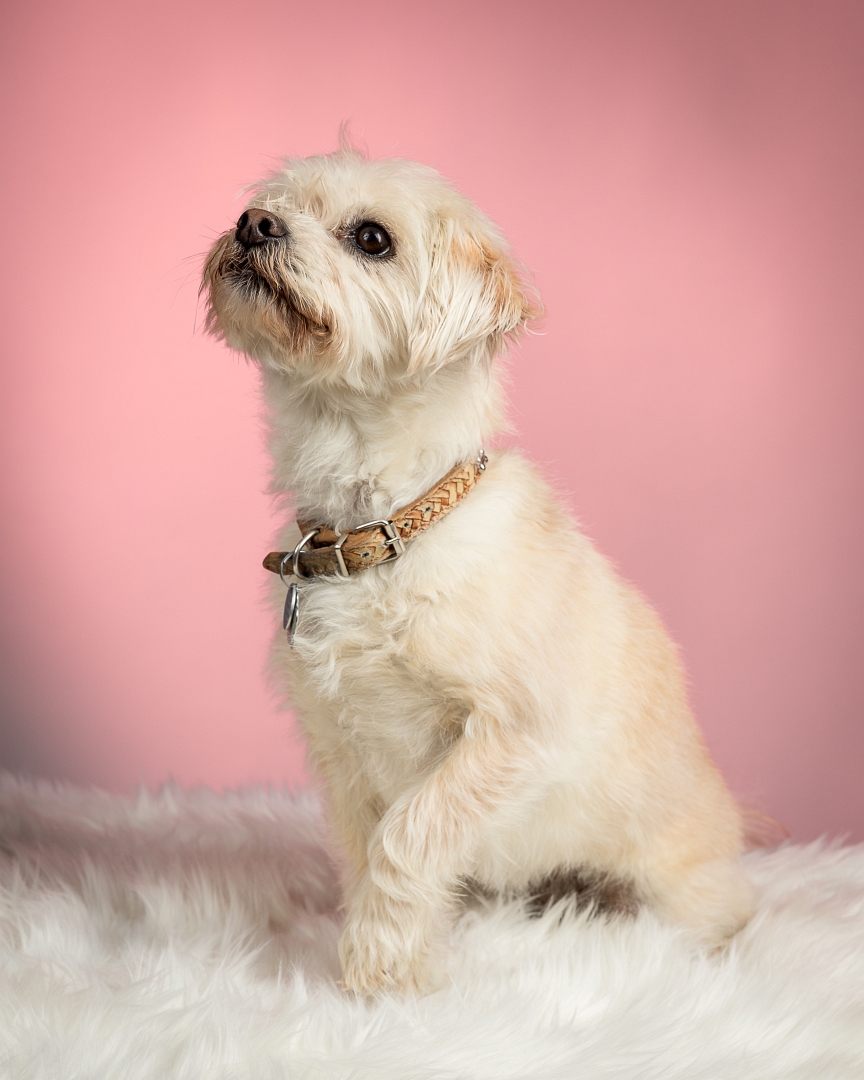
You have many choices as to how to decide to capture the image. You can show the relationship between the owner and pet or just the pet on it’s own showing an inquisitive look or running having fun. The most important things to remember are; get down to eye level, if the dog is moving use a fast shutter speed 1/1000 to 1/2000, use continuous focus on the pets eye, and don’t be afraid if your ISO needs to be higher because of the need for a faster shutter speed. Consider an appropriate aperture to blur the background enough to still have a sense of place but to help separate the pet from the background. Typically these sample images are best taken using a zoom lens between 100mm to 200mm. Also consider the direction and quality of light that best suits to make your pet stand out in the photo.


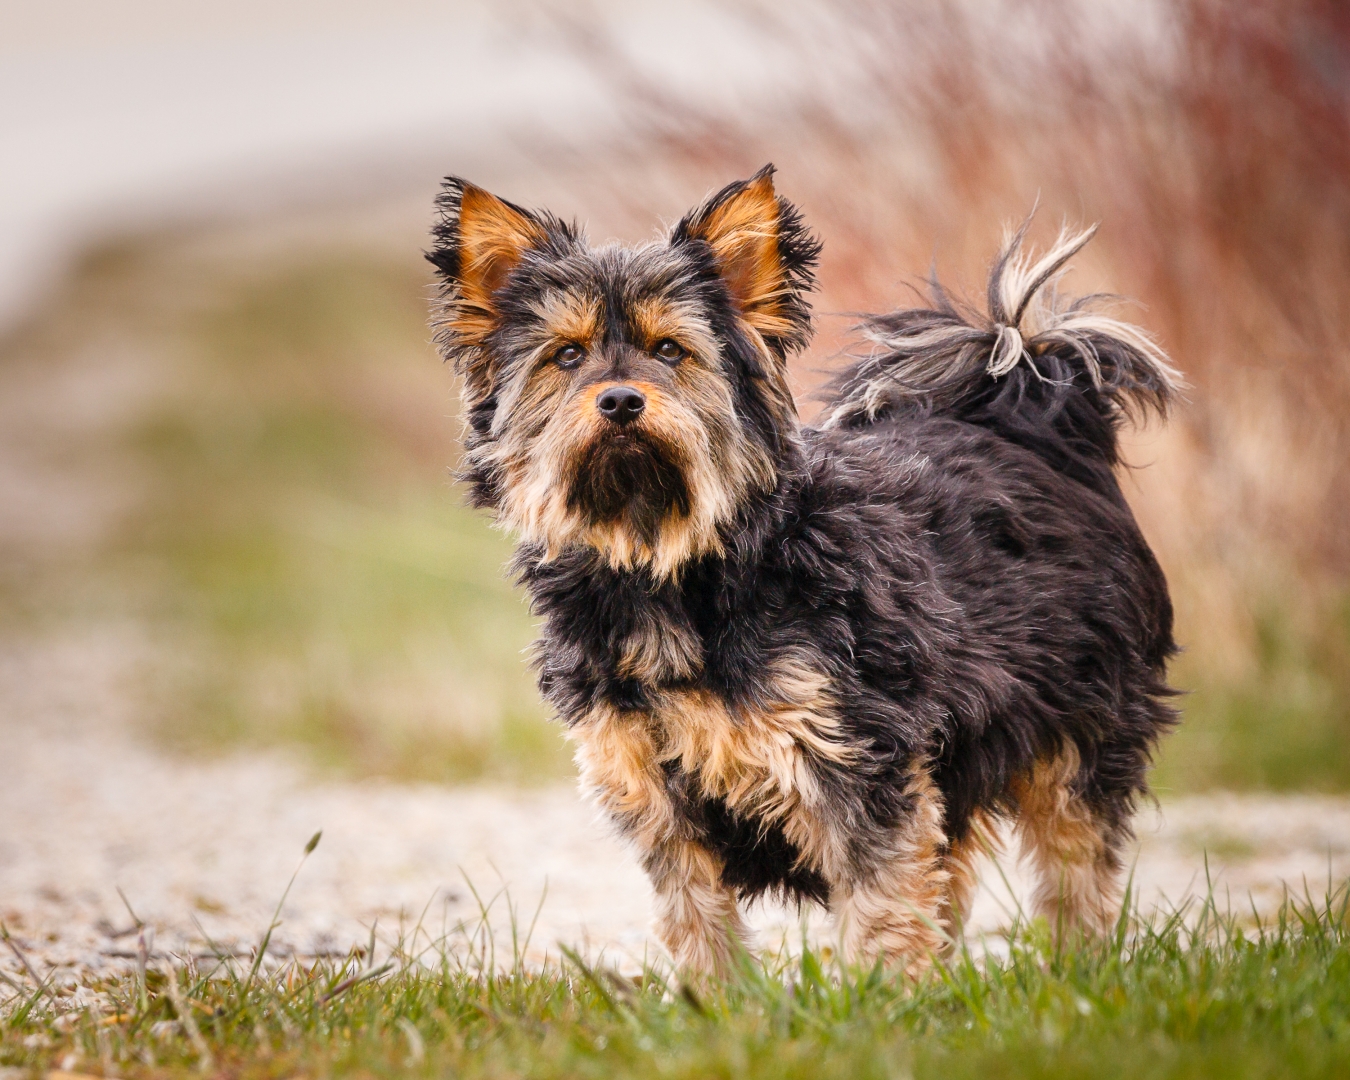

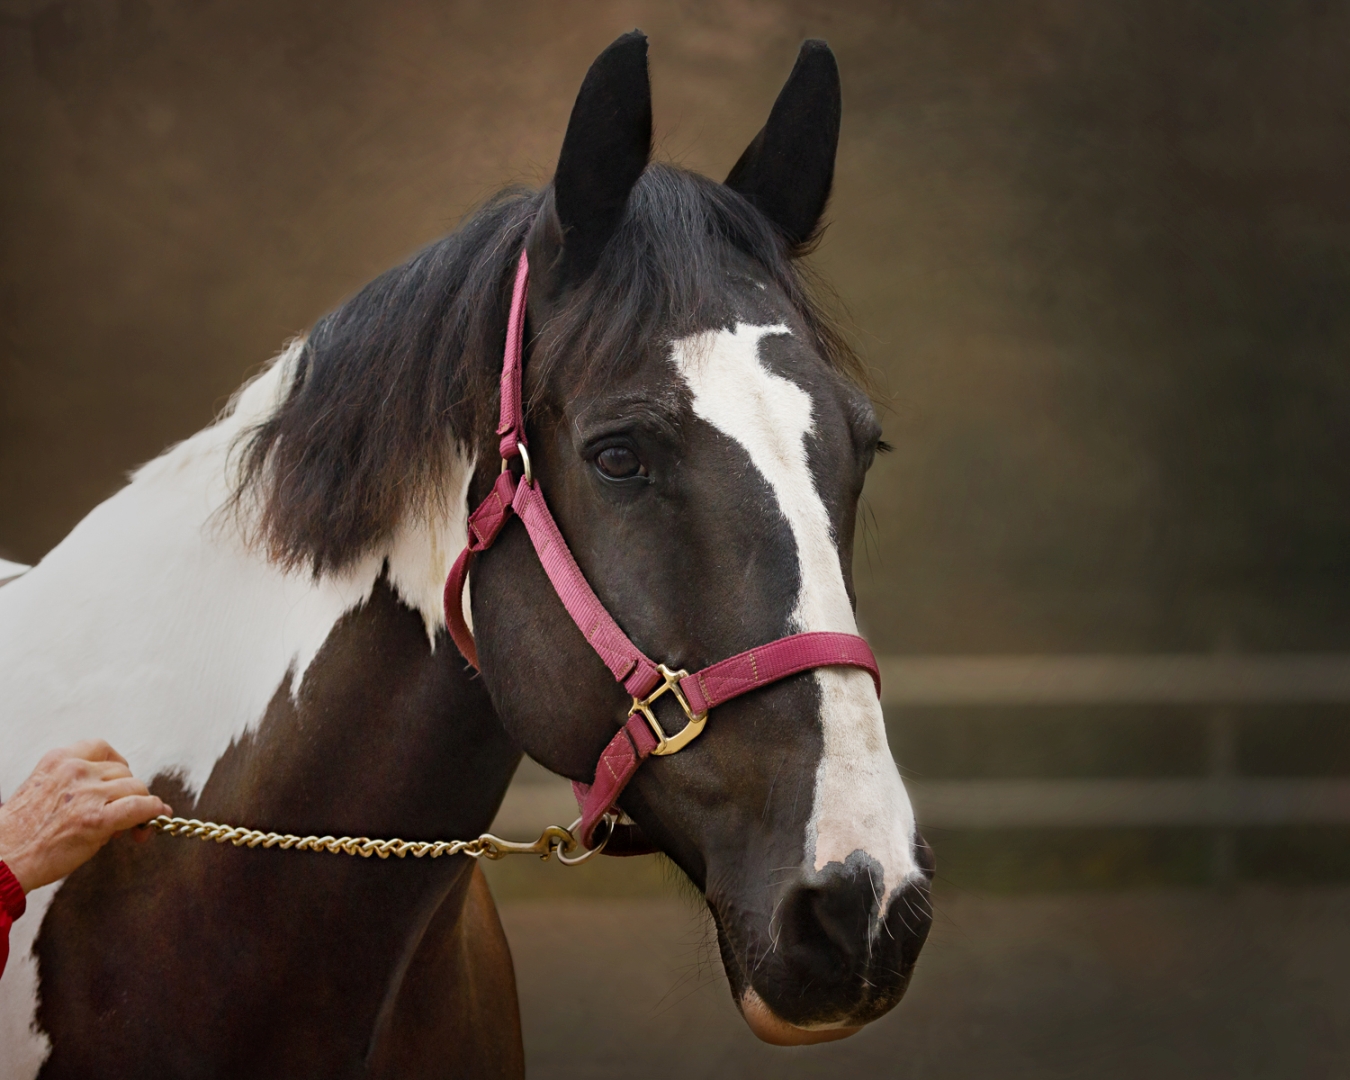
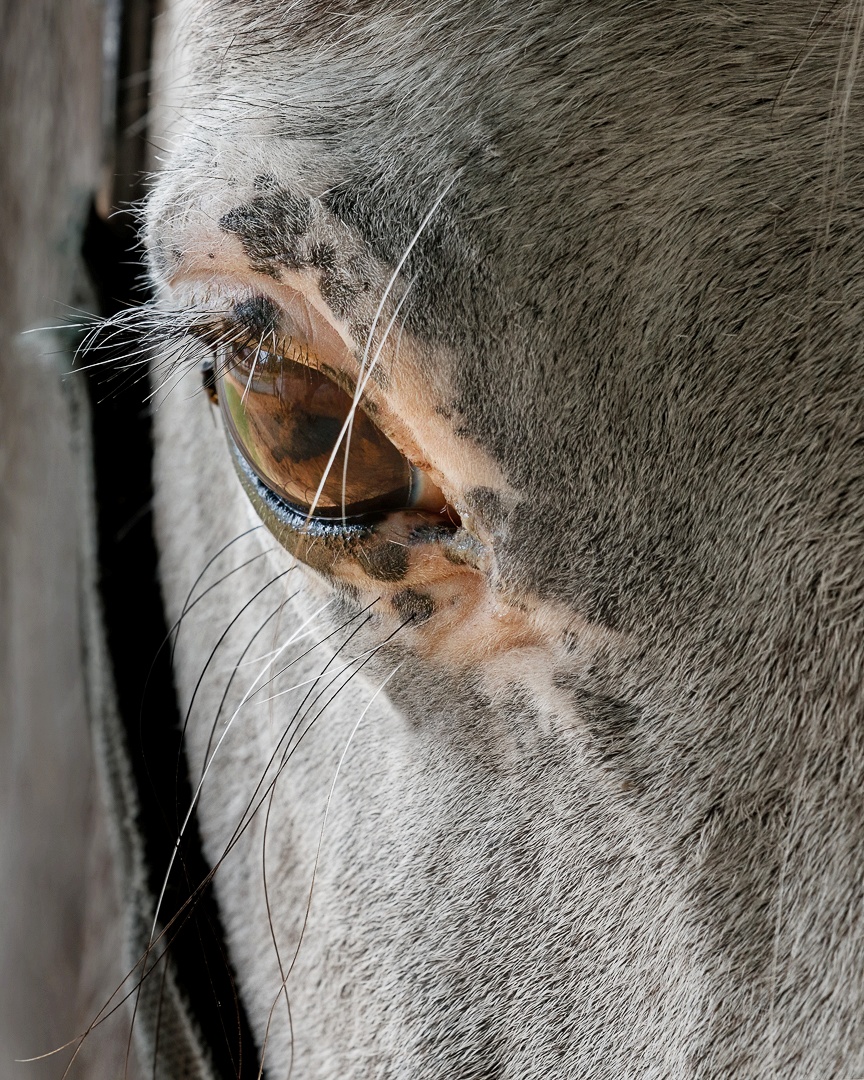
You’re not limited to Dogs either there are many other pets such as but not limited to horses, and cats.

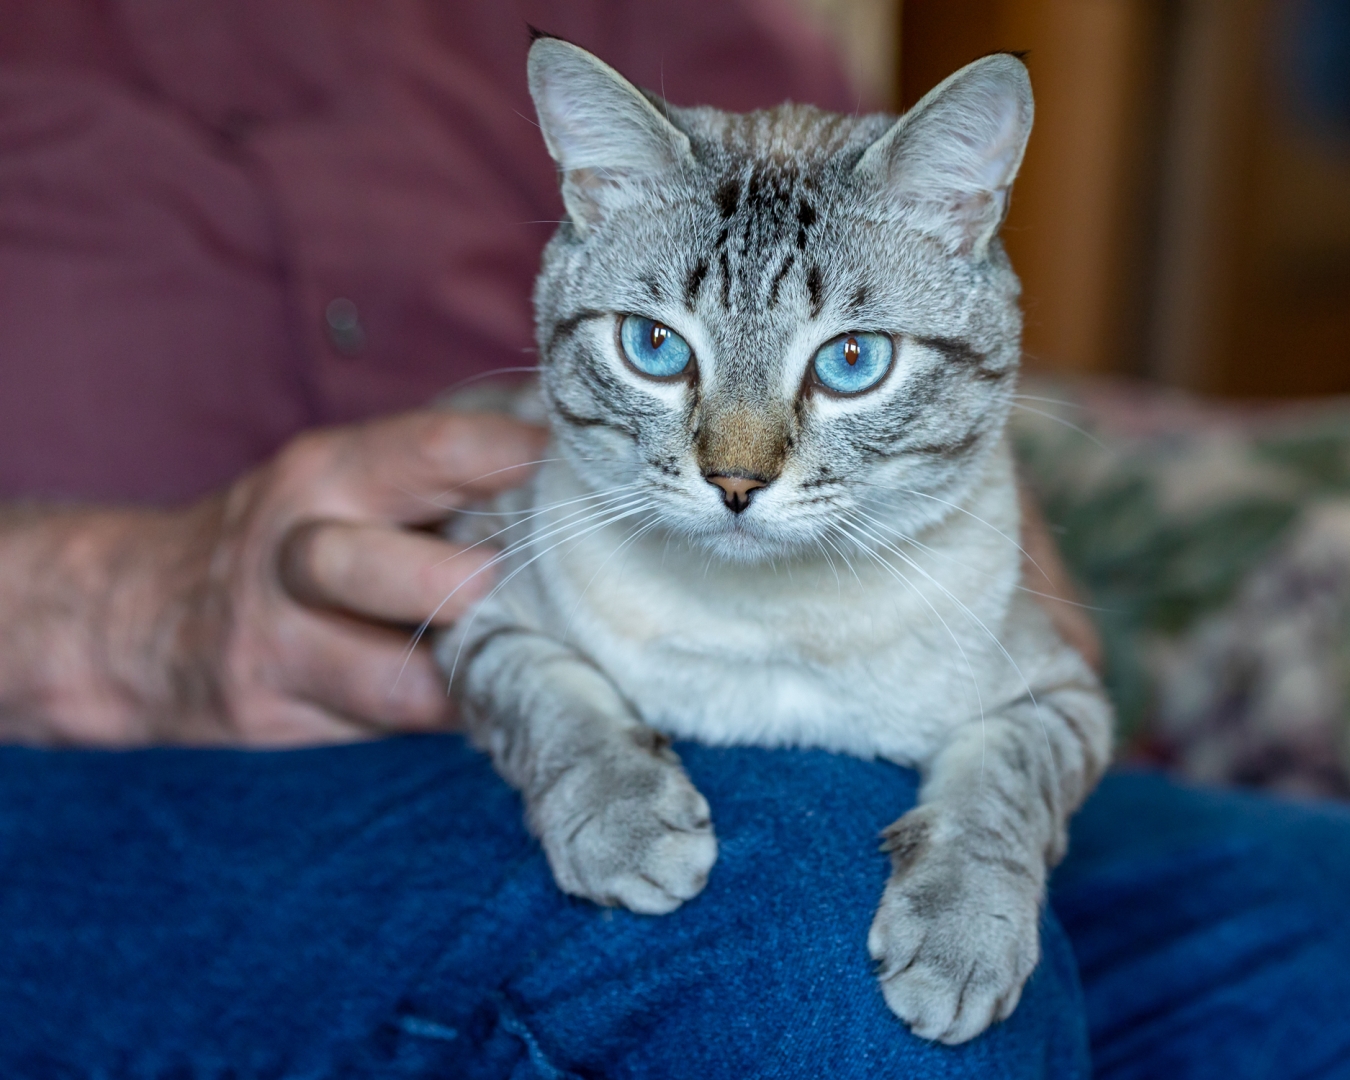
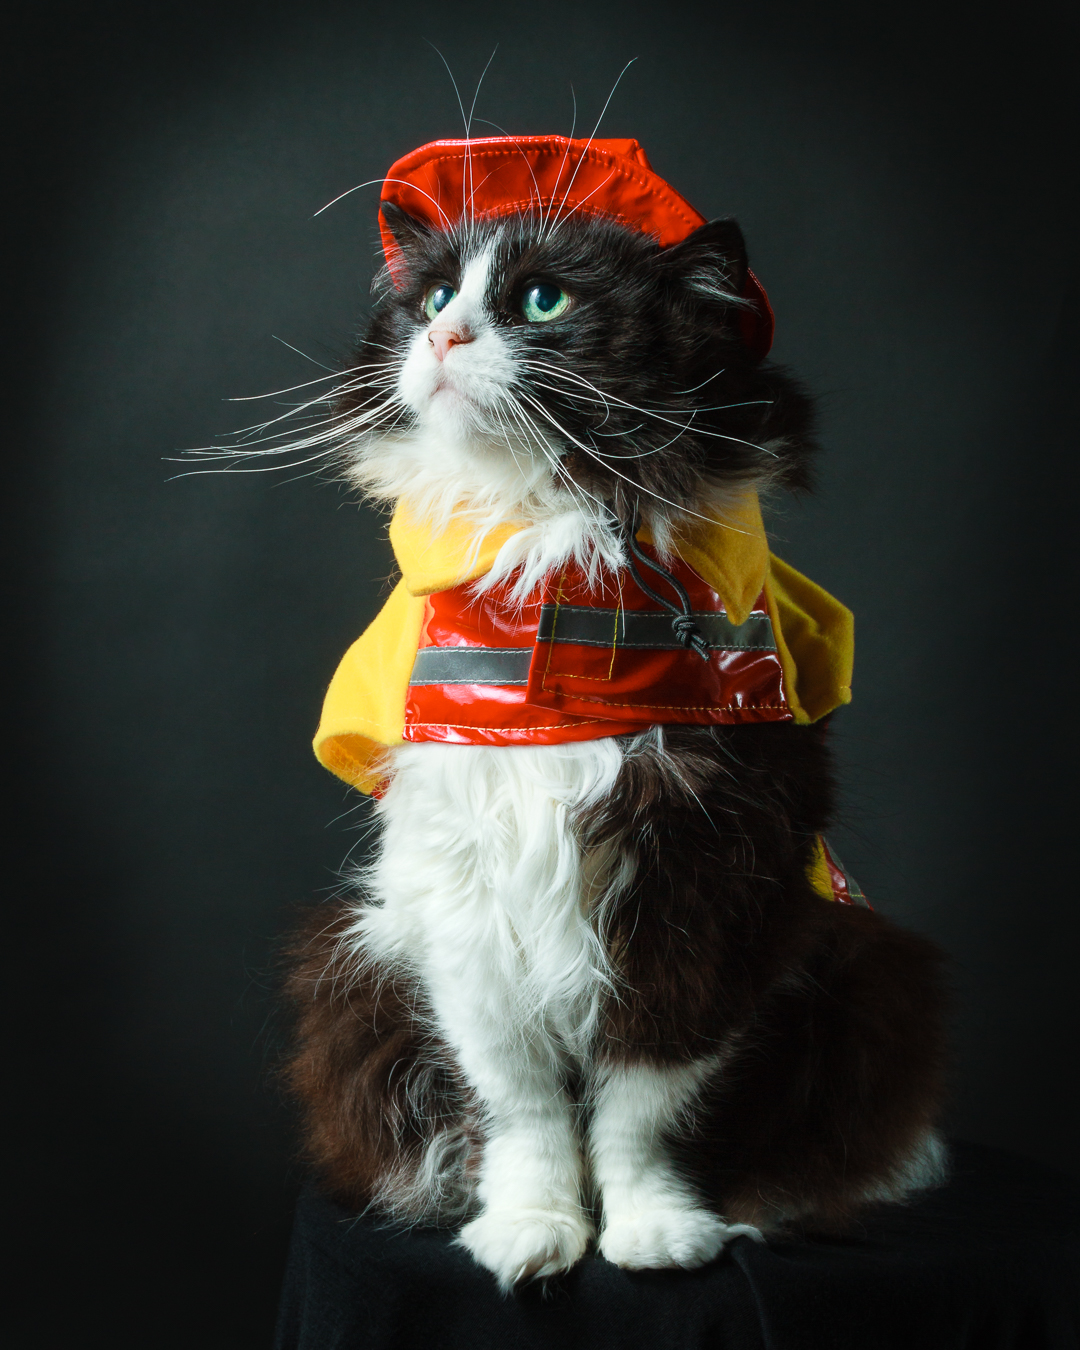
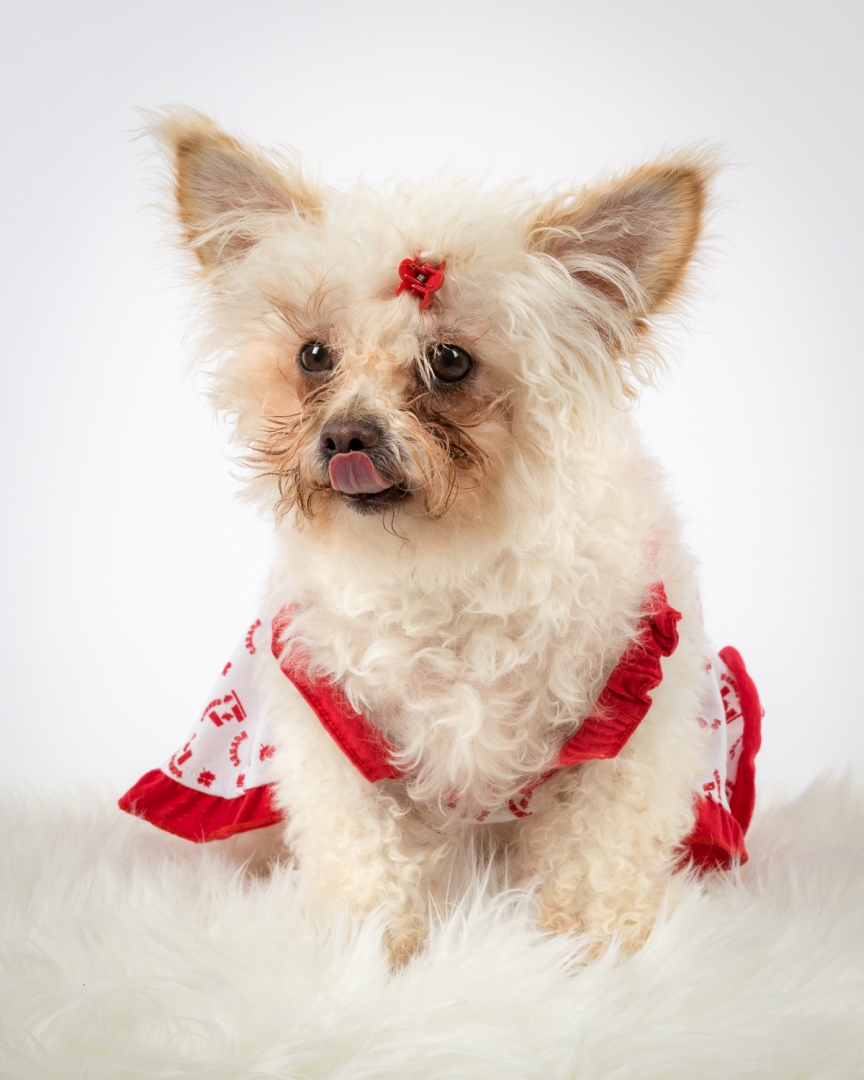
If you have the resources to do some pet photography inside, if the pet is co-operative, and you have props or outfits take advantage of the situation and do some more formal portraits, just have fun with it.


Students are encouraged to develop their ability to tell a story or invoke an emotion, as well as how to plan and troubleshoot while creating their images. As such it’s important to not only create the image but to also include a “title”, and write a short paragraph about; how they came up with the idea, any interesting back ground that compelled them to make the image, and describe any techniques on how they overcame any obstacles.
As always with our monthly theme challenges we try to seek out an instructional resource, below are a few YouTube video links to give you some hints and ideas on how to photograph pets:
■ 8 Tips for Dog Photography by COOPH & photographer Anne Geier (4 min. 40 sec.)
■ 10 Tips for Dog Photography by The Photographer Academy & photographer Andy Biggar (7 min. 27 sec.)
■ 10 Ways to Instantly Improve Your Photos with 2020 Pet Photographer of the Year, Jessica McGovern by That Tog Spot (15 min. 57 sec.)
■ Take Expressive Pet Portraits on iPhone with Sophie Gamand (10 min. 52 sec.)
An important part of improving your photography is practice, which is one aspect of the monthly theme challenge in addition you have an opportunity to learn about different genres, techniques and tips.