Podcast Episode #15 – Jan 16, 2023
In this podcast interview we will be talking to Josée Talbot, a Graphic Designer and equine/equestrian Photographer, currently based in Lotbinière, Québec.
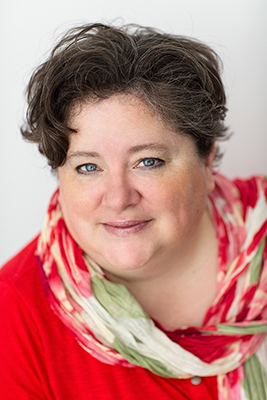
Josée Talbot, is a Graphic designer and Photographer by profession, from Québec City, in a district of Limoilou, now settled in Lotbinière. Passionate about horses since her childhood, she drew them everywhere, even winning several drawing contests! On school benches, Josée dreamed of wide-open spaces, manes in the wind, open nostrils, wild gallopades, the sound of hooves, in short, horses lived in her imagination! Film photography was a discovery for her while studying design at Cégep de Sainte-Foy in the 80s. In 2008, she decided to do it more seriously, but in digital this time.
You could say she is self taught in digital photography, with friends who are pro photographers always eager to help her. Josée took a couple of workshops where she learned a lot and has been attending horse shows since 1987, first as a competitor with her horse, then simply to watch others compete and then, to photograph classes. She started photographing horse shows in 2009 up until 2020, and still does from time to time. Knowing this sport, Josée makes pictures that show her customers and their horses to their best.
Specializing in equine (and equestrian), wildlife, nature and landscape photography. In April 2014 joining the Professional Photographers of Canada (PPOC), received her first accreditation in equine photography a month later with a mention of Excellence. The first time attending the National Image Salon Competition in 2015, she received a score of excellence for her photograph titled “Monroe” and which was selected to be part of the PPOC Loan Collection. In 2016, she received a second accreditation in Fine Art photography. In 2017, Josée attained another Excellence and a Best in Class for her photograph “The Left Turn” in the Fine Art category which was also selected to be part of the Loan Collection. A huge honor! In April 2020, she received a Craftman of Photographic Arts (CPA) and in 2021 a Master of Photographic Arts (MPA), designations delivered by the Professional Photographers of Canada. A great accomplishment but, most of all, a great recognition from her peers. In Summer 2022 Josée joined the Equine Photographers Network, an association for equine and equestrian photographers from all around the world where she feels more at home.
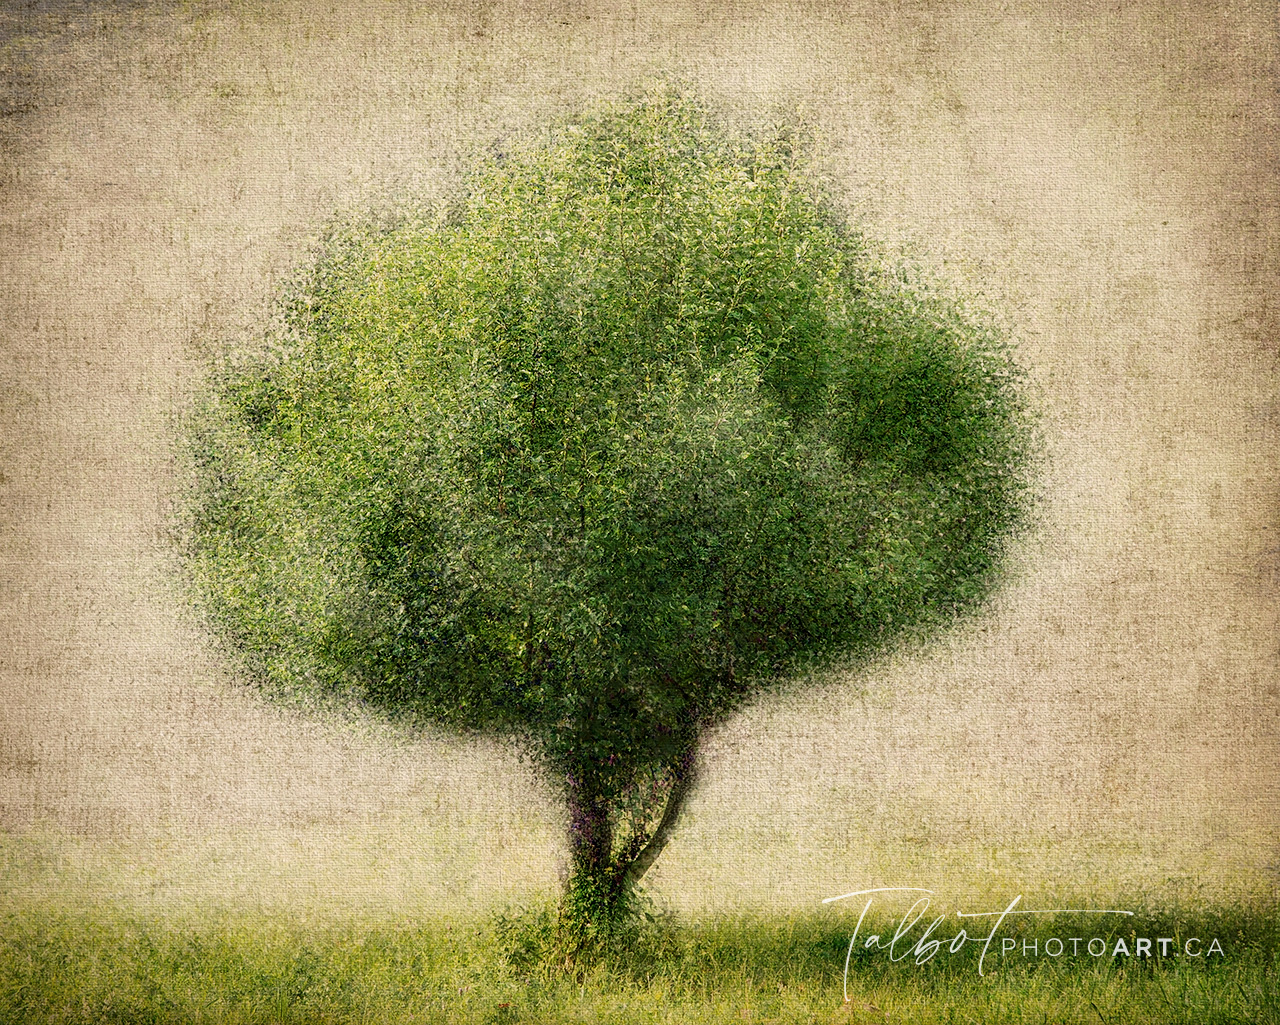
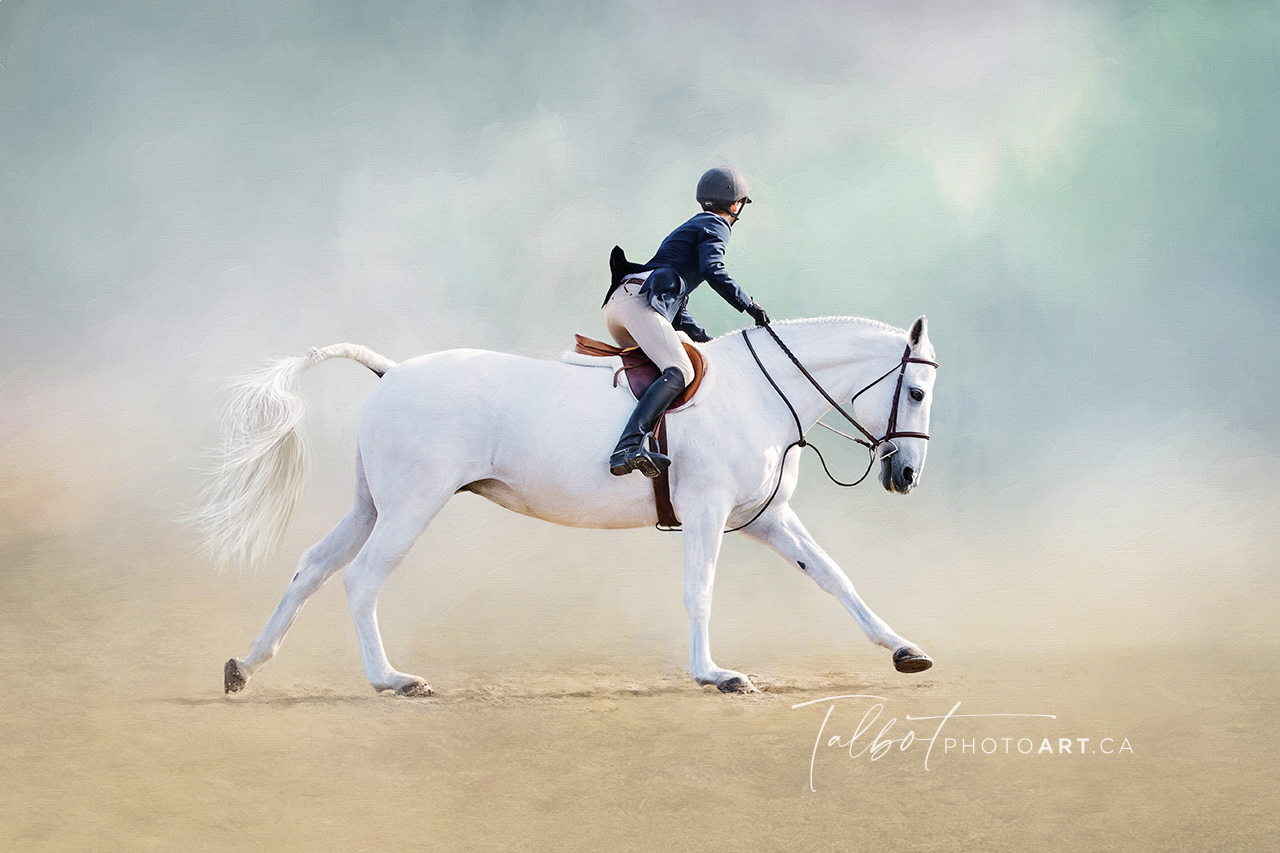
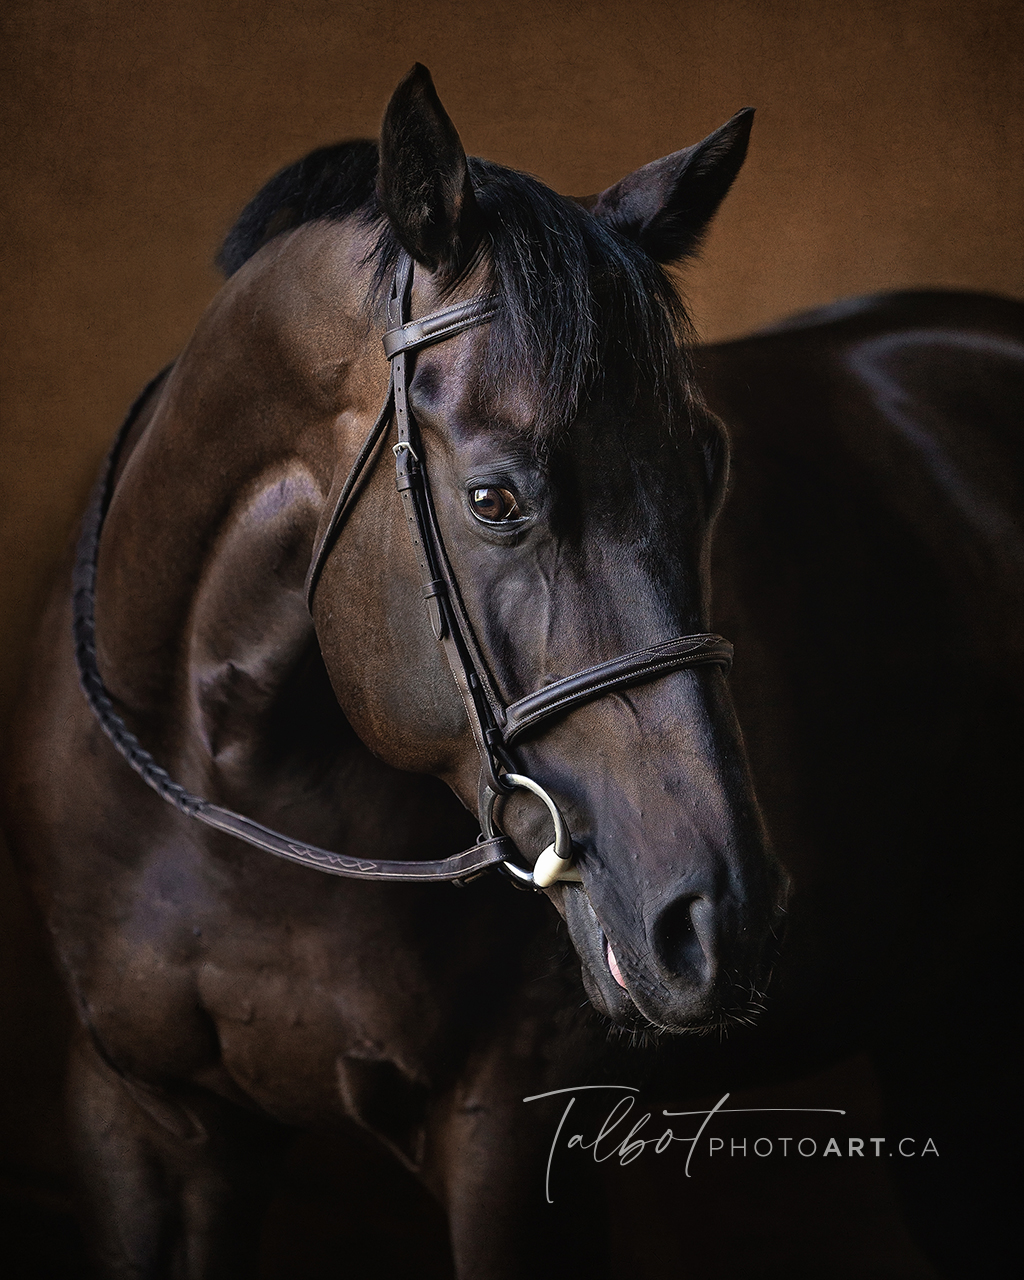
Josée likes to push her images further and work with the graphic tablet with software such as Adobe Photoshop, Topaz Impression, and more recently, Jixipix Pastello and Impresso Pro, which is called digital art. By thus working her images, to stand out by her unique style, the rendering of the gestuals, and sometimes even, to confuse a photograph with a painting. She aims to produce Fine Art images that every horse lover would want to hang on their walls.
In 2018, Josée’s first solo exhibition was at a charming restaurant in Vallée-Jonction, Le Resto St-Vincent. It was a great experience and a success, and hoping to do it again! She also offered her first equestrian photography workshop in September 2018, another one in August 2020, and offered 2 workshops in Summer 2022 to members of a photo club. Josée finds teaching very rewarding!
You can follow Josée’s work and learn more from the following links:
■ Facebook: TalbotPhotoArt
■ Website: talbotphotoart.ca
■ Instagram: josee_talbot
Links to Magazines mentioned in the podcast:
■ Cover and feature article in Photo News Magazine Summer 2022 Issue pg 24
Josee Talbot Equine Portfolio Interview.
■ Cover and feature article in PPOC Gallerie Magazine Fall 2021 Issue pg 10
Josee Talbot MPA, Horses Seen Differently.
■ Cover and feature article in PPOC Focus Magazine October 2014 Issue pg 14
(French) Josee Talbot Accredidation Equine.
Links to Photographers mentioned during the podcast:
■ Raphael Macek
■ Tim Flach
■ Bev Pettit
■ Katarzyna Okrzesik-Mikołajek
Links Related to Sable Island:
■ Sable Island National Park Reserve Website
■ Roberto Dutesco (Sable Island photographer and film maker)
■ Movie about Sable Island Horses – Roberto Dutesco
■ Video of Sable Island – CBC
■ Video of Sable Island – Brinton Photography
From your podcast app click on this link to the images which will automatically use your browser.

The Music snippets that you hear in the intro and outro of the podcast is from “upbeat-motivation-corporate” by M-Dewala on Pixabay Music.