From our last lesson about “camera image resolution” that the size of the image is based on the camera sensor type and specifications, and is where the light is captured and converted into a digital image.
Image quality set to “RAW”
Not all cameras have the feature to capture images in “RAW” format, check your camera image quality settings to see if its an available option.
When the captured “image” is read directly from the sensor and then stored on the camera’s memory card without any conversion or processing, the saved “RAW” file is commonly referred to as a read-only digital negative. The “RAW” format is a proprietary format for each camera manufacturer and camera model.
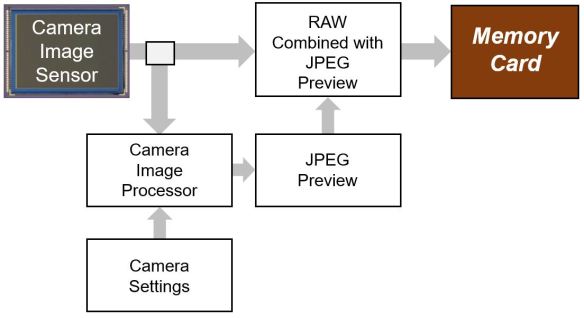
From the diagram below we see that the camera settings influence the Jpeg preview that is processed from the RAW file which then gets added to the RAW file before being stored on the memory card.
Advantages with image quality set to “RAW“:
■ Maximum amount of digital information captured in the image (higher dynamic range)
■ White balance colour values in “Kelvin”
■ More than 8 bits of colour
■ Uncompressed (lossless)
■ Read-only Digital Negative
Disadvantages with image quality set to “RAW“:
■ Every image requires post-processing
■ Large files, require more storage space
■ Images take longer to upload from the memory card to the computer
■ Limits the number of images captured in burst mode
■ Requires conversion/processing before being printed
There are many who say you must shoot in “RAW”. While choosing to shoot in “RAW” does give you the most amount of information, it is not always necessary or advantageous to use the “RAW” image quality setting, because it depends on what you are shooting. For example, if you were taking images at a sporting event and the images need to be published immediately then “RAW” is probably not the best choice. However, if your are taking landscapes then “RAW” would be the best choice.
Image quality set to “Jpeg”
The “Jpeg” quality setting is typically the standard default setting for your camera. It is important to understand that your camera settings apply post-processing to your image that is stored on the memory card.
From the diagram below we see that the camera settings and the camera image processor generate the Jpeg image from the sensor RAW information. The result of the camera processing is stored as a compressed “Jpeg” image on the memory card.

Advantages with image quality set to “Jpeg”:
■ Standard image file format
■ Smaller files, less storage space
■ Share directly to social media
■ Directly to print
■ Camera settings applied directly to image (post-processing)
Disadvantages with image quality set to “Jpeg“:
■ Limited dynamic range
■ Camera settings applied directly to image
■ Colour temperature applied directly to image
■ Compressed (lossy)
■ 8 bits of colour
My humble opinion it takes great skill to successfully shoot with the “Jpeg” image quality setting. From knowing how the camera settings directly affect the captured image to getting an exposure that looks good right out of camera is challenging even for the most skilled photographer. For example, some of the best photographers in the world shoot with “Jpeg” image quality at the Olympics as they have their cameras directly connected to the wire service that gets an image out to the media, on average, within 90 – 120 seconds of the image being taken.
You as the photographer need to decide how far you want to go based on what genre you are shooting, how your image will be used, who the image is for, and how much time and resources you want to spend on each image. Choose the right image quality setting that meets your needs.
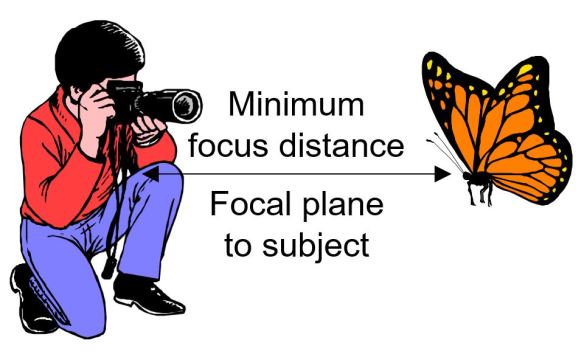
In our next lesson we will discuss what minimum focus distance means.